Page 2 of 2
Posted: Mon Sep 06, 2010 9:12 pm
by headstone
beerdoc wrote:Great work
If you dont have it get this book and ask a lot of questions
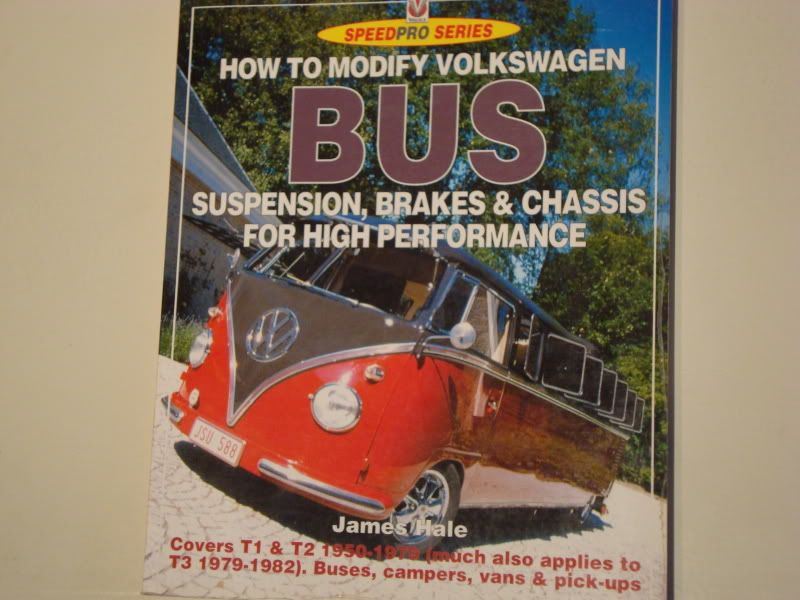
a must for your bus
Posted: Mon Sep 06, 2010 10:09 pm
by Leroy
Top work! Good to see another panel saved

Posted: Mon Sep 06, 2010 11:46 pm
by kombi1976
Wow, a real professional job.
That'll be a very nice bus.
Posted: Tue Sep 07, 2010 8:20 pm
by fly life
thanks gents for the replies,makes it abit more inspiring to get out into that bloody cold shed a keep going,it has been a long winter out there! i think running that old kero heater is gonna cost me more than the panels ive replaced
paul
Posted: Wed Sep 08, 2010 10:22 am
by Tonz Magonz
Spring's here and the shed will be at least 2 degrees warmer....

Posted: Wed Sep 08, 2010 3:51 pm
by fly life
hope it warms my enthuiasm by 3 degrees
to get out there
cheers paul
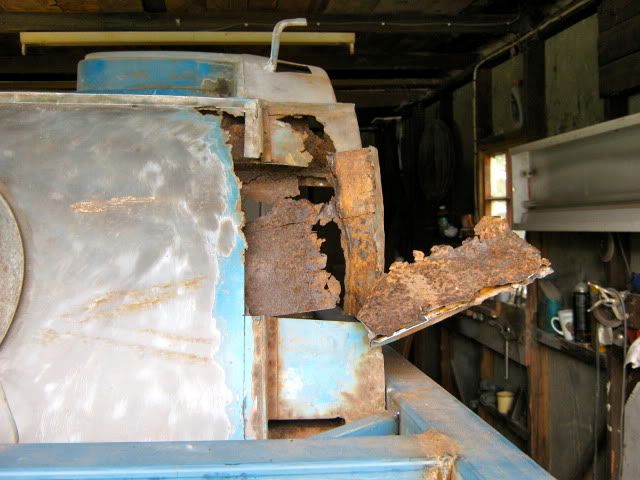
Posted: Sat Nov 13, 2010 8:56 am
by Mr Bubble Head
Paul keep pluggin away looks like your doing a great job. was that a new skin you made for the cargo door or a purchased one?
nIck
Posted: Sat Nov 13, 2010 6:09 pm
by fly life
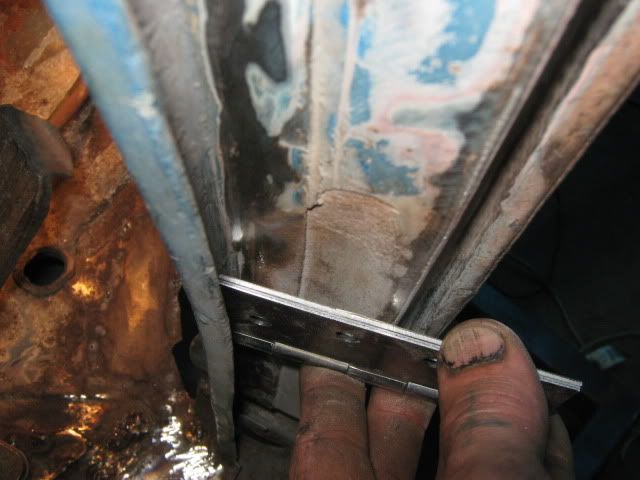
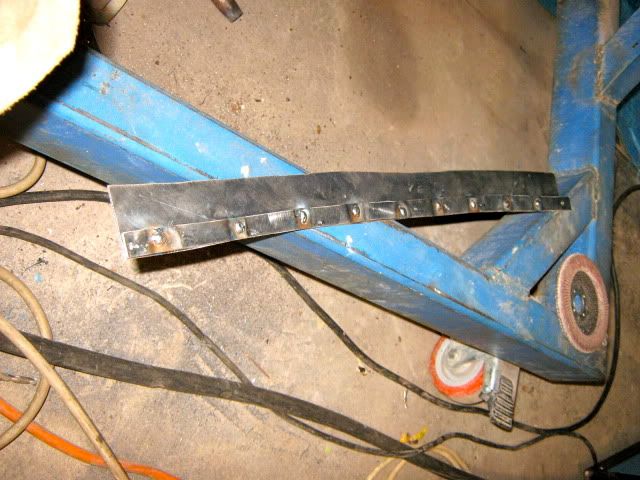
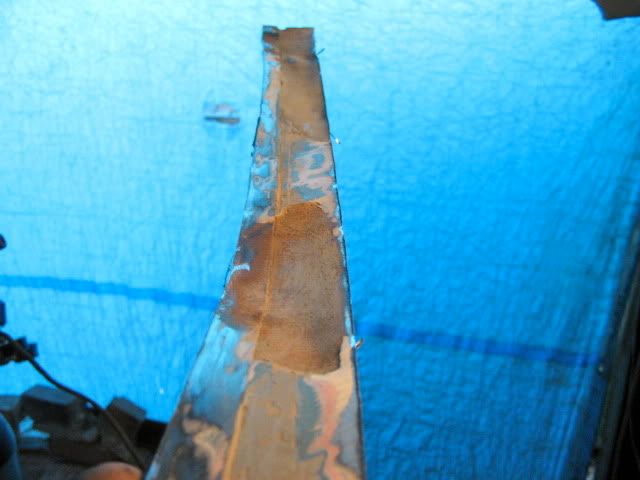
hey nick ,i made it, was alittle tricky making the ridge bit whatever you call it ,got the rollers and went off the orignal came out ok ,pop over for a beer when ur round my area
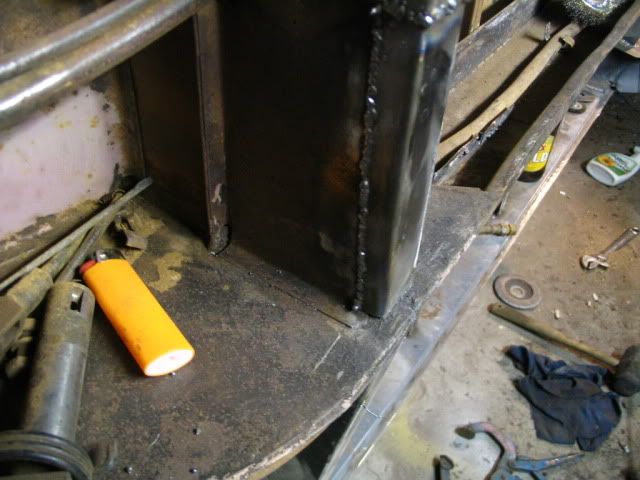
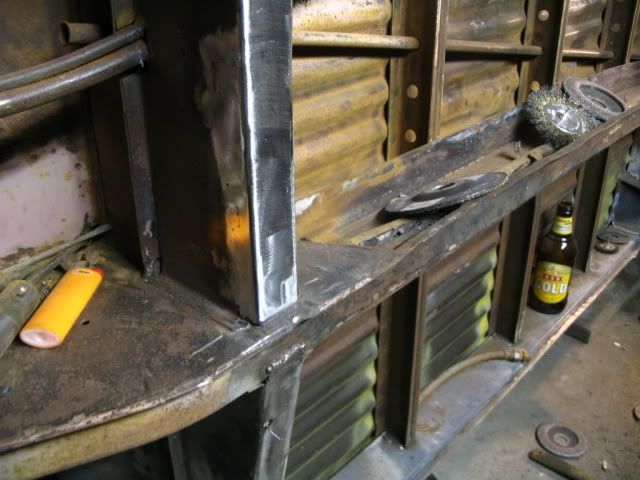
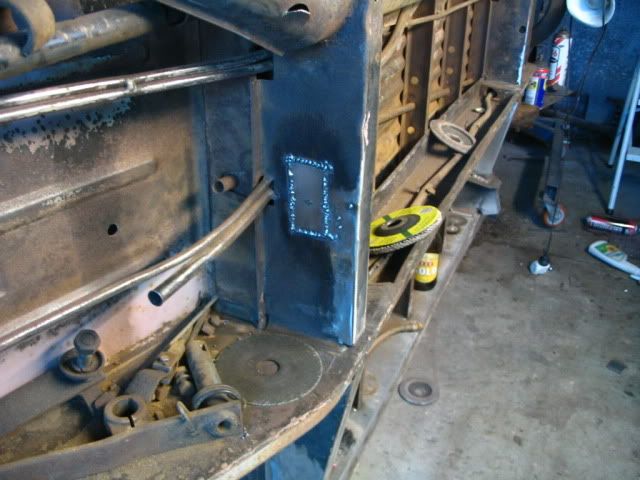
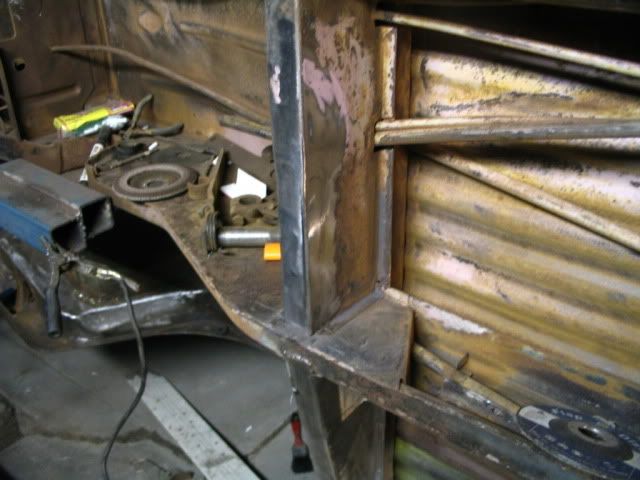
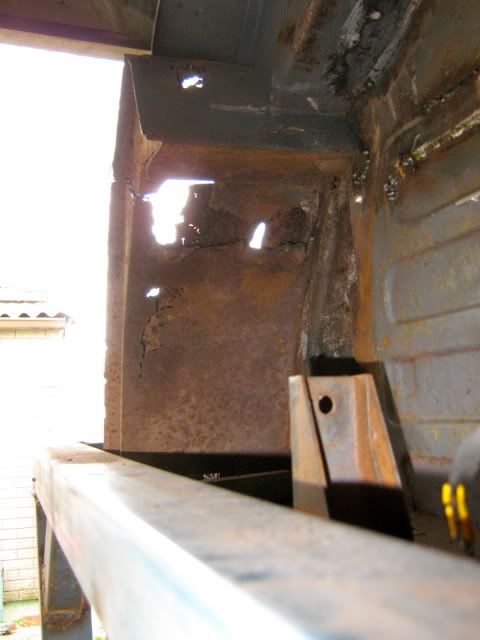
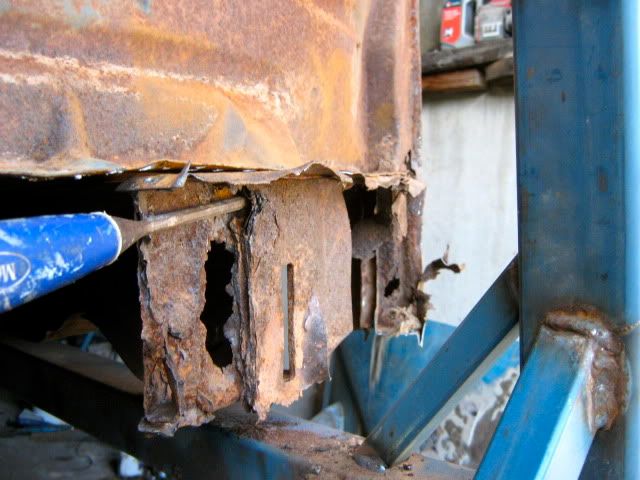
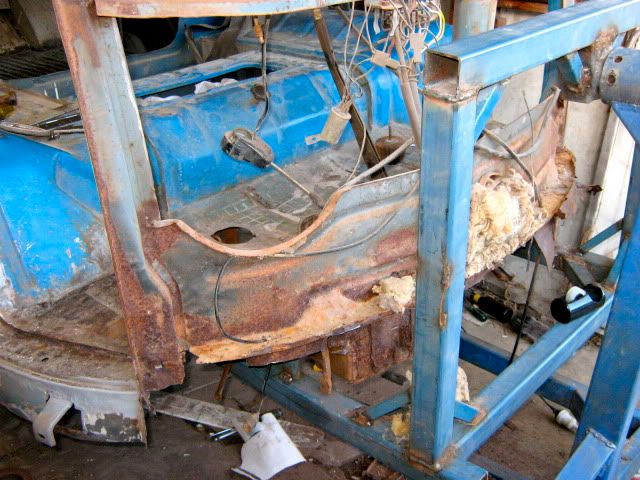
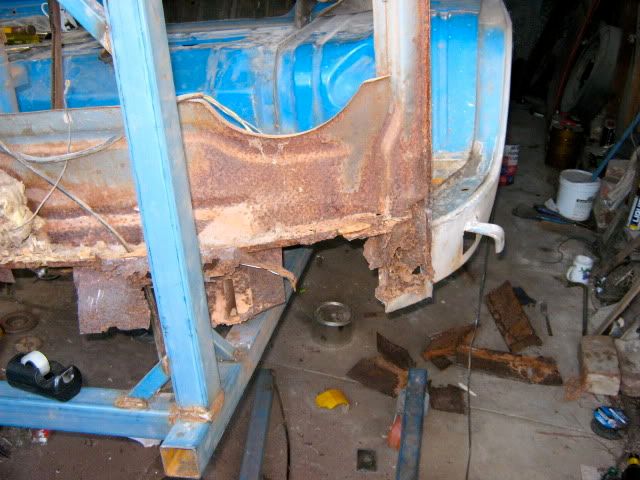
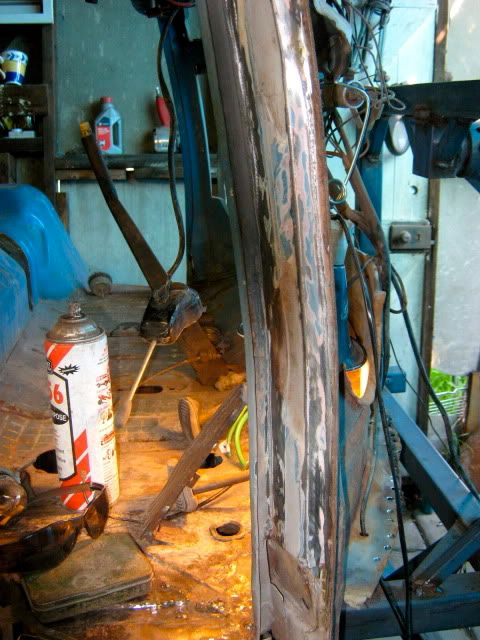
Posted: Wed Nov 17, 2010 11:22 am
by fly life
Posted: Wed Nov 17, 2010 4:43 pm
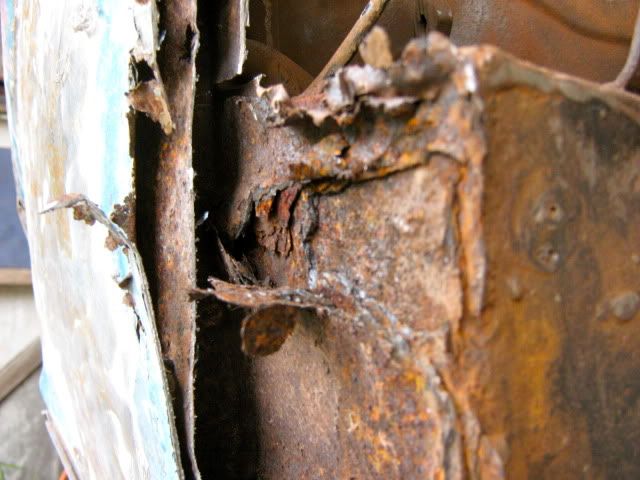
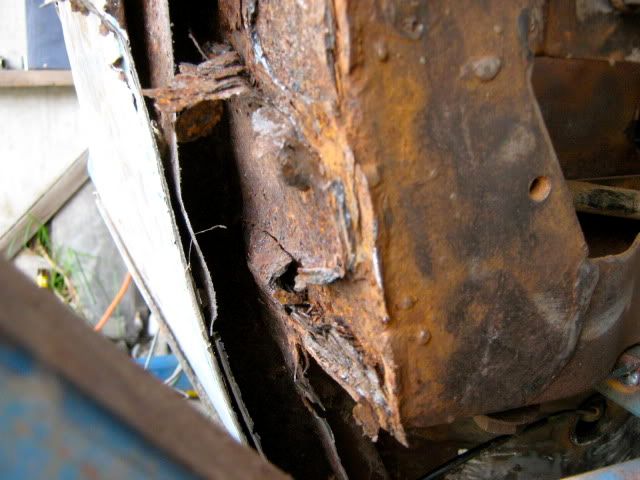
by bay window bandit
I can't wait to see how you do the lower and inner valance as I have to do mine too.
Posted: Thu Nov 18, 2010 9:40 pm
by Mr Bubble Head
fly life wrote:hey nick ,i made it, was alittle tricky making the ridge bit whatever you call it ,got the rollers and went off the orignal came out ok ,pop over for a beer when ur round my area
Nice work making that skin I bet you had heaps of fun getting that belt line ridge profile I'de be shitting it putting in the second crease.
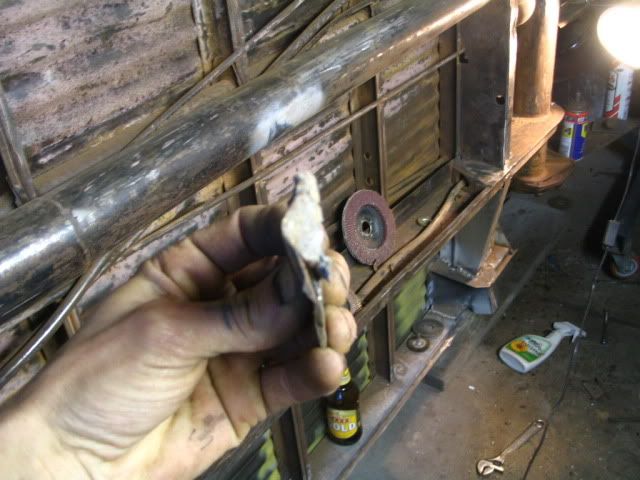
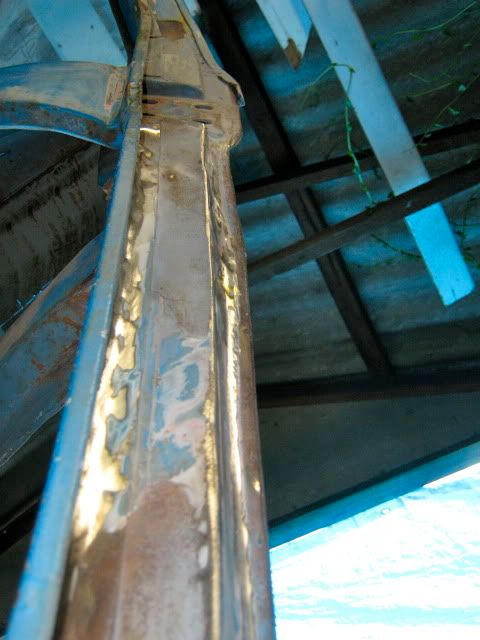
Nice of them to fix the inner rail with lead, carn't beat a bit of semi structural lead hey!
I'll def'ty be over soon for a beer and gander.

Re: 62 panel (back to a panel)
Posted: Sun Mar 23, 2014 3:16 pm
by fly life
Re: 62 panel (back to a panel)
Posted: Sun Mar 23, 2014 9:54 pm
by fly life
Re: 62 panel (back to a panel)
Posted: Mon Mar 24, 2014 3:11 pm
by Cam Biscuit
Looking good!