59 11 window Splitty Custom Resto

Post pics and info of your rides here split windows only

Moderators: warb, Rawdyn, Leroy, byronbus, Tonz Magonz, dmb

Post Reply
User avatar
Dasdubber
DSKer
Posts: 1847
Joined: Thu Dec 01, 2005 10:18 pm
Location: Gold Coast

Post by Dasdubber »

Cheers guys, the bus got a great reception at the Run to the Sun show up here on the Gold Coast yesterday - glad the weather held out!

Tonz, 15's will have no probs at all.

Armando will update some more pics soon, but in the interim here is a teaser of the bus with new wheels:
Image

Cheers
Al
67seeker
DSKer
Posts: 27
Joined: Sun Feb 05, 2006 9:30 am

Post by 67seeker »

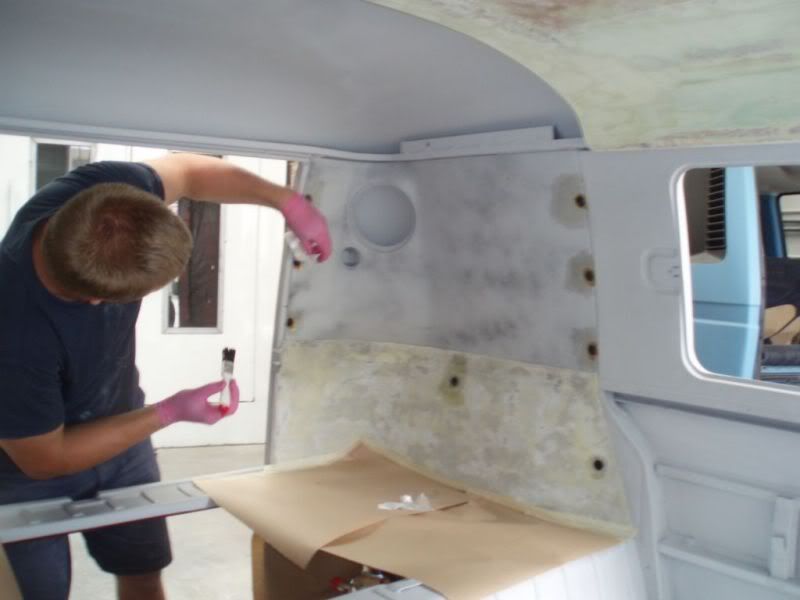
Thanks for all the comments guys - I have been on the road a bit (Not in a Splitty damn it!!!) - here are are a few more photos. Al had her at RTTS on the weekend and tells me it was a great event.

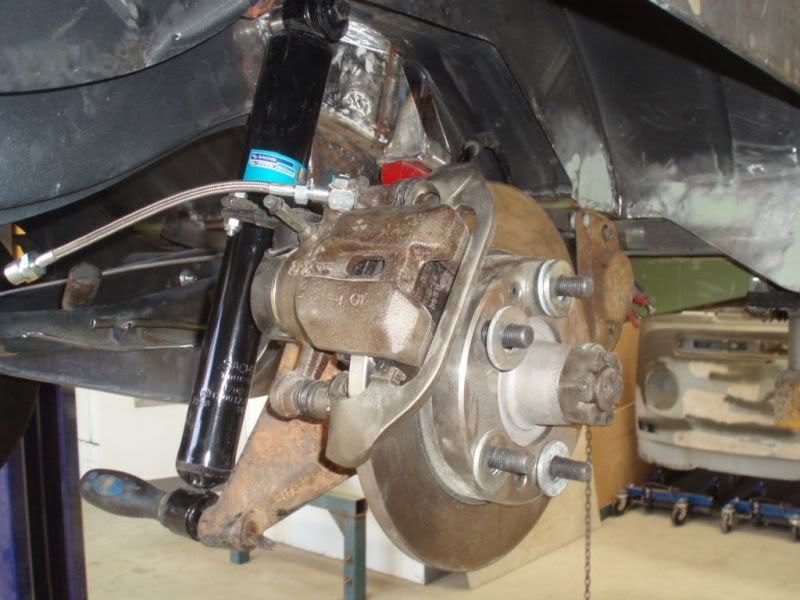
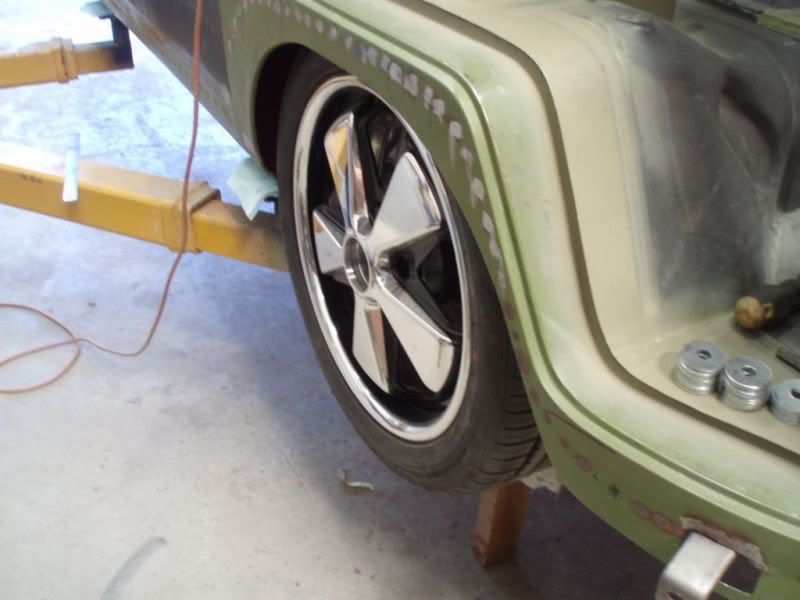
The rear disc brakes from Volks Conversions (John Shermann) in Porsche 5 x 130 pcd
Image

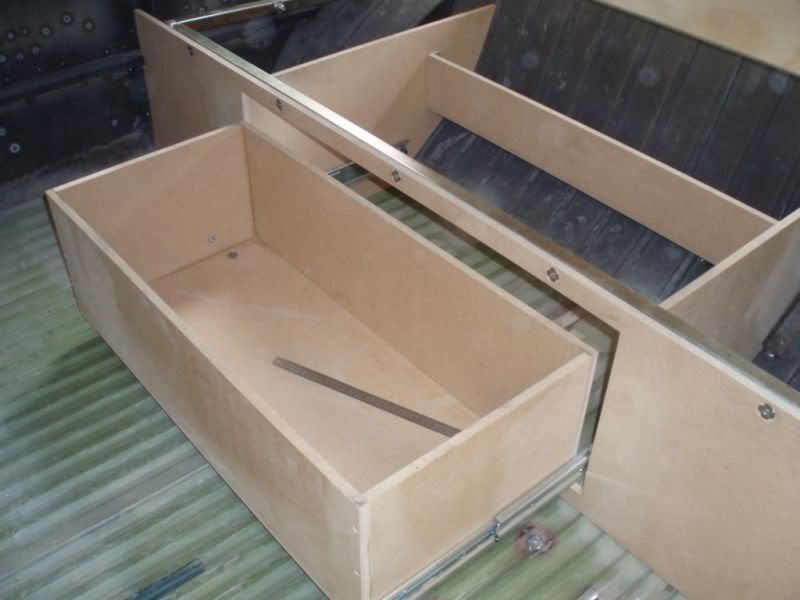
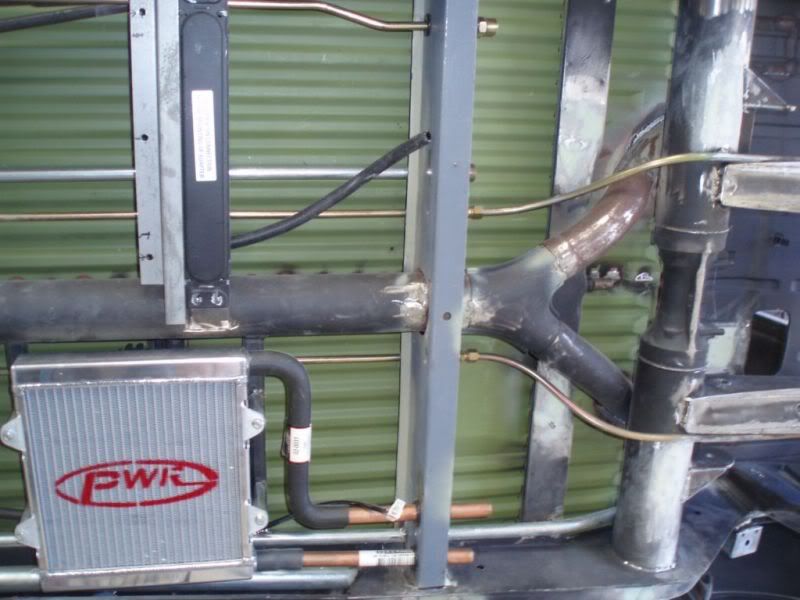
The custom tank was fabricated to house an in tank EFI pump/regulator – capacity is a couple litres bigger than a bay window tank – due to the fact we had to fit the intercooler water pump next to the tank, the capacity had to reduced slightly than what could have been achieved without the water pump in place.
Image

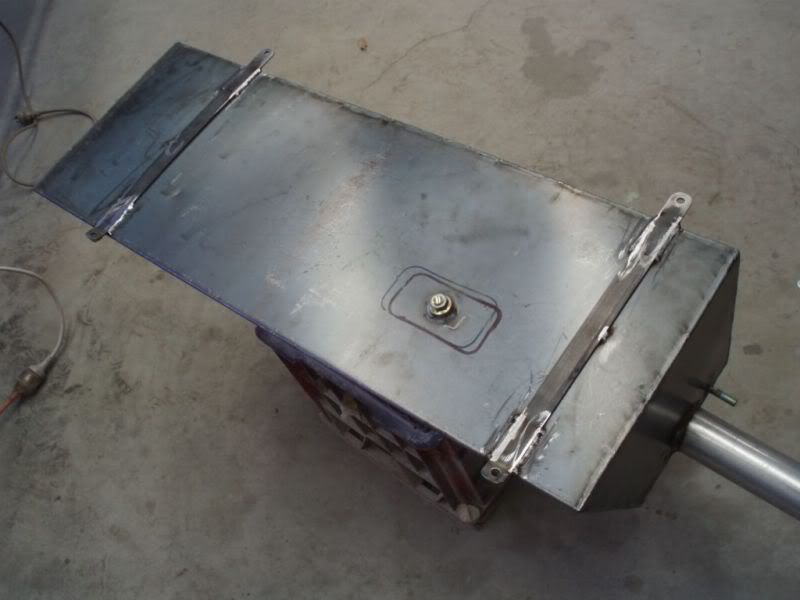
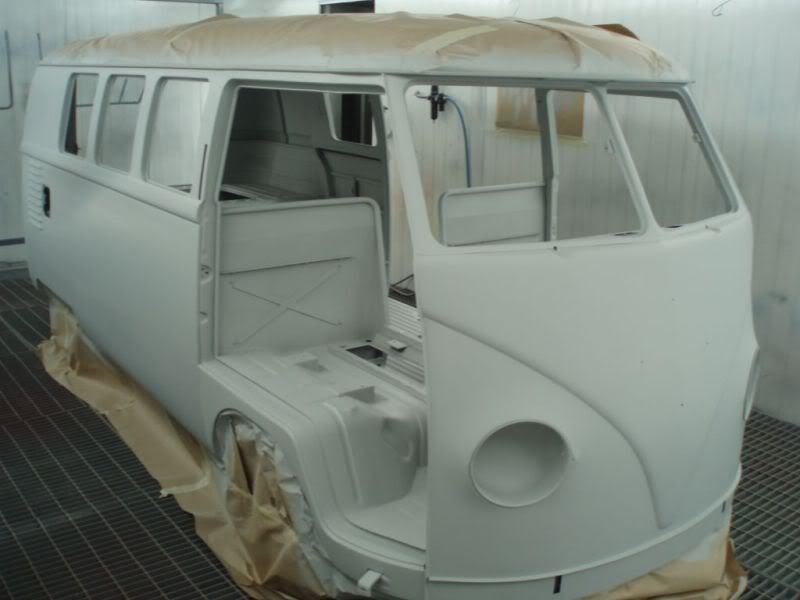
All plumbing used on this resto has been designed/chosen to look like the VW factory had wanted it in place (well if VW ever decided to re-launch the humble splitty to compete in the luxury car market!)
Image

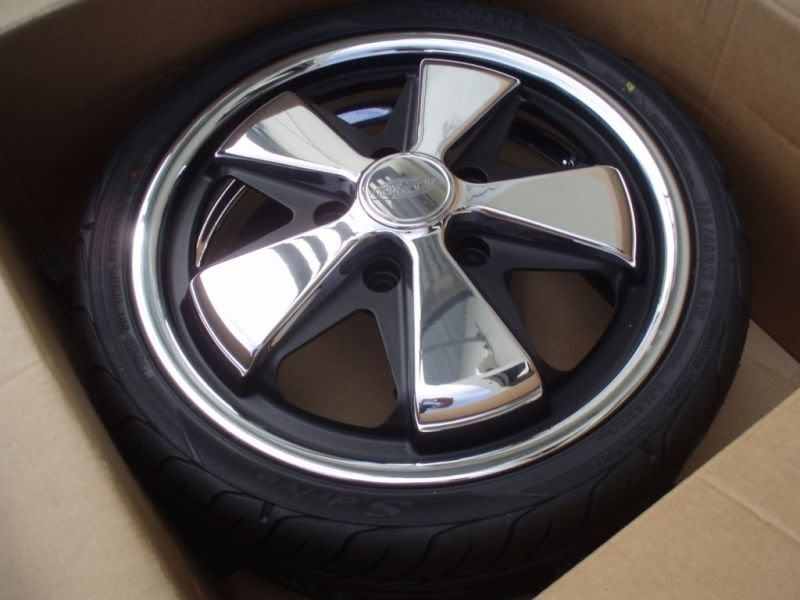
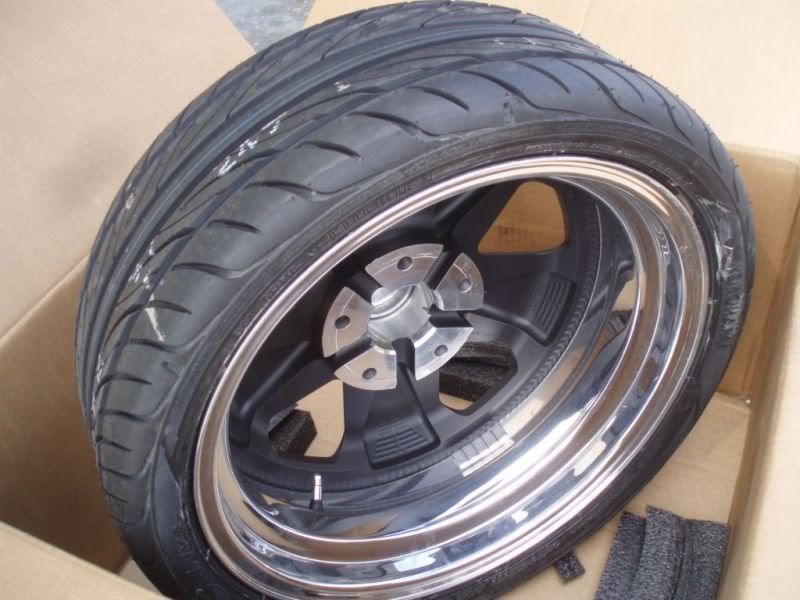
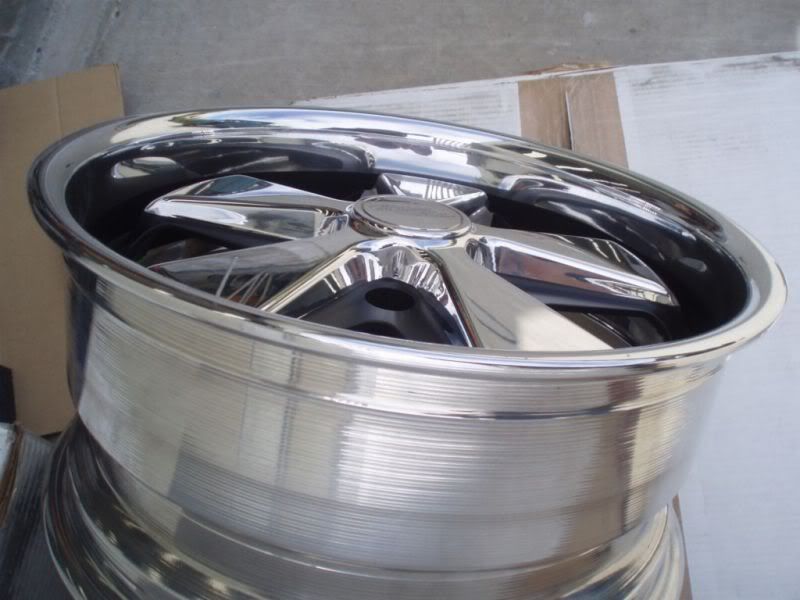
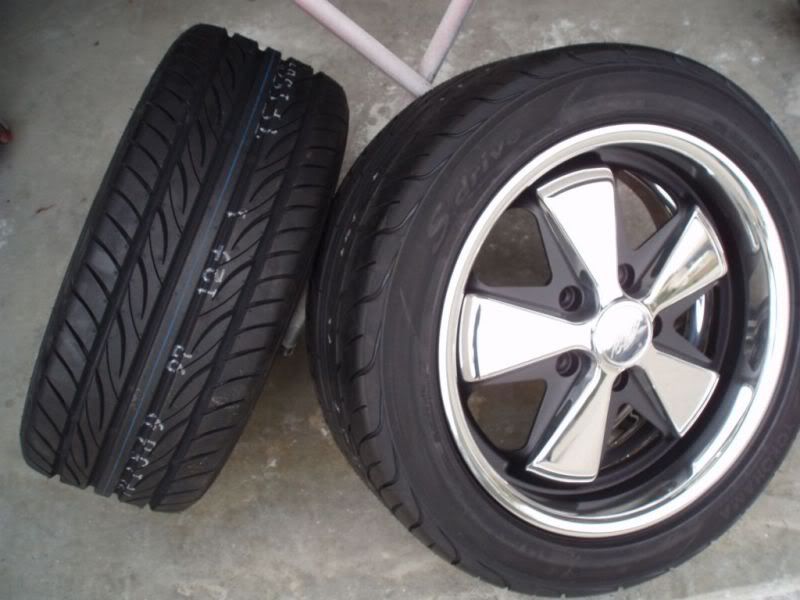
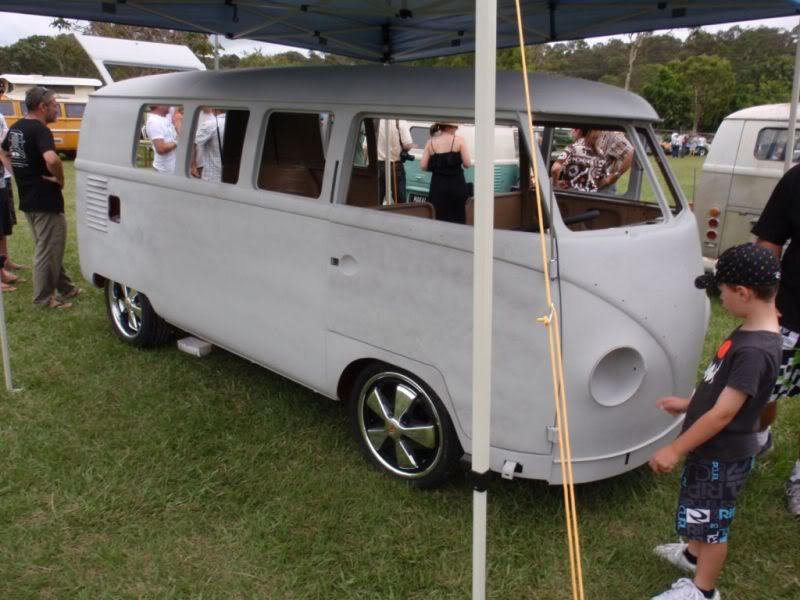
The original 17in Fuch rims were on sold as new ones were ordered to get the fat and skinny look similar the classic combo of the early 15 x 4.5in and 15 x 6in Fuchs.
Image

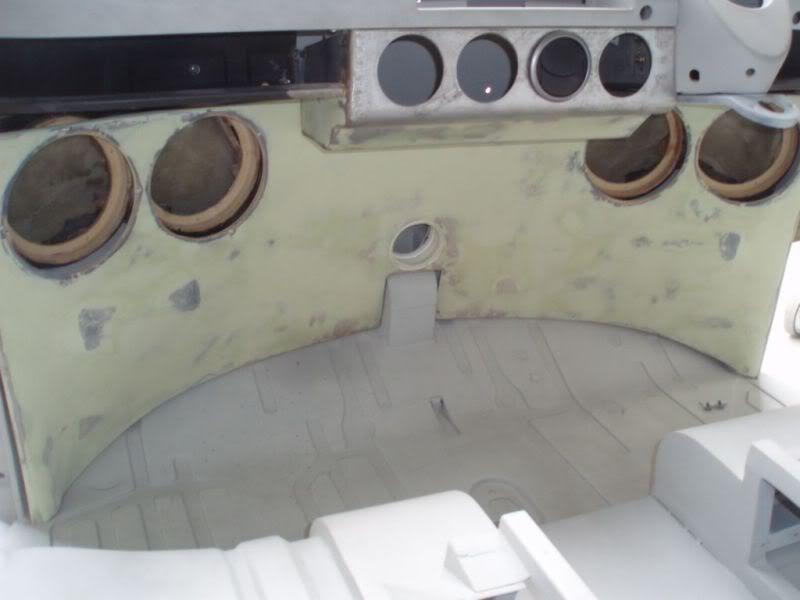
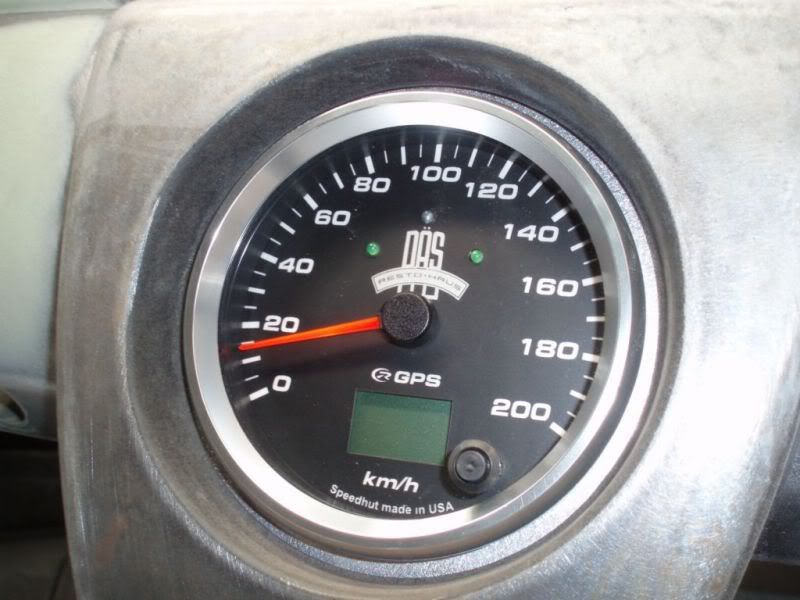
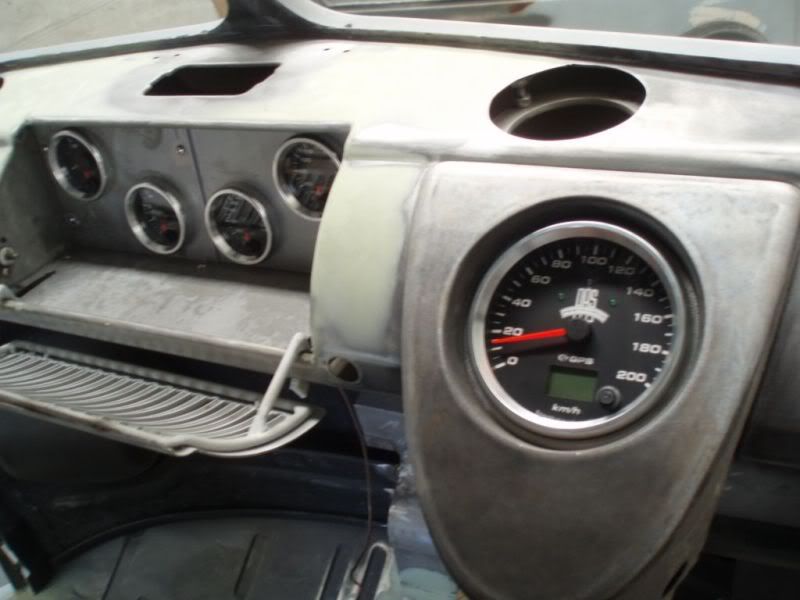
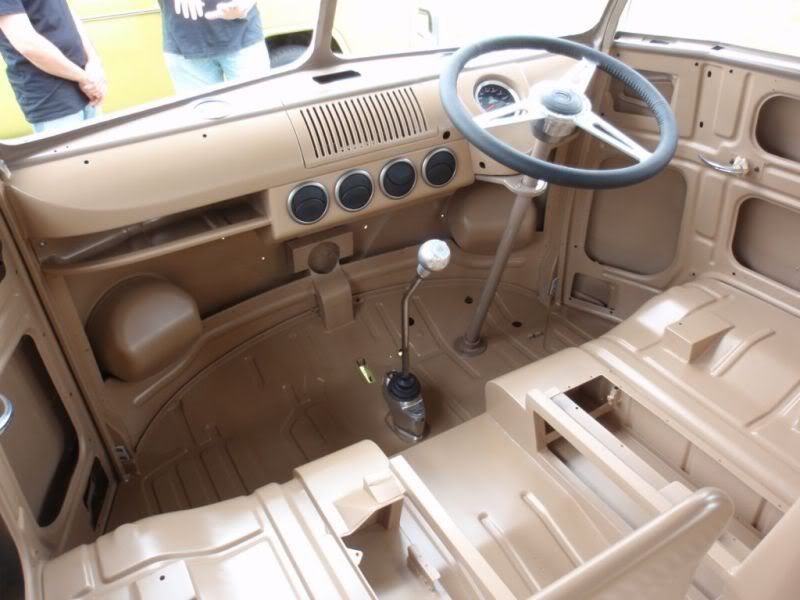
Custom made gauges were made especially for the bus including GPS speedo (note DAS Resto Haus logo on face)
Image

Image

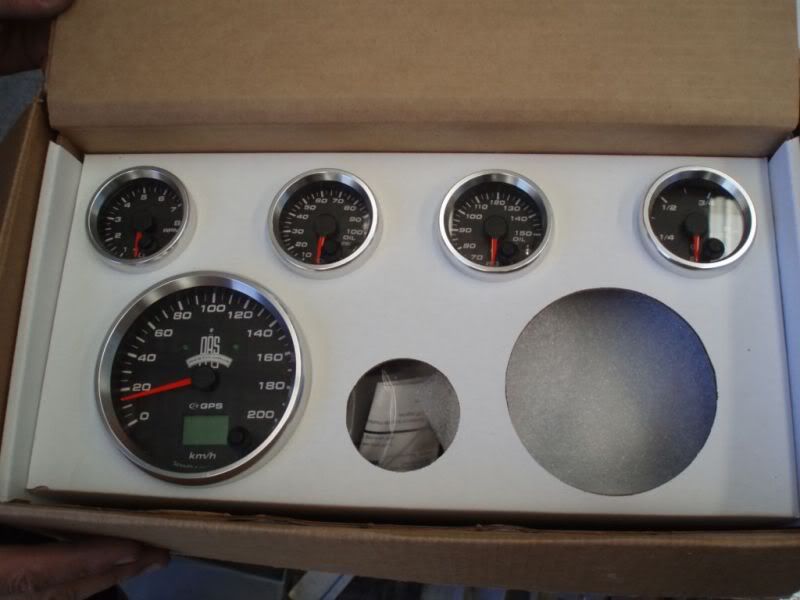
Oil temp, oil pressure, voltmeter and tacho are housed inside the custom glove box
Image

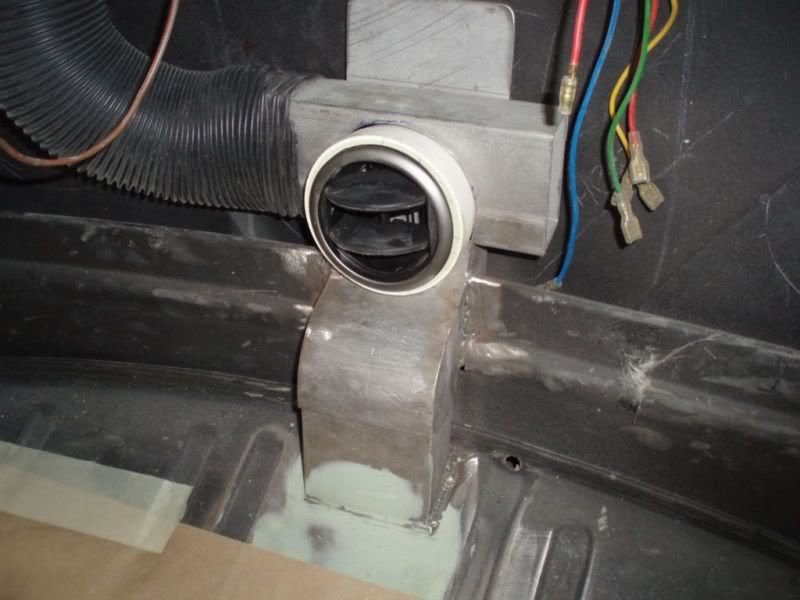
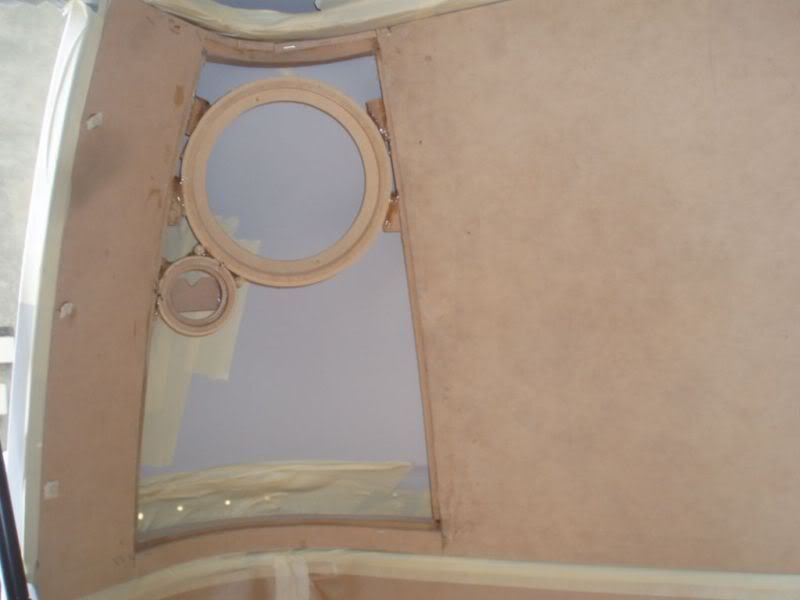
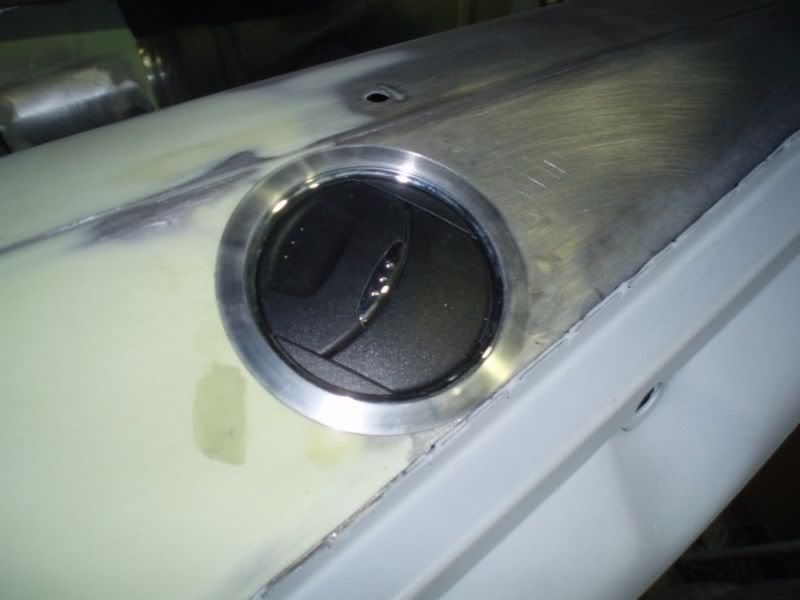
Aluminium trim rings were machined to tidy up the dash heater vents (which rotate to either blow onto screen or towards driver/passenger)
Image

Fast forward to yesterday at the Run To The Sun show on the Gold Coast....
Image

Image

More updates soon.
Hoves
DSKer
Posts: 1085
Joined: Mon Oct 30, 2006 4:46 pm
Location: Queensland

Post by Hoves »

WOW - this is incredible.

PS. Love the interior colour :wink: :wink: :wink:
User avatar
Dasdubber
DSKer
Posts: 1847
Joined: Thu Dec 01, 2005 10:18 pm
Location: Gold Coast

Post by Dasdubber »

Hoves wrote: PS. Love the interior colour :wink: :wink: :wink:

Yeah, saw a nice single cab ute a while ago that gave me the idea :lol:
dev
DSKer
Posts: 295
Joined: Fri Feb 16, 2007 3:12 pm
Location: Blue Bay NSW

Post by dev »

Dasdubber wrote:
Hoves wrote: PS. Love the interior colour :wink: :wink: :wink:

Yeah, saw a nice single cab ute a while ago that gave me the idea :lol:

Now that rings a bell :roll: :roll:
User avatar
Tonz Magonz
Mod
Posts: 4085
Joined: Tue May 17, 2005 9:13 pm
Location: Melbourne mostly

Post by Tonz Magonz »

Looking better all the time...

What are the rim/tyre sizes..?

Like them a lot... 8)

Cheers Tony
Wanted..Barny bits or 60's Supercharger other than Judson
Image
User avatar
Dasdubber
DSKer
Posts: 1847
Joined: Thu Dec 01, 2005 10:18 pm
Location: Gold Coast

Post by Dasdubber »

G'day Tony, rims are;

Fronts 17 x 6in (tyre bead surface - 7in if measured lip to lip) with 195/40 Yokohama S Drive tyres

Rears 17 x 8in (9in if measured lip to lip) with 225/50 Yoko S Drive

Thanks mate
Al
67seeker
DSKer
Posts: 27
Joined: Sun Feb 05, 2006 9:30 am

Post by 67seeker »

The bus is back from the trimmer tomorrow - he has done some preliminary
template work and will do his final trimming after paint which is now not
far away! (Yee Ha!)

Below the rear seat/bed is a solenoid operated full extension draw
Image

Single heater vent is situated at floor level and is adjustable as per dash
heater vents that blow onto screen
Image

As anyone who has been involved in body restoration would tell you, there
are a lot of rounds of block sanding, priming, resanding, filling, sanding,
priming etc etc
Image

A lot of time was spent fitting the Creative Engineering deluxe trim - to
get it to follow the body lines exactly was very difficult due to it being
mis-shaped in several areas.
Image
User avatar
kombi1976
DSKer
Posts: 3744
Joined: Thu Jan 25, 2007 2:59 pm
Location: Southern Tablelands

Post by kombi1976 »

As usual I'm blown away.
So much attention to detail.
Cheers & God Bless

'62 Beetle
'62 Panel project
'67 Panel
67seeker
DSKer
Posts: 27
Joined: Sun Feb 05, 2006 9:30 am

Post by 67seeker »

This series of photos brings us close to current day on the bus which is currently heading for the paint booth...

Lots of hours were chewed up by the guys getting the fit of all panels right even the rear valance to make the seal channel line up with the engine bay – it had to be cut then rewelded
Image

Likewise for the edge that needed building up and grinding back to line up with the rear corner properly
Image

The final version of the supercharger/AC face plate was laser cut and sent to the engine builder (Leon’s Motors)
Image

Image

Construction of the front kick trim panel
Image

Image

Image

Image

Rear speaker pods
Image

Image

Image

Image
Hoves
DSKer
Posts: 1085
Joined: Mon Oct 30, 2006 4:46 pm
Location: Queensland

Post by Hoves »

Man oh man - have to say this is one major build. cant wait to see the finished product boys - well done.
User avatar
kombi1976
DSKer
Posts: 3744
Joined: Thu Jan 25, 2007 2:59 pm
Location: Southern Tablelands

Post by kombi1976 »

You really are a craftsman, Al.
It's a real inspiration looking at this amazing work.
Last night, for the first time in my life I might add, I picked up some power tools and actually succeeded in accomplishing exactly what I wanted to do.
Seeing all the cool stuff you've done here gives me some top ideas for my '62, not that I'll ever accomplish stuff anywhere near as amazing as your work.
But hey, gotta start somewhere, eh? :wink:
Cheers & God Bless

'62 Beetle
'62 Panel project
'67 Panel
animal
DSKer
Posts: 715
Joined: Sat May 31, 2008 7:53 pm
Location: newcastle

Post by animal »

Great to see somethin of this standard on our shores for a change.
Awesome work Al and team.
Love it...
67seeker
DSKer
Posts: 27
Joined: Sun Feb 05, 2006 9:30 am

Post by 67seeker »

We knew early in the project that we would run Fuchs and after looking around found the right fit for us.

The custom 17in Fuchs from Iozzio in the US don’t come cheap but can’t be flawed in their quality, not to mention their appearance
Image

Image

Fronts are 17 x 6in with 195/40 tyres
Image

Rears are 17 x 8in with 225/50 tyres
Image

Image

Image

Image
User avatar
quazi
DSKer
Posts: 283
Joined: Tue Oct 25, 2005 12:34 pm
Location: Moorabbin, Melbourne

fitment

Post by quazi »

Just have to ask,
how do you go with getting the rear tyre of the back if you get a flat tyre?

Is it an easy process or a major pain in the neck?

A credit to you , the wheels look awesome!!
Post Reply