67' 11 window
Moderators: warb, Rawdyn, Leroy, byronbus, Tonz Magonz, dmb
-
Ted2

- DSKer
- Posts: 656
- Joined: Fri Mar 07, 2008 4:24 pm
- Location: Sunshine Coast QLD
-
whipps

- DSKer
- Posts: 84
- Joined: Mon Oct 12, 2009 5:12 pm
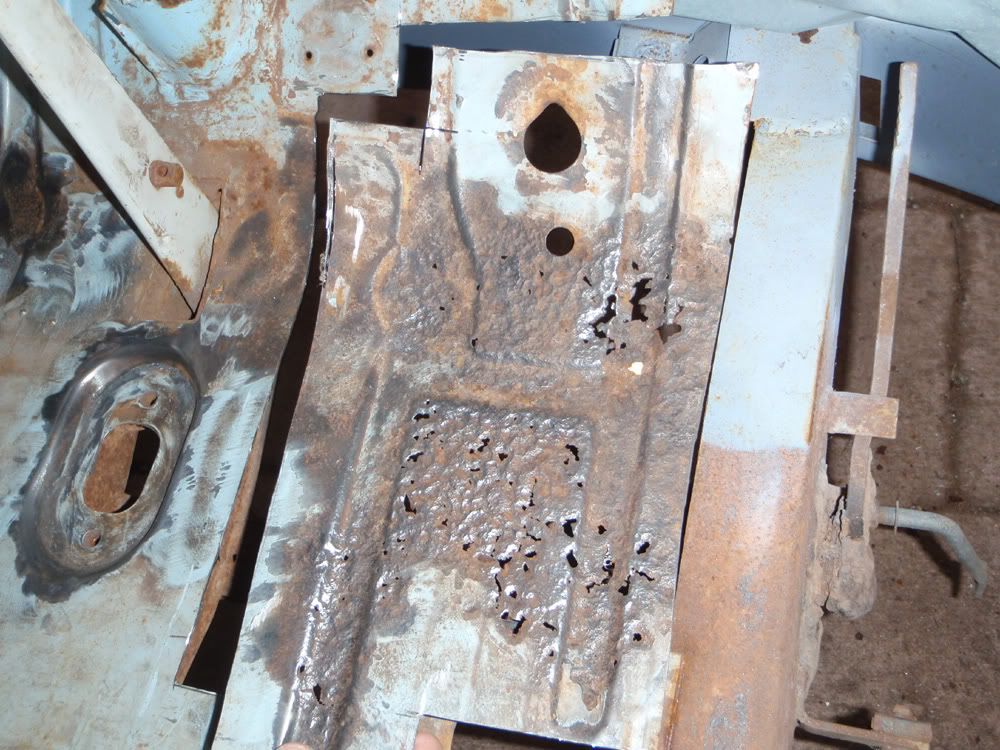
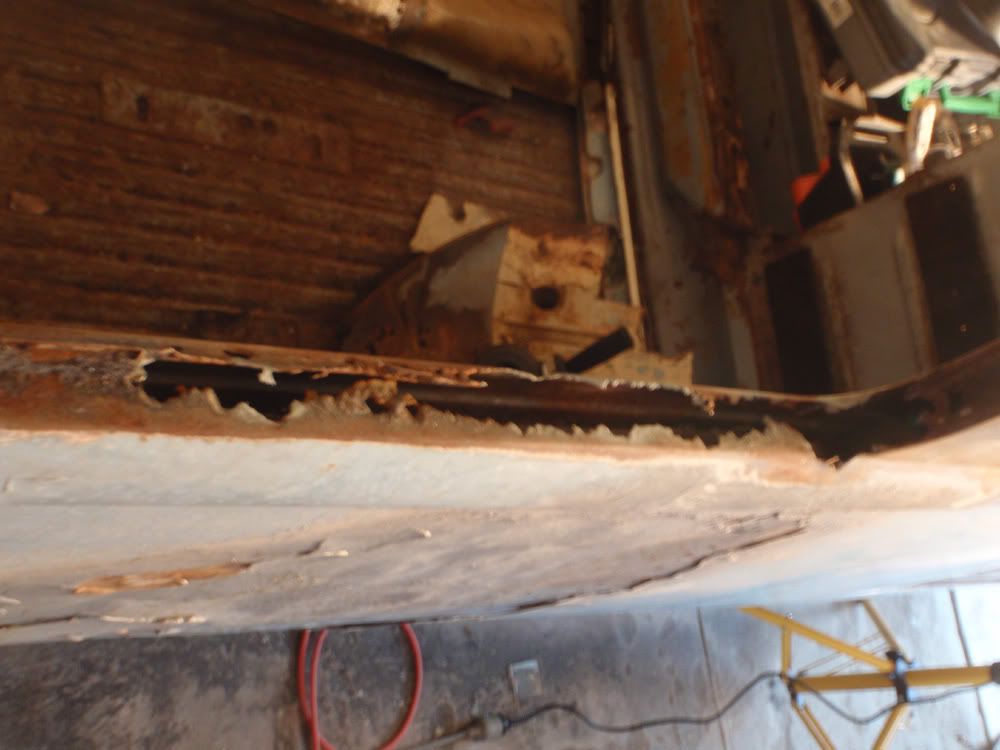
Got a bit done today, I am sick of paying for storage fees for the donor van, so todays mission was to cut out what i need in the short term, then take it back up to the parents farm. Started by cutting the last bits of rust out of the floor of the 'good' van.
And then cut out a replacement piece from the donor.
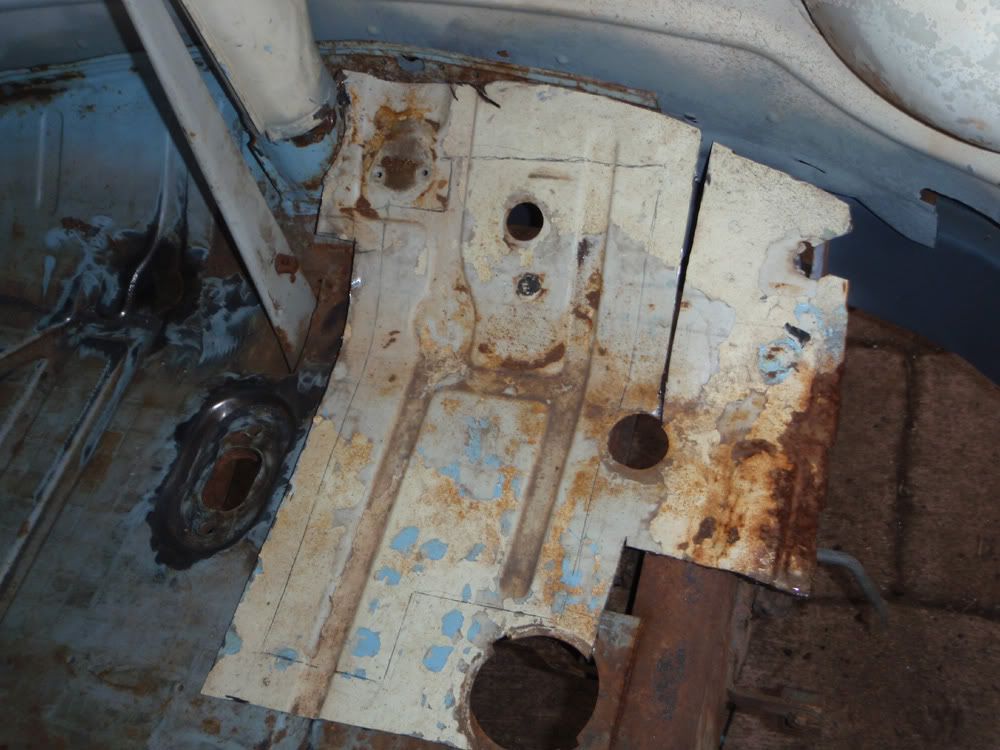
I will weld them in at some stage, just wanted to get them cut out for now.
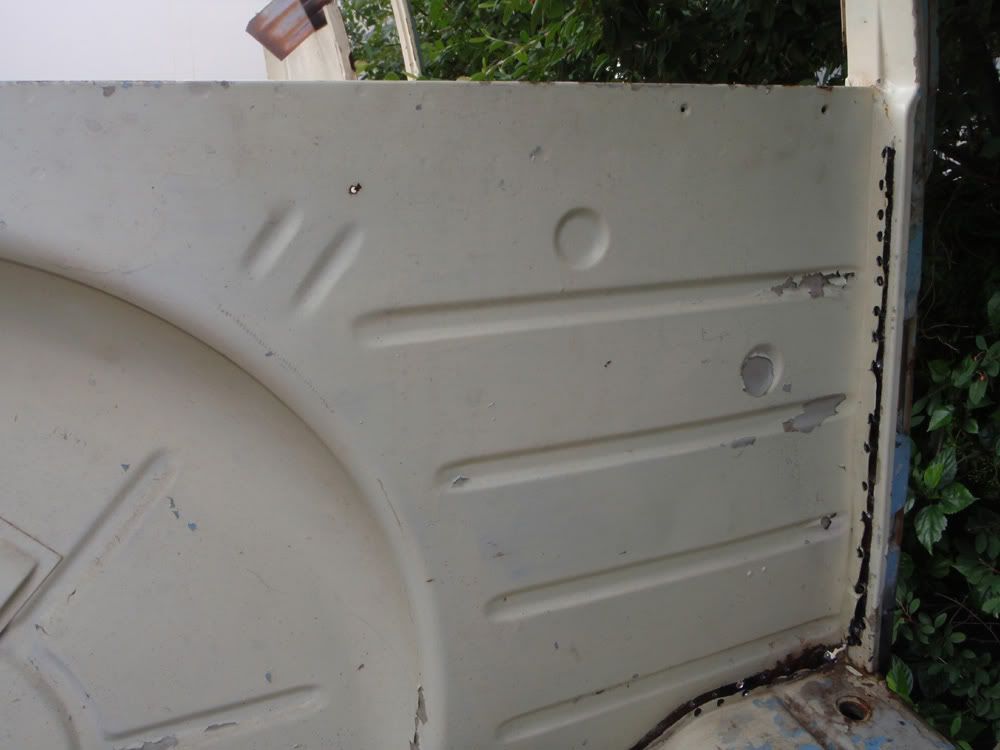
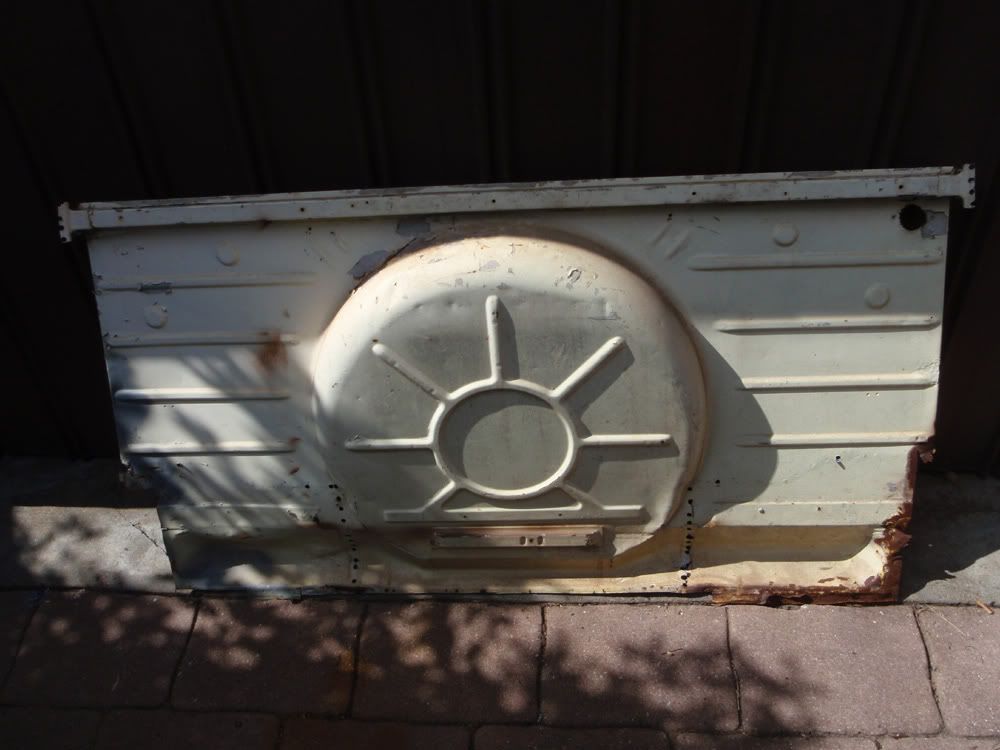
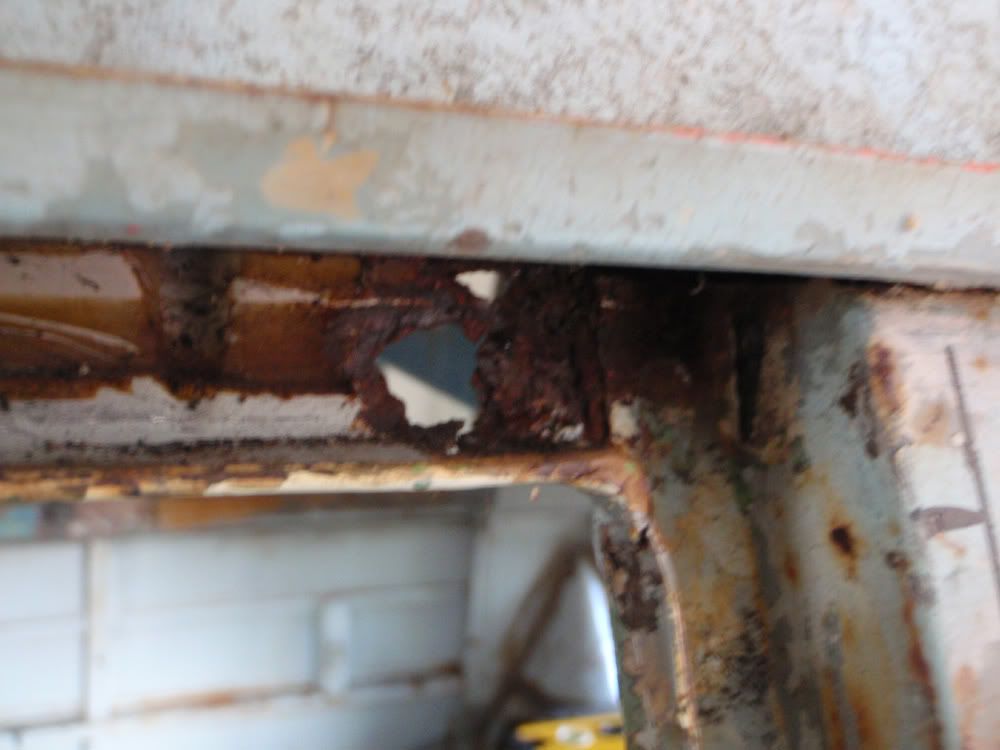
Next job was the spare wheel bulkhead. I need to replace the middle section.
And then cut out a replacement piece from the donor.
I will weld them in at some stage, just wanted to get them cut out for now.
Next job was the spare wheel bulkhead. I need to replace the middle section.
-
whipps
- DSKer
- Posts: 84
- Joined: Mon Oct 12, 2009 5:12 pm
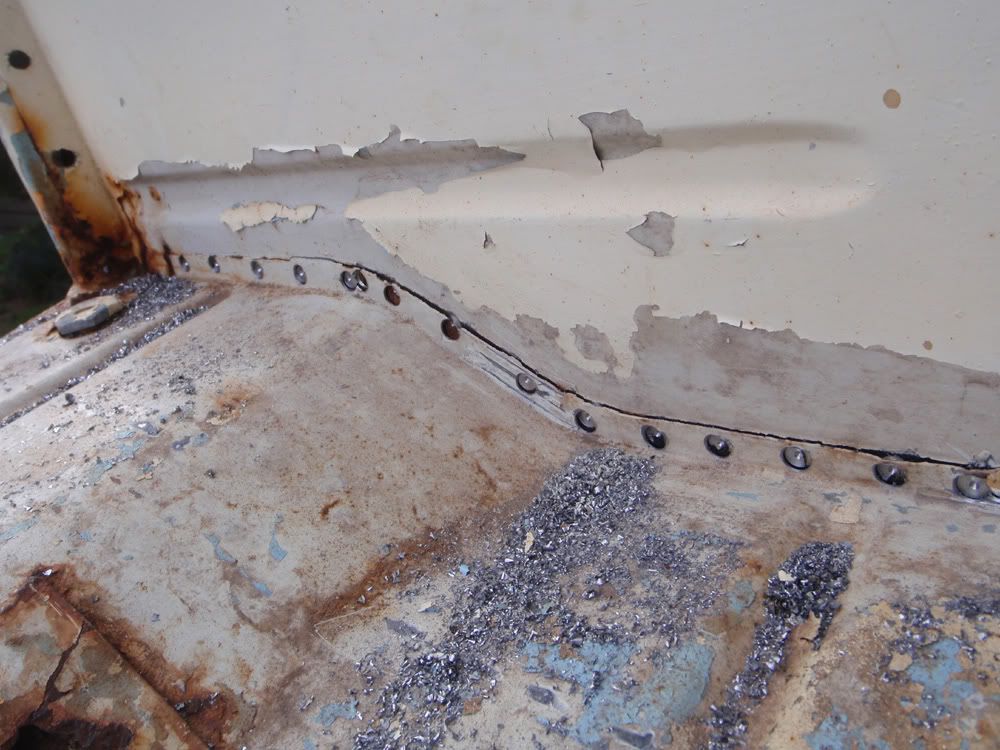
I have been chasing around town all week trying to locate someone who stocks spot weld drill bits, no surprising that Bunnings don't stock them, and all the local tool shops didn't, so i finally got one of the blokes at work to go to a welding supply store for me and managed to get hold of one.

I was very impressed by how well these work.
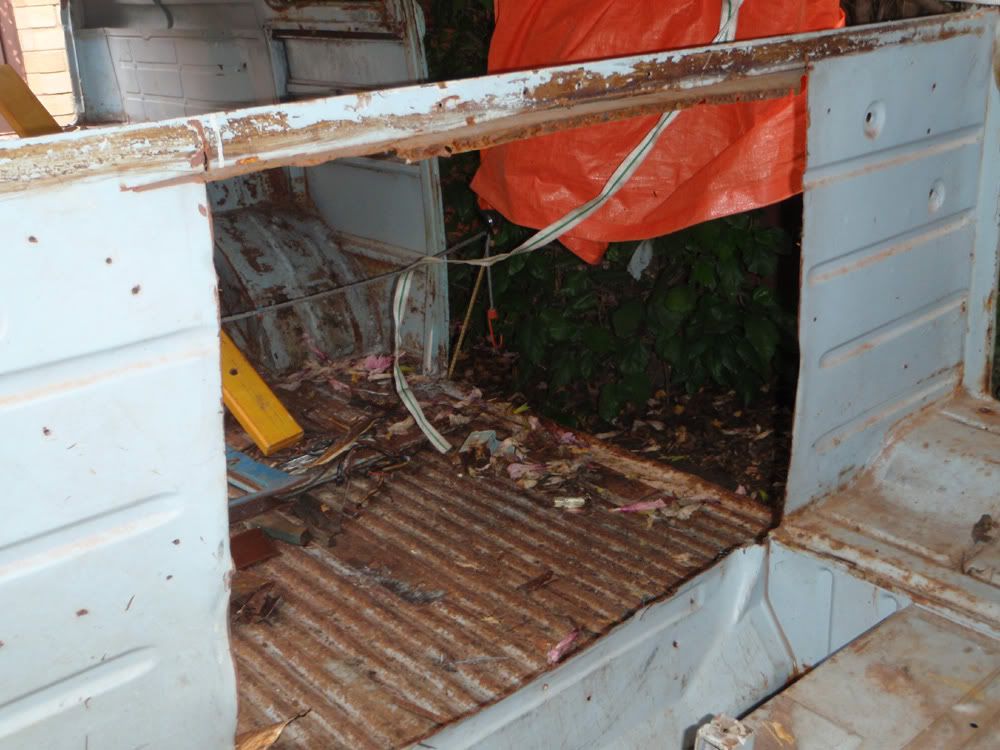
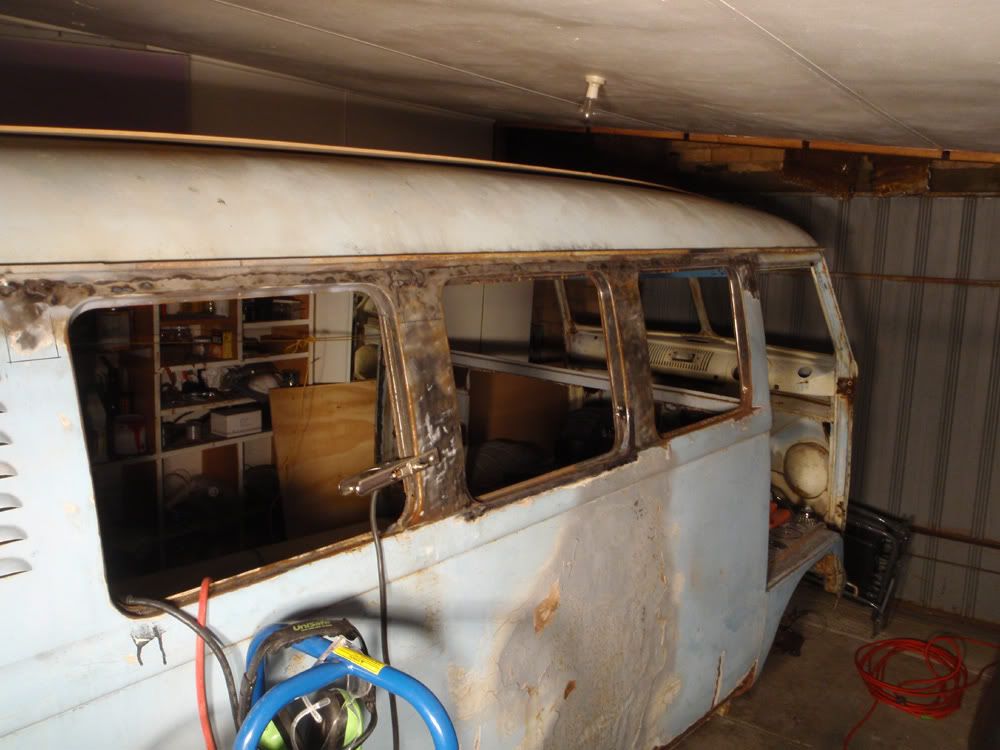
Finally got it out, I think i will use almost all of it to replace the one in there, the top rail is in much better nick.
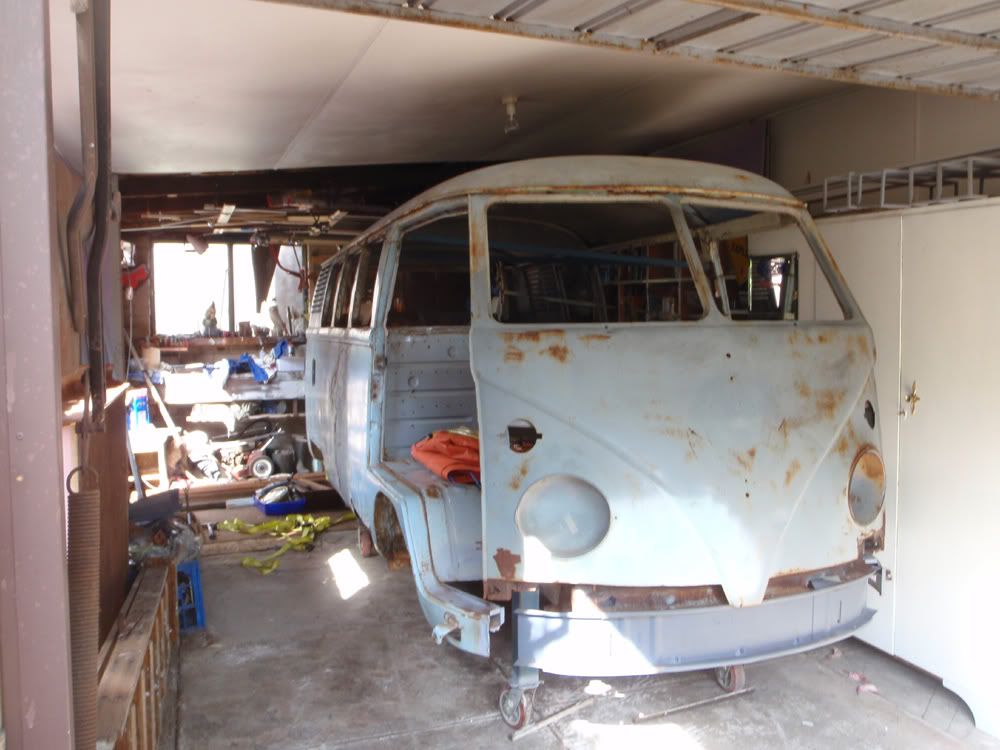
Apart from that I had a full day pulling the wall out of the back of the garage, so that the van will fit in there, and i wont have to spend winter working in the driveway. Looking forward to being able to leave the welder set up!
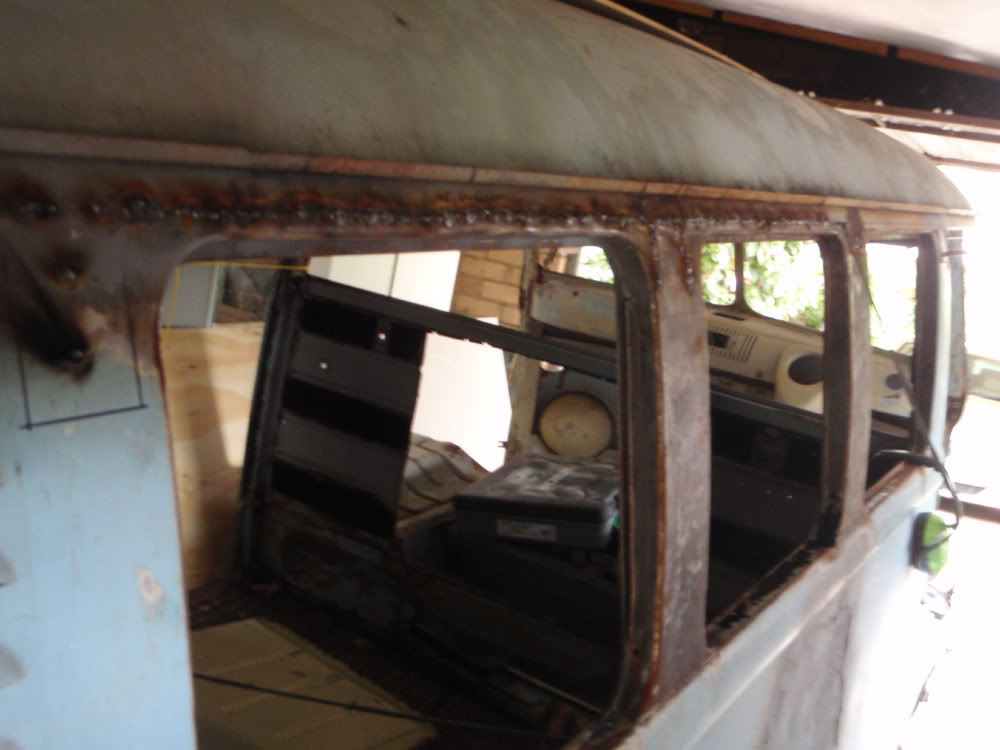
Should get the rest of the back end of the roof welded on this weekend as well.
I was very impressed by how well these work.
Finally got it out, I think i will use almost all of it to replace the one in there, the top rail is in much better nick.
Apart from that I had a full day pulling the wall out of the back of the garage, so that the van will fit in there, and i wont have to spend winter working in the driveway. Looking forward to being able to leave the welder set up!
Should get the rest of the back end of the roof welded on this weekend as well.
-
whipps
- DSKer
- Posts: 84
- Joined: Mon Oct 12, 2009 5:12 pm
-
Leroy
- DSKer
- Posts: 2544
- Joined: Thu Jul 05, 2007 11:58 pm
- Location: Brisbane (bayside)
-
mainebugs

- DSKer
- Posts: 176
- Joined: Fri Oct 31, 2008 11:46 pm
- Location: Yapeen, Central Vic
-
whipps
- DSKer
- Posts: 84
- Joined: Mon Oct 12, 2009 5:12 pm
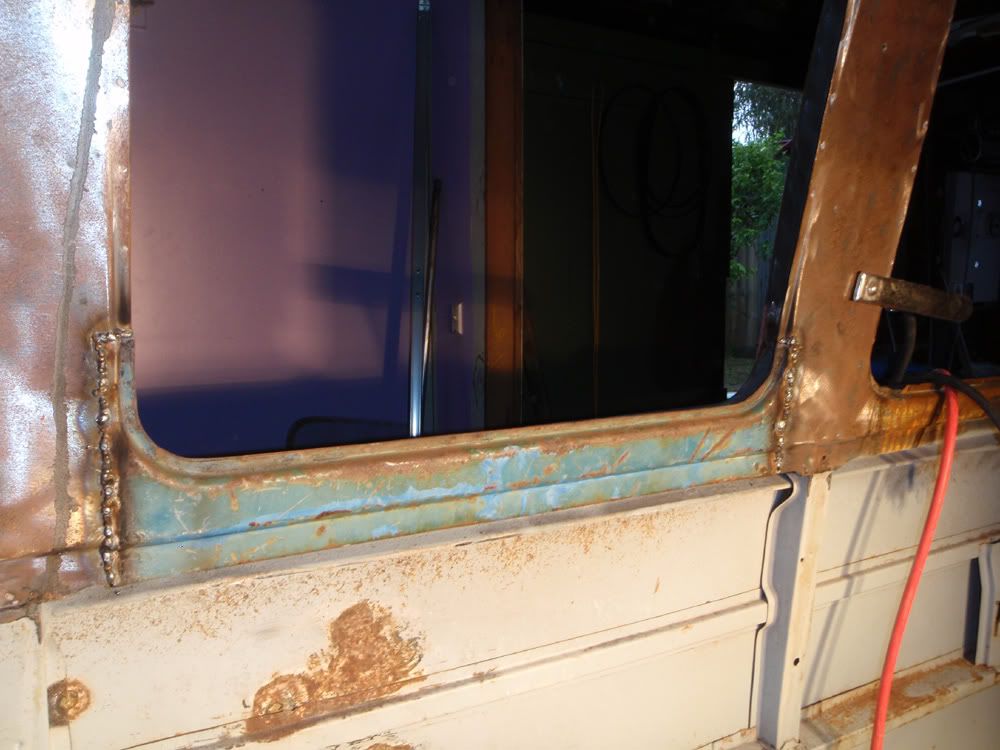
The surf has been pretty good down the coast, which doesn't help the process, so after chatting with a couple of kombi owners down at 13th beach this morning I decided to pull my finger out and do something!
Didn't do a lot, but got the grinder out and cleaned up my last welds, will get back into it in the morning.
The welds are coming up ok. im happy enough. skim of filler will get them sealed up nicely. Bit tricky above the vents, not a lot of room for the grinder!
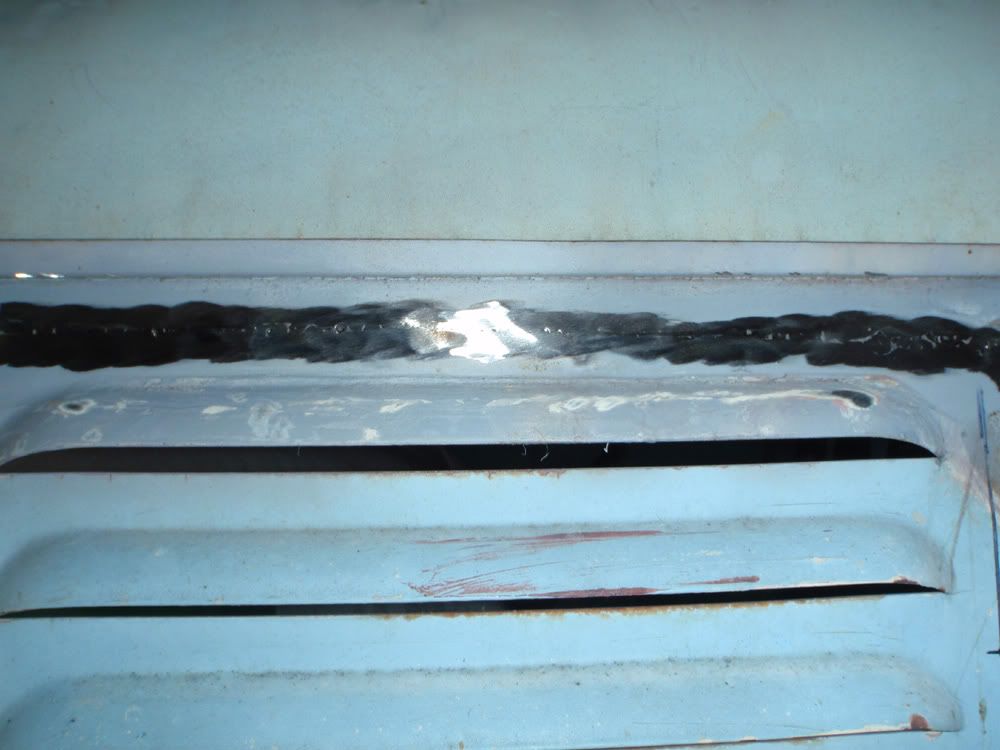
still a little way to go!
Didn't do a lot, but got the grinder out and cleaned up my last welds, will get back into it in the morning.
The welds are coming up ok. im happy enough. skim of filler will get them sealed up nicely. Bit tricky above the vents, not a lot of room for the grinder!
still a little way to go!
-
whipps
- DSKer
- Posts: 84
- Joined: Mon Oct 12, 2009 5:12 pm
Spent last weeked on my daily driver. put a false floor in for my tools. Was good to use up the last of my flux core wire.
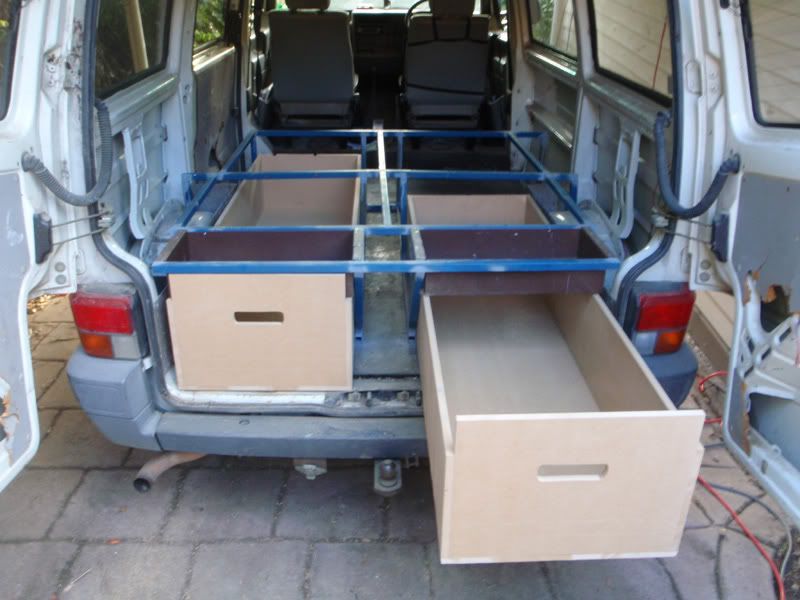
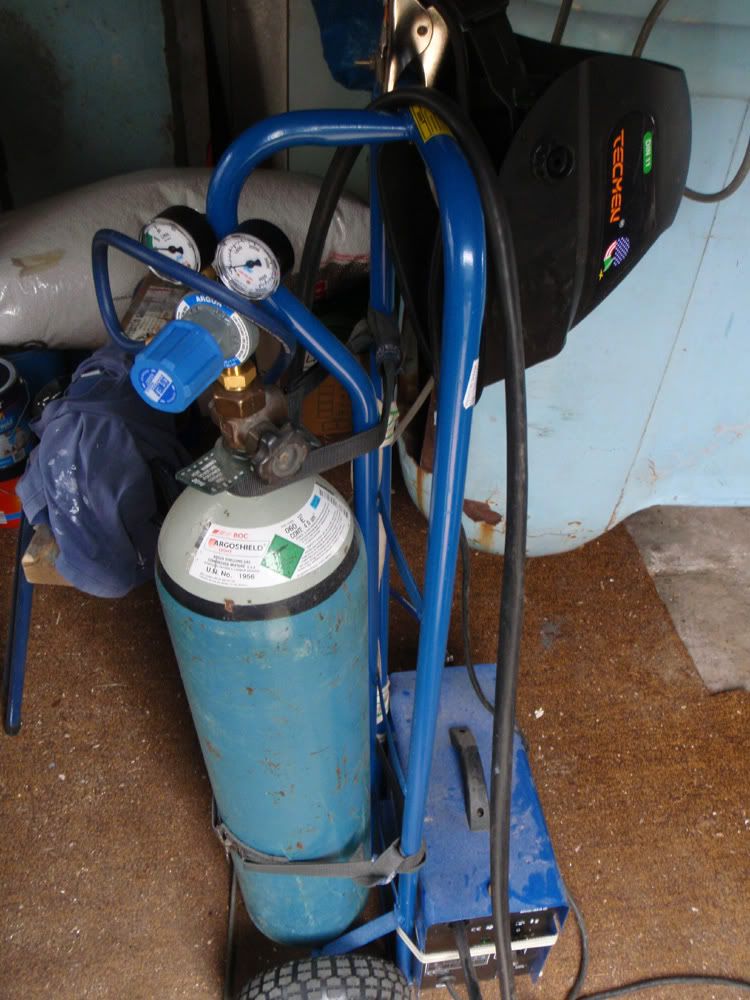
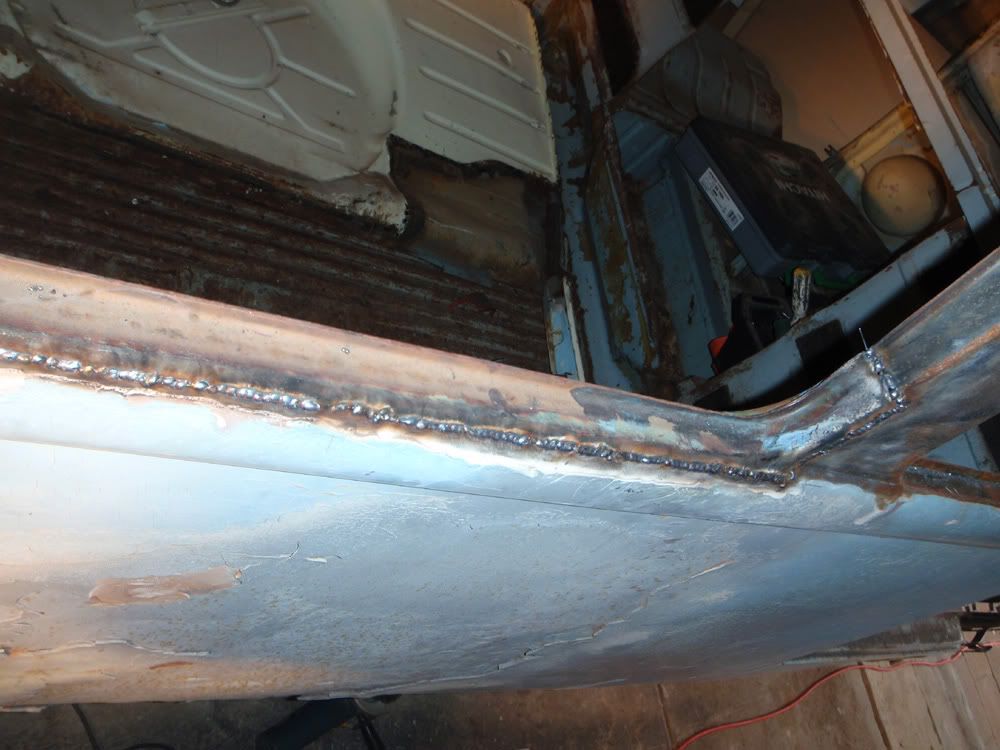
I finally got my sh@# together and bought a regulator and got a bottle, so i can get cracking on this van.
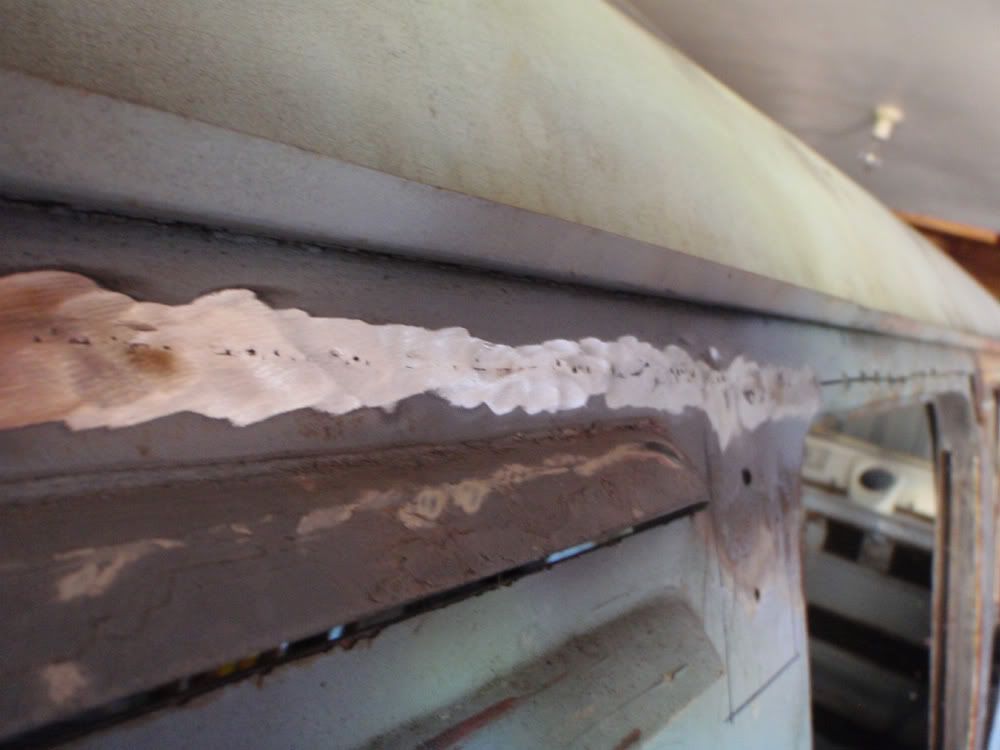
Spent the morning finishing up welding the long side all the way to the b-pillar.
I finally got my sh@# together and bought a regulator and got a bottle, so i can get cracking on this van.
Spent the morning finishing up welding the long side all the way to the b-pillar.
-
whipps
- DSKer
- Posts: 84
- Joined: Mon Oct 12, 2009 5:12 pm
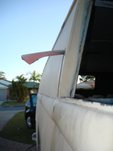
Since i'm restricted to one side of the van at a time, i thought i would sort out this little problem before i turn her round.
The previous owner of the donor van had very kindly tried to put windows into the panel van, and so i had this spare.
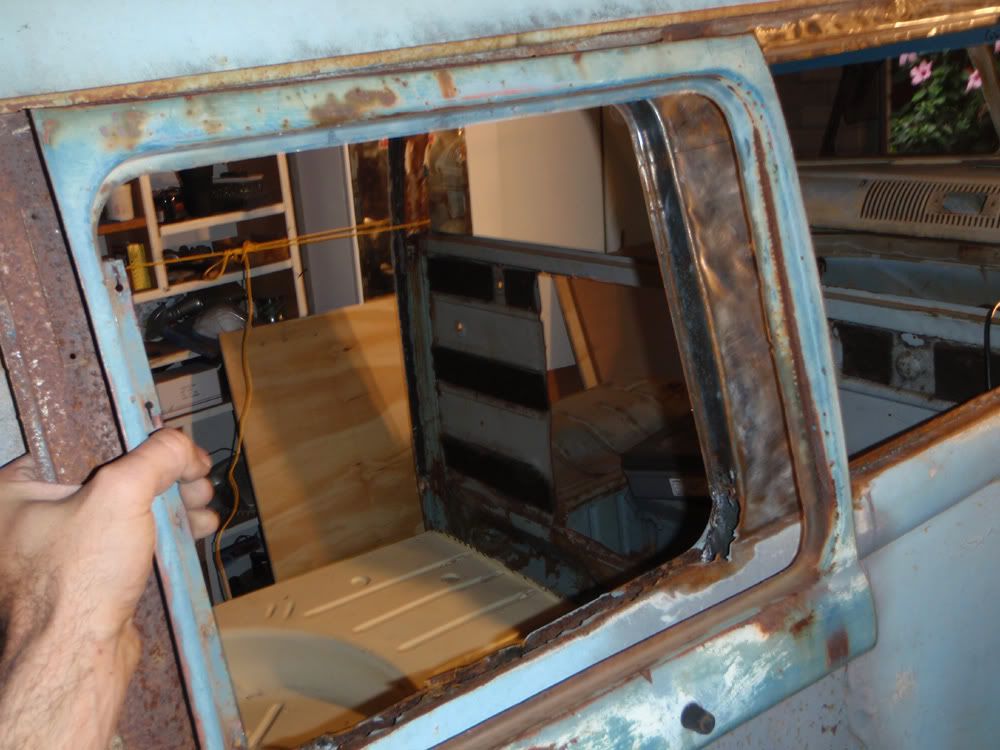
Chopped out the swiss cheese.
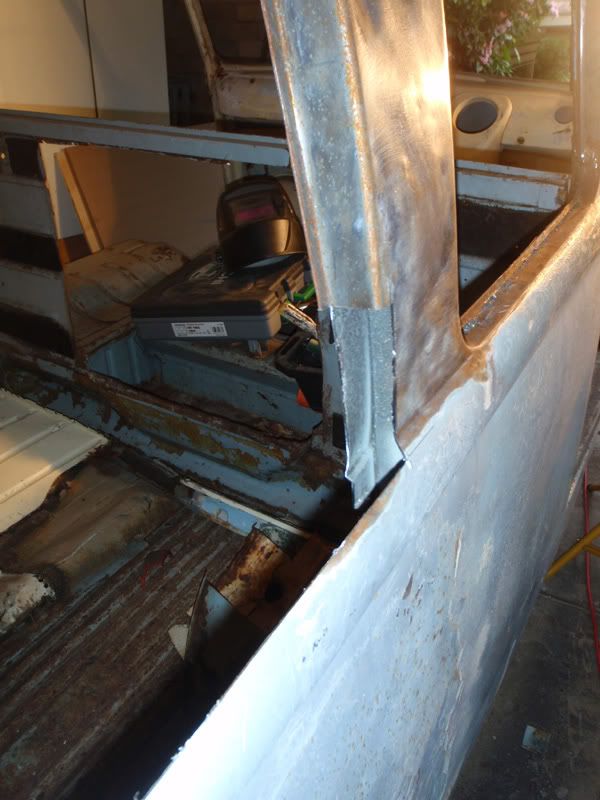
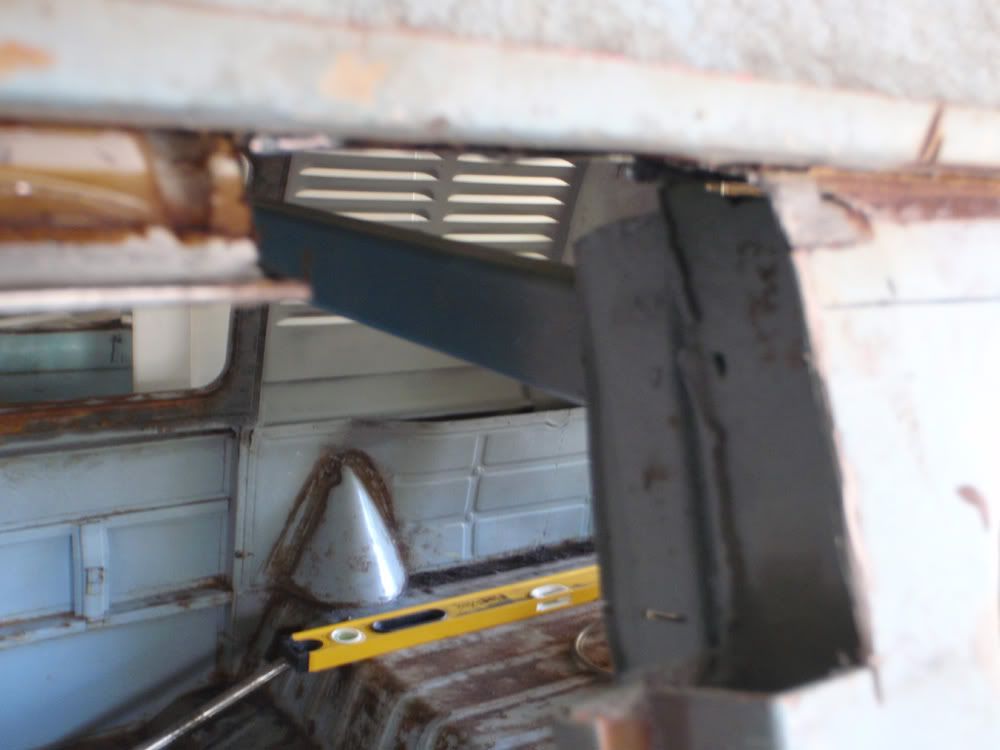
New piece welded in. front.
The previous owner of the donor van had very kindly tried to put windows into the panel van, and so i had this spare.
Chopped out the swiss cheese.
New piece welded in. front.
-
whipps
- DSKer
- Posts: 84
- Joined: Mon Oct 12, 2009 5:12 pm
And the inside.
Ground back. came up pretty well. most of it will be covered by window rubber anyway, but i still find myself spending too much time on cleaning it up!
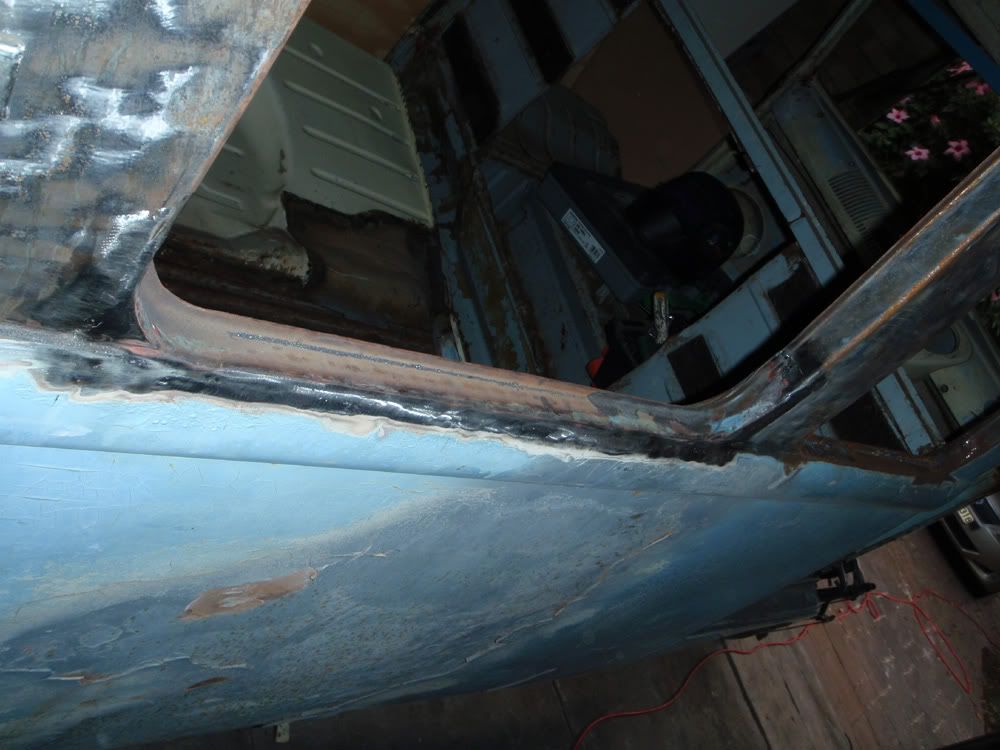
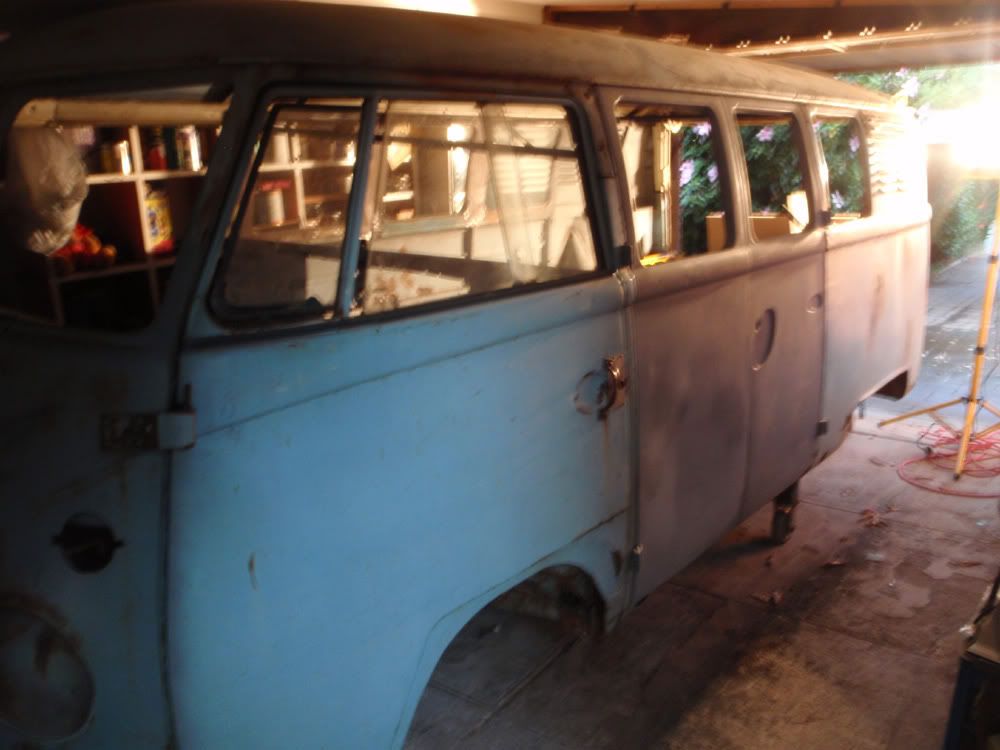
So after a full day of welding and grinding, most of the major stuff i want to battle on this side is done. Once the roof and front are securely welded on then I will get her off to the Sandblasters. not worried about warping the big panels, they are warped enough as it is. might straighten them up!
Turned the van around tonight, so will get onto the other side in the next few weeks.
Ground back. came up pretty well. most of it will be covered by window rubber anyway, but i still find myself spending too much time on cleaning it up!
So after a full day of welding and grinding, most of the major stuff i want to battle on this side is done. Once the roof and front are securely welded on then I will get her off to the Sandblasters. not worried about warping the big panels, they are warped enough as it is. might straighten them up!
Turned the van around tonight, so will get onto the other side in the next few weeks.
-
Tonz Magonz

- Mod
- Posts: 4085
- Joined: Tue May 17, 2005 9:13 pm
- Location: Melbourne mostly
Good to see the continual progress shots...
Will be great to look back at all this work when its completed..
Clever idea for a welding trolley....
Also noticed the build up of metal on the welds....
I constantly struggle to minimise the amount of weld, above the join, because you have to grind it off again ......One of the joys of Mig welding.
I have had greater success since using a 215 amp machine because it seems to maintain a more consistant power delivery...
Keep the pics coming.
Cheers
Tony
Wanted..Barny bits or 60's Supercharger other than Judson

-
whipps
- DSKer
- Posts: 84
- Joined: Mon Oct 12, 2009 5:12 pm
I hear you mate. its a balls ache. better with the gas than it was without, but I'm stuck with the little 130amp, so not much i can do about it. Thank god for flap disc's is all i can say!Tonz Magonz wrote: Also noticed the build up of metal on the welds....
I constantly struggle to minimise the amount of weld, above the join, because you have to grind it off again ......One of the joys of Mig welding.
I have had greater success since using a 215 amp machine because it seems to maintain a more consistant power delivery...
-
whipps
- DSKer
- Posts: 84
- Joined: Mon Oct 12, 2009 5:12 pm
Finally got of my arse today and started on the left hand side.
Started by putting the doors on to check gaps, with the roof being replaced it is important to get these close before welding.
Slight difference in the opening on the new roof, will cut and paste to fit.
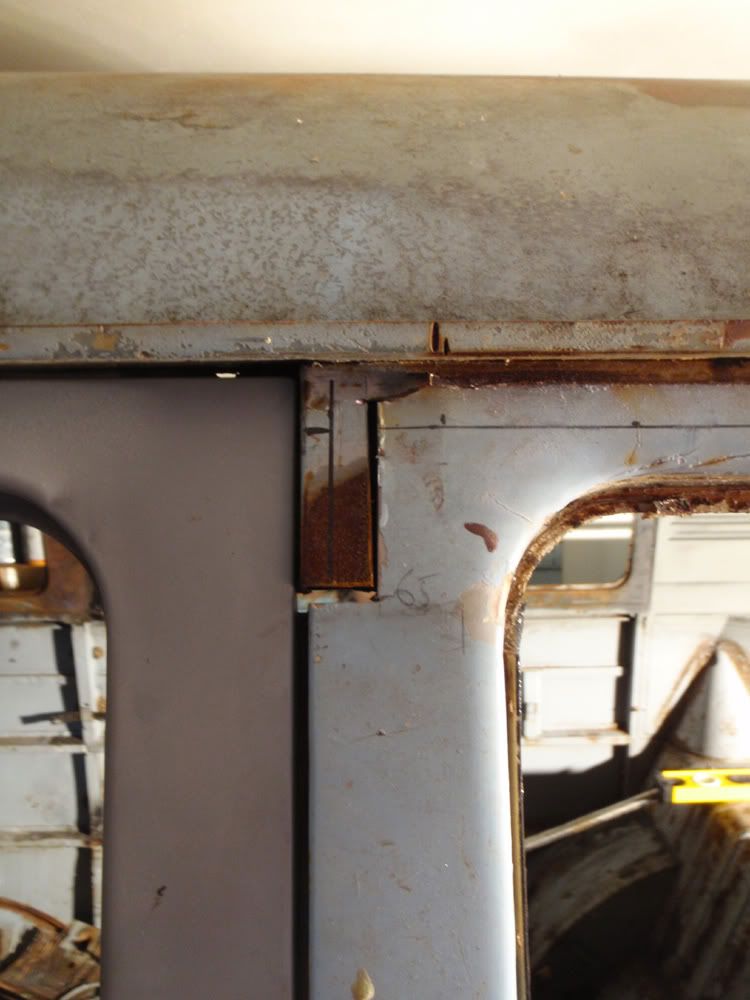
Corner has some rust anyway, so i will cut it out and patch it up, then it will be welded back in line with existing pillar.
Section cut out.
Started by putting the doors on to check gaps, with the roof being replaced it is important to get these close before welding.
Slight difference in the opening on the new roof, will cut and paste to fit.
Corner has some rust anyway, so i will cut it out and patch it up, then it will be welded back in line with existing pillar.
Section cut out.