Sounds good, I personally don't like alloy either, just because it seems to get a jelly gum build up.. stainless is the way. I think with the sealer you used you should be right.Dasdubber wrote:Will have to check on the thickness as the tank was organised whilst I was away previously - we were guided by the sheet metal shop's recommendations re. material so unless they just had an aversion to working with aluminium for some reason, we took on their advice and went with steel.
We used KBS fuel tank sealer and ensured all surfaces were thoroughly coated internally including the neck.
Al
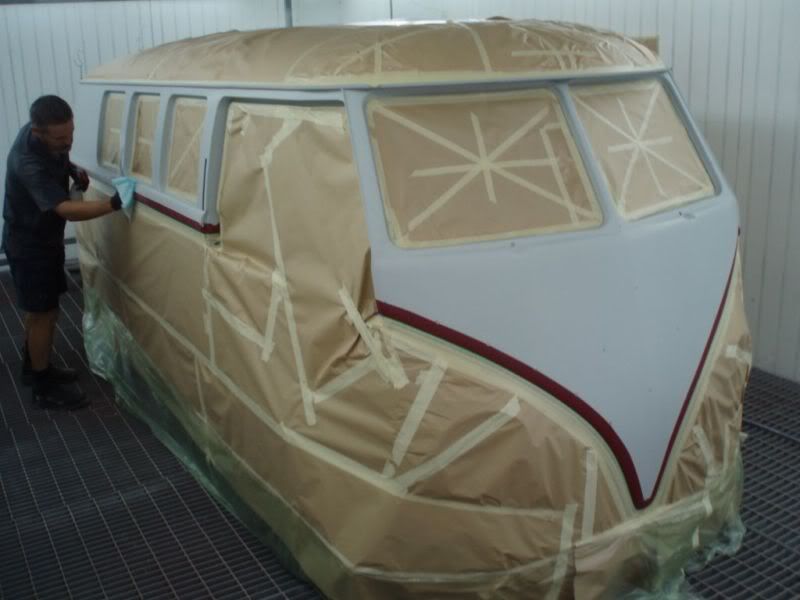
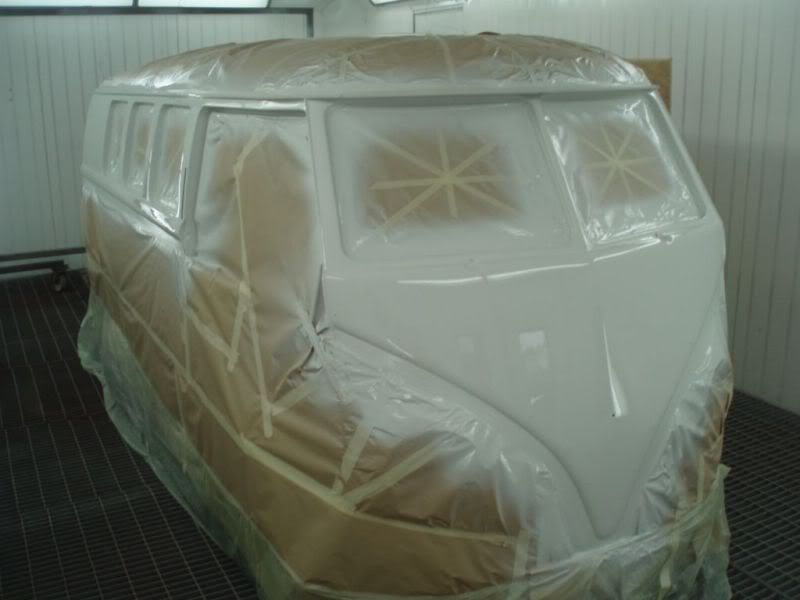
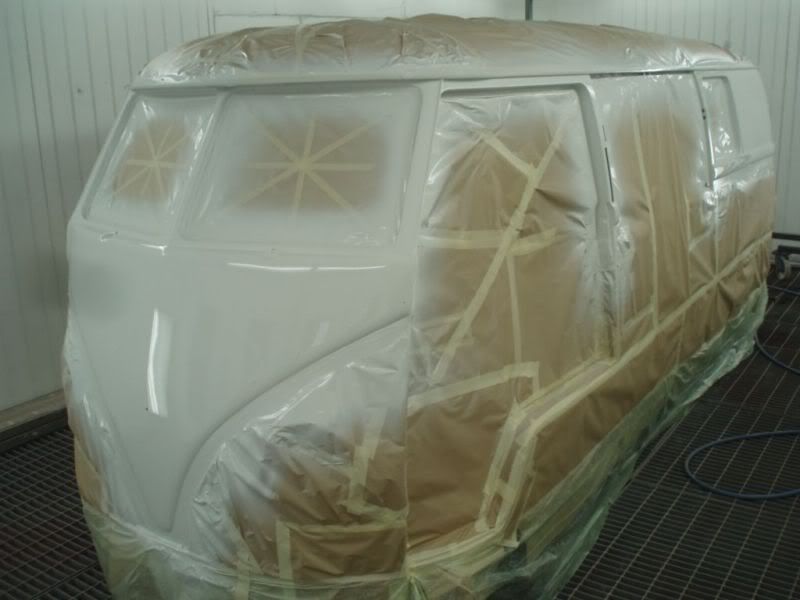
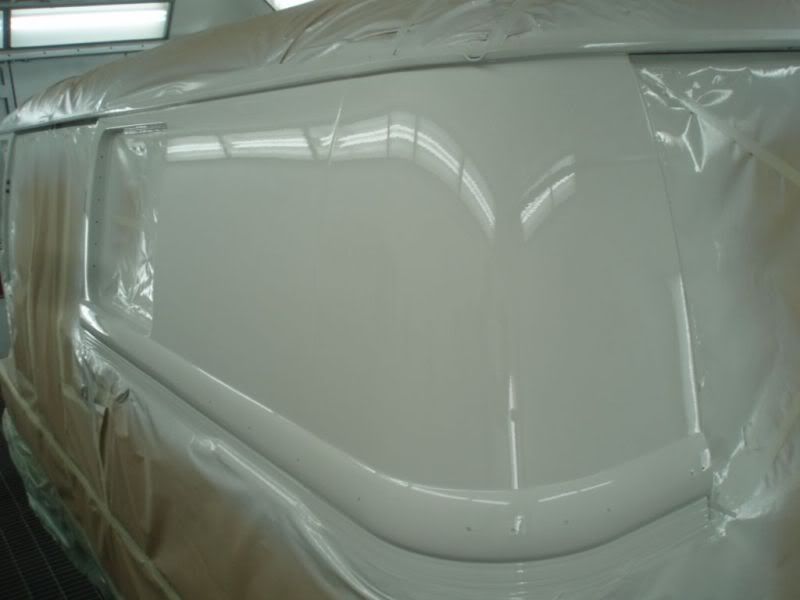
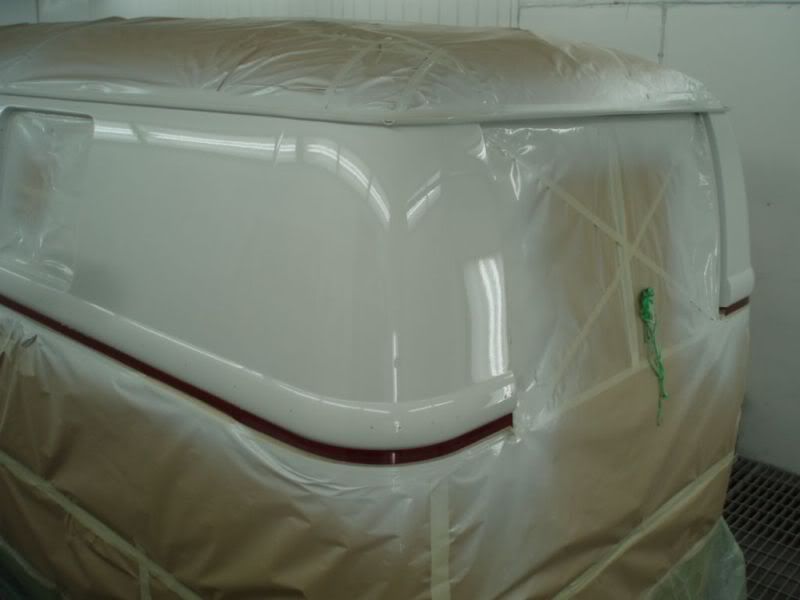
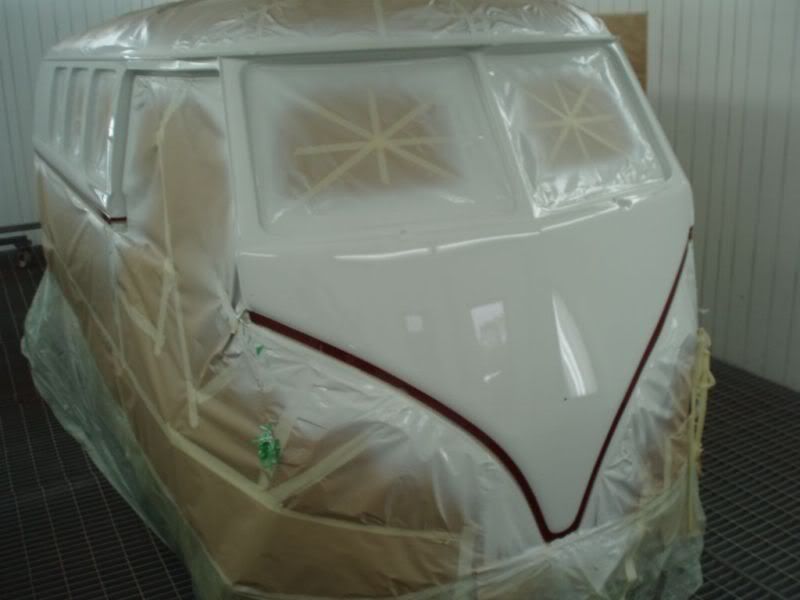
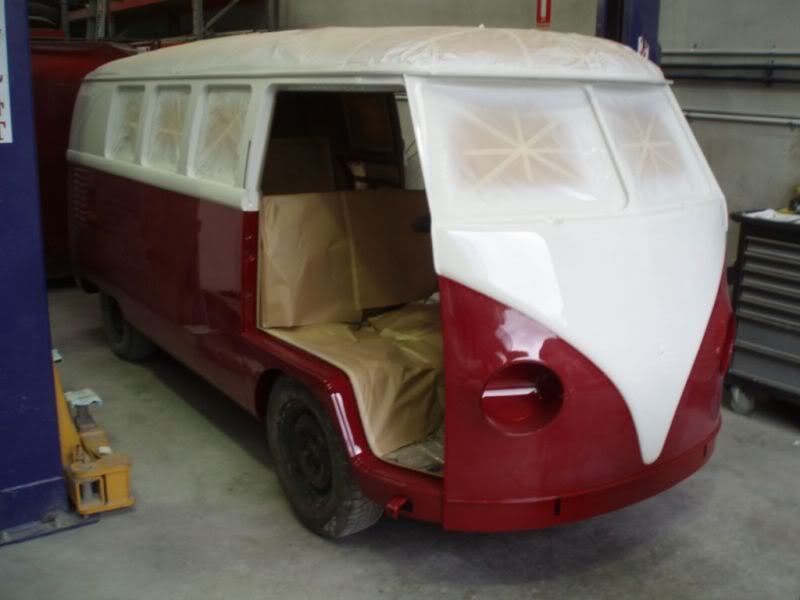
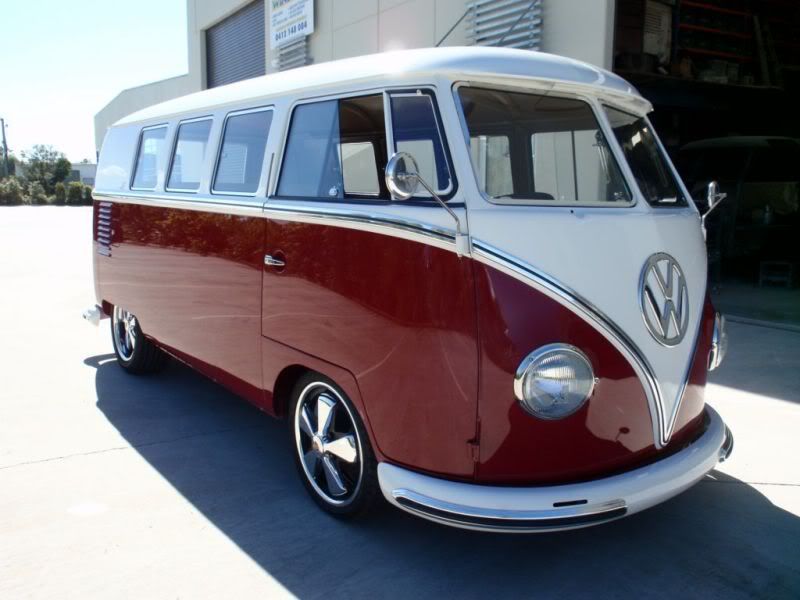
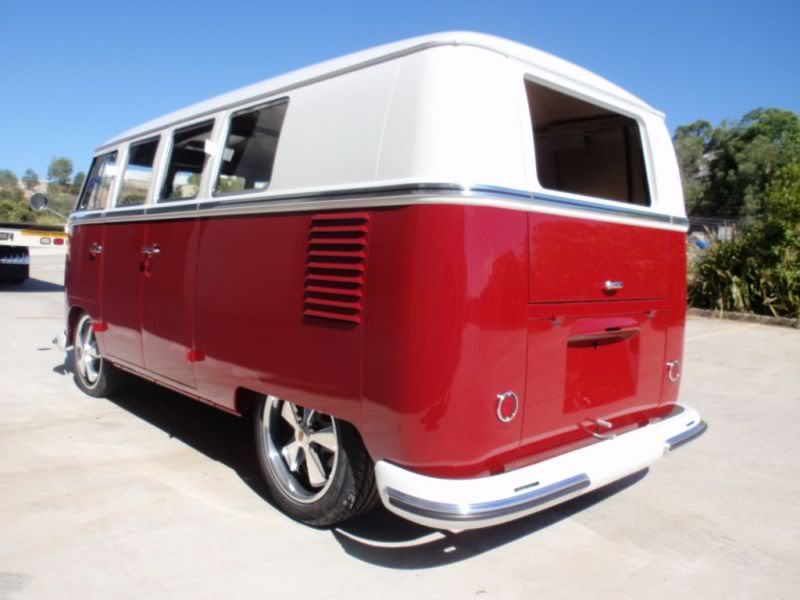
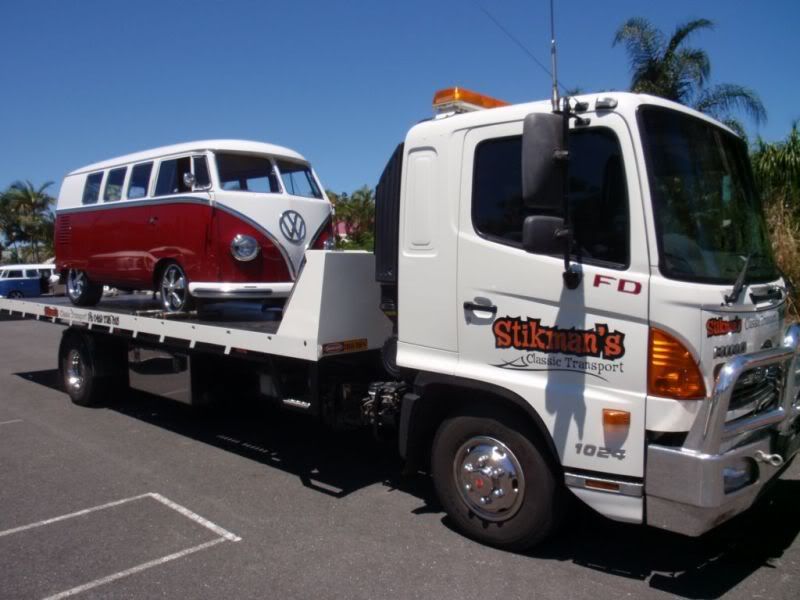
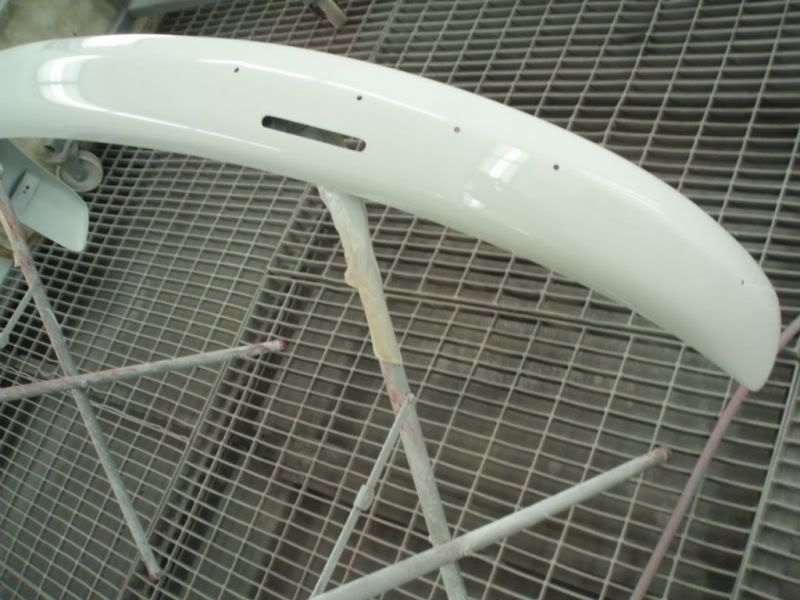
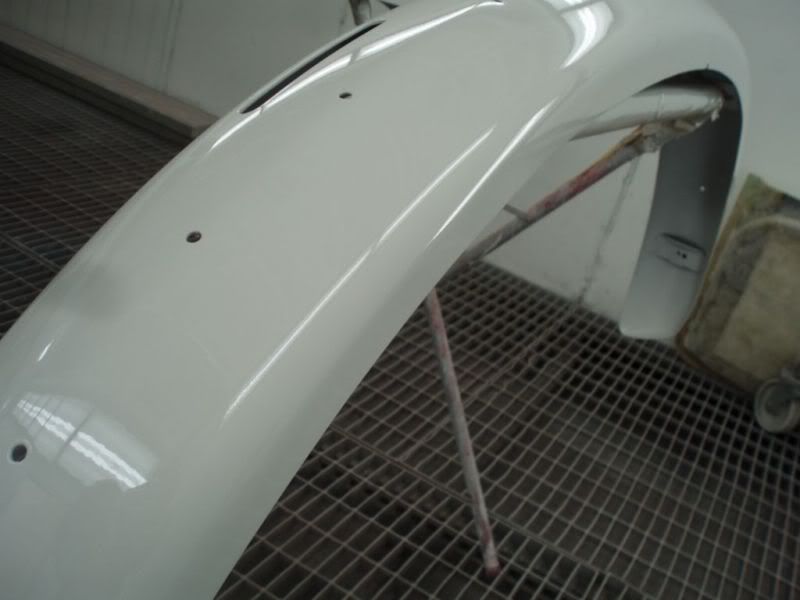
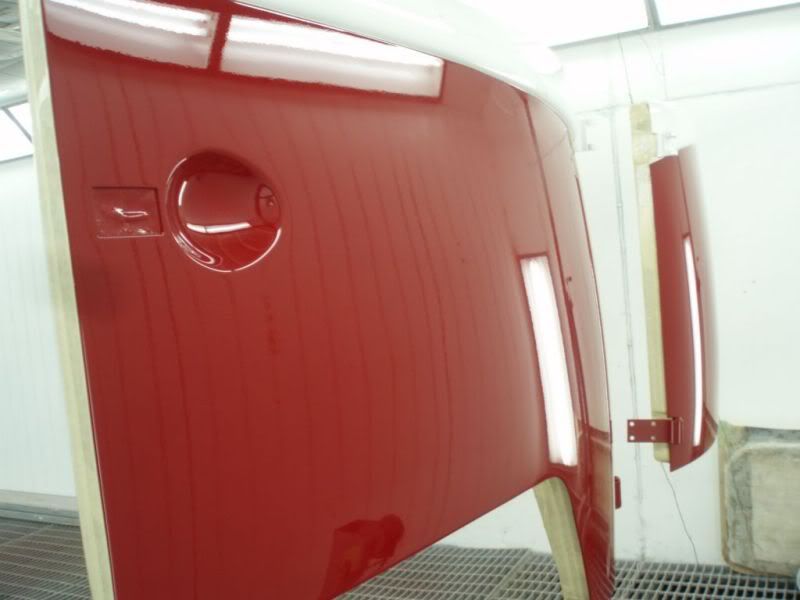
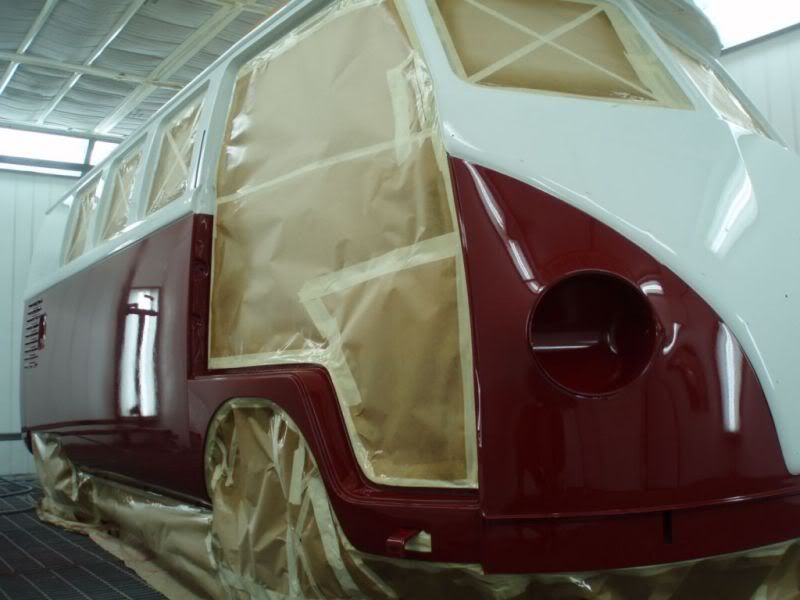
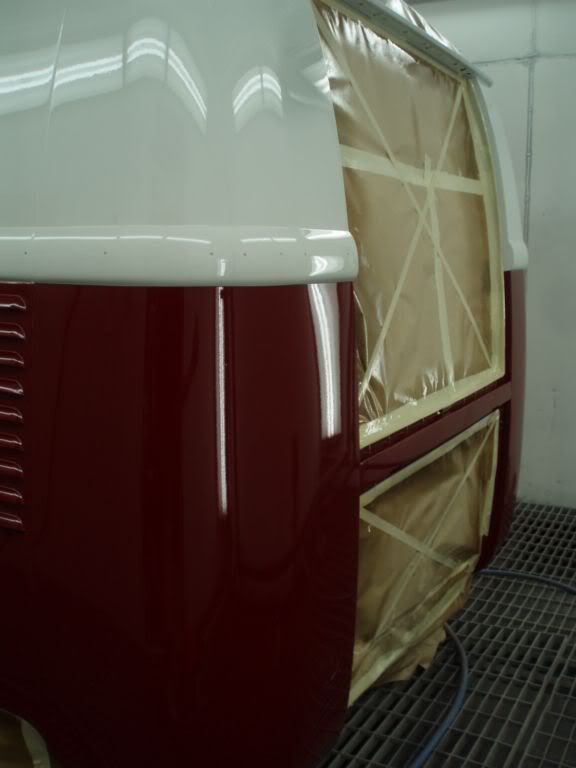
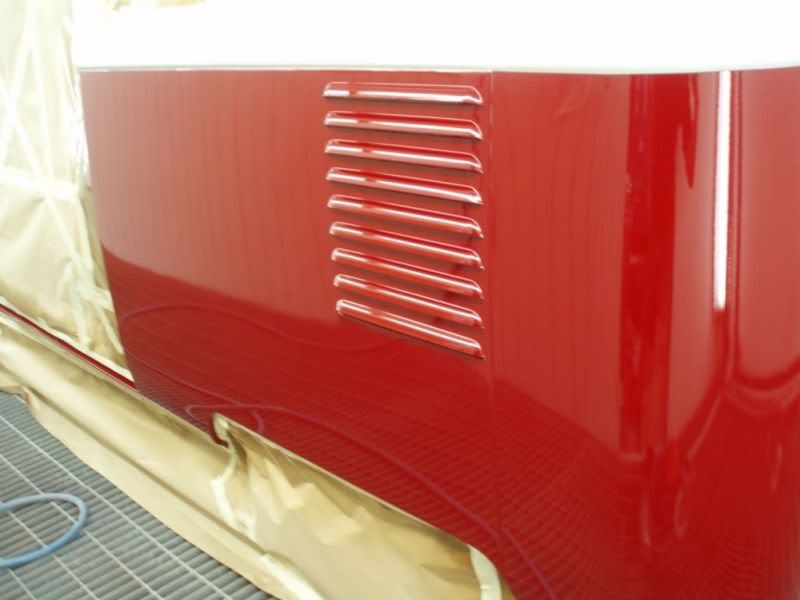
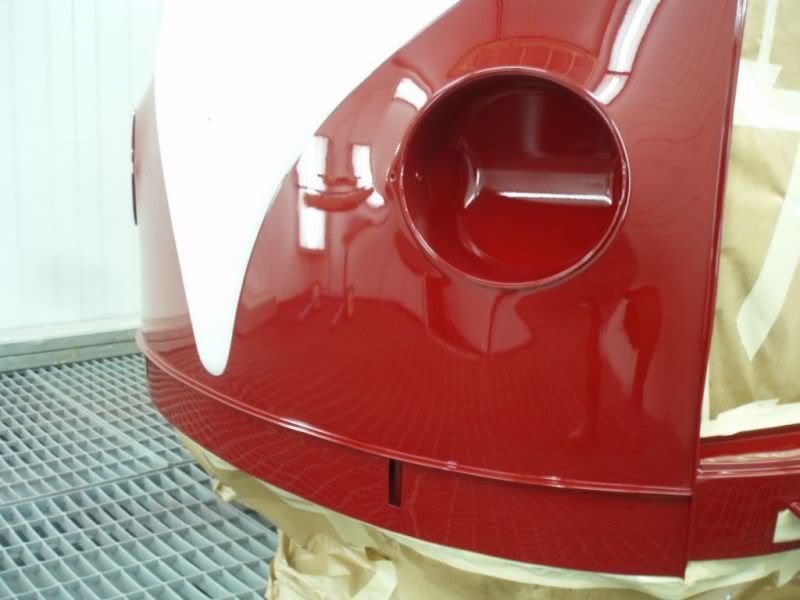
Looks awesome btw