1960 Split Window Resto/Rebuild
Moderators: warb, Rawdyn, Leroy, byronbus, Tonz Magonz, dmb
-
DRHEMS3
- DSKer
- Posts: 127
- Joined: Tue Jul 16, 2013 4:56 pm
- Location: South Coast NSW
Re: 1960 Split Window Resto/Rebuild
Great progress mate! Start on small repairs to build confidence, how are the chassis rails? They are a great place to start
-
VRSenator065

- DSKer
- Posts: 576
- Joined: Sun Jun 01, 2014 9:47 pm
- Location: Gawler SA
Re: 1960 Split Window Resto/Rebuild
The Chassis rails are pretty good except where the are doubled level with the back of the bulkhead. As I understand it that's a pretty common place for them to go? Should be relatively straight forward to cut it out and patch it I think. Agree though slow and steady wins the race, i will just chip away learning as I go.


-
splitthis

- DSKer
- Posts: 1616
- Joined: Wed Nov 28, 2007 8:47 pm
- Location: Adelaide
- Contact:
Re: 1960 Split Window Resto/Rebuild
Don't go too steady or you end up like me and drag your build out for 5 years.
That chassis section is a great place to start, it's nice thick steel on thee outside so easy to weld, the inner piece is a bit thinner and good practice for panels. If you need steel for the repair I actually have a section of chassis sitting here, I cut it up for my repair pieces but there is easily enough to do your repairs. I'm in Adelaide and if you are down this way you are more than welcome to pop in. Our busses are practically sisters, same colour and same rust haha.
That chassis section is a great place to start, it's nice thick steel on thee outside so easy to weld, the inner piece is a bit thinner and good practice for panels. If you need steel for the repair I actually have a section of chassis sitting here, I cut it up for my repair pieces but there is easily enough to do your repairs. I'm in Adelaide and if you are down this way you are more than welcome to pop in. Our busses are practically sisters, same colour and same rust haha.
-
VRSenator065
- DSKer
- Posts: 576
- Joined: Sun Jun 01, 2014 9:47 pm
- Location: Gawler SA
Re: 1960 Split Window Resto/Rebuild
Thanks vrry much for the offer mate, I might take you up on that, but for now i am just working out a list of the bits I need and making a plan of attack. Seems rust is a fairly common problem 
-
VRSenator065
- DSKer
- Posts: 576
- Joined: Sun Jun 01, 2014 9:47 pm
- Location: Gawler SA
Re: 1960 Split Window Resto/Rebuild
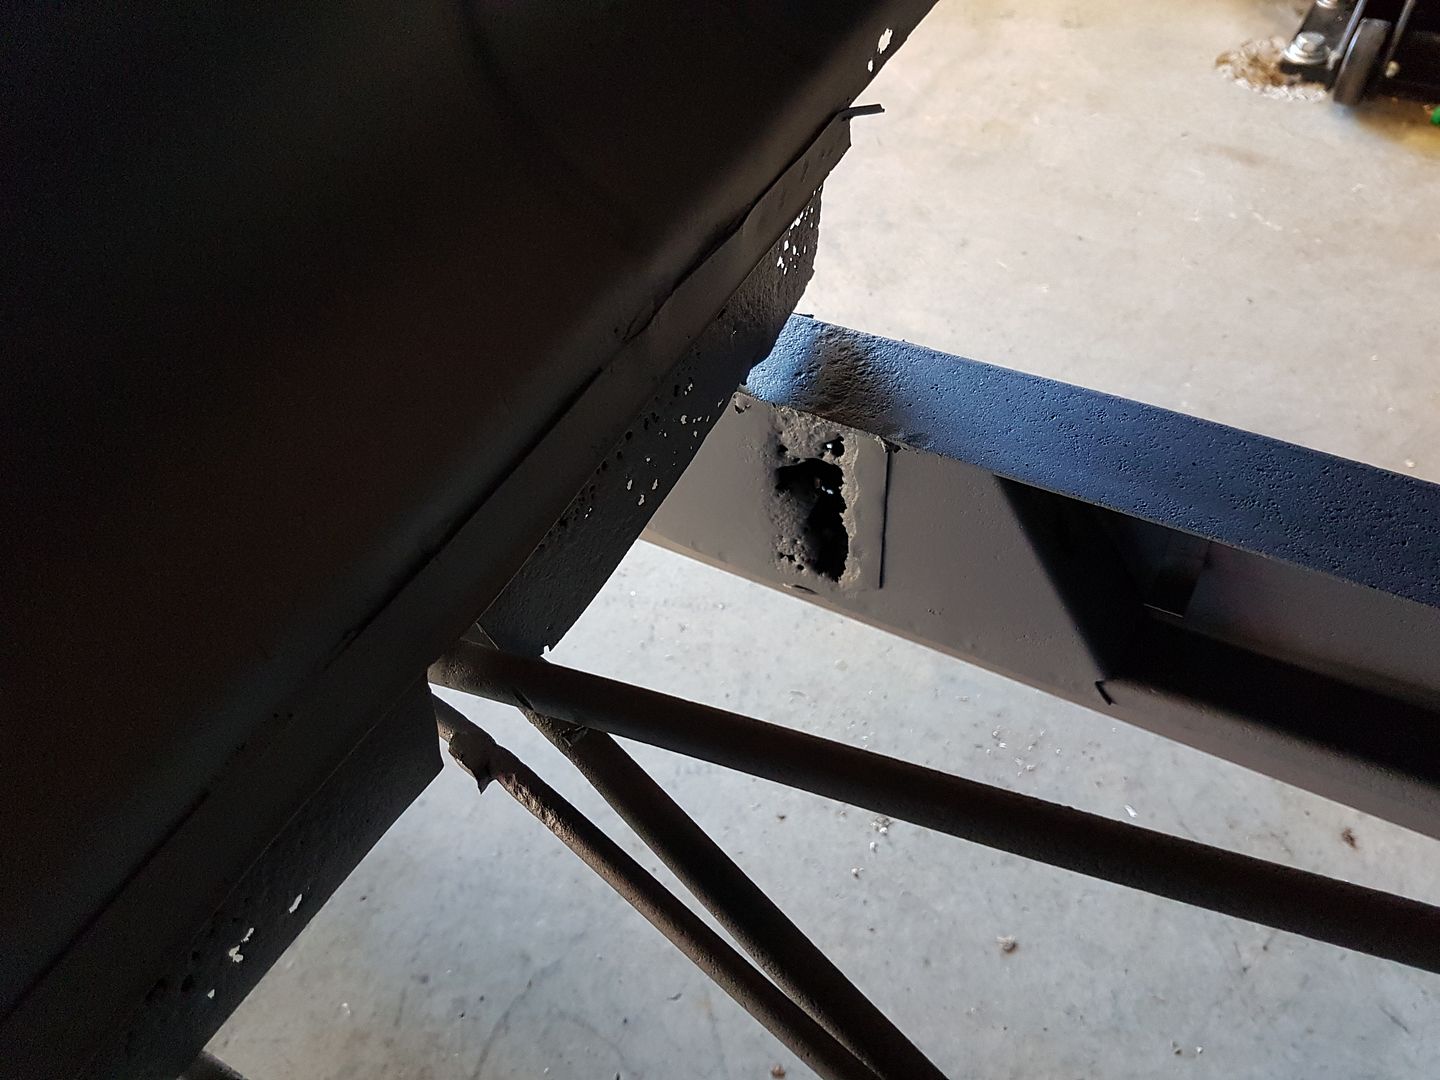
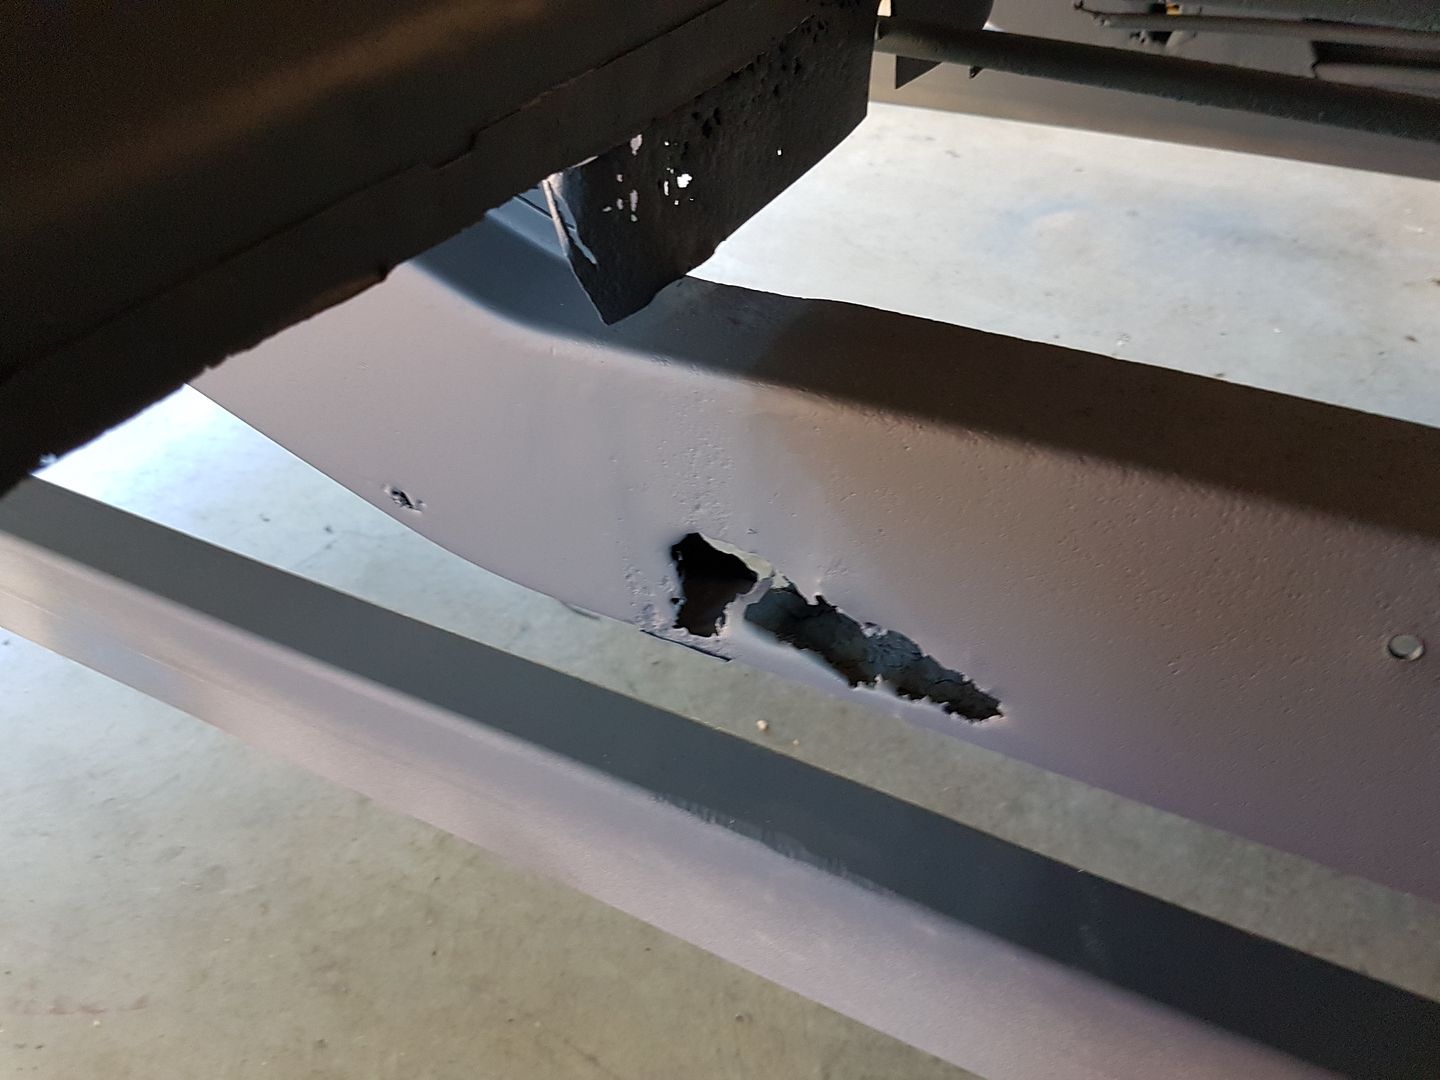
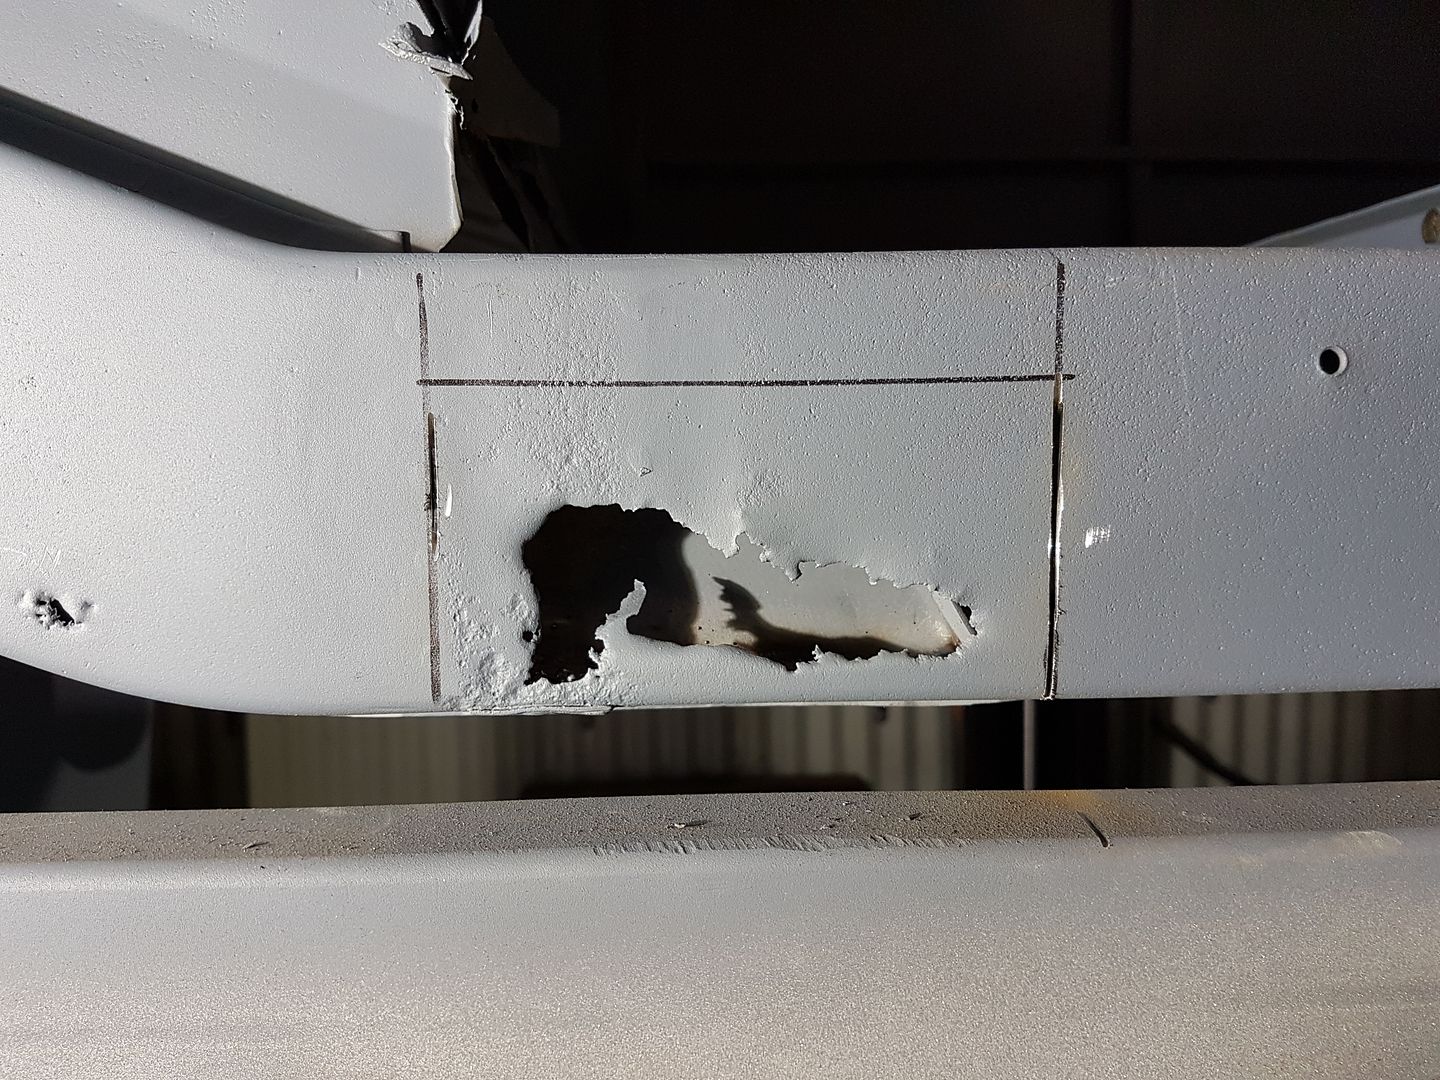
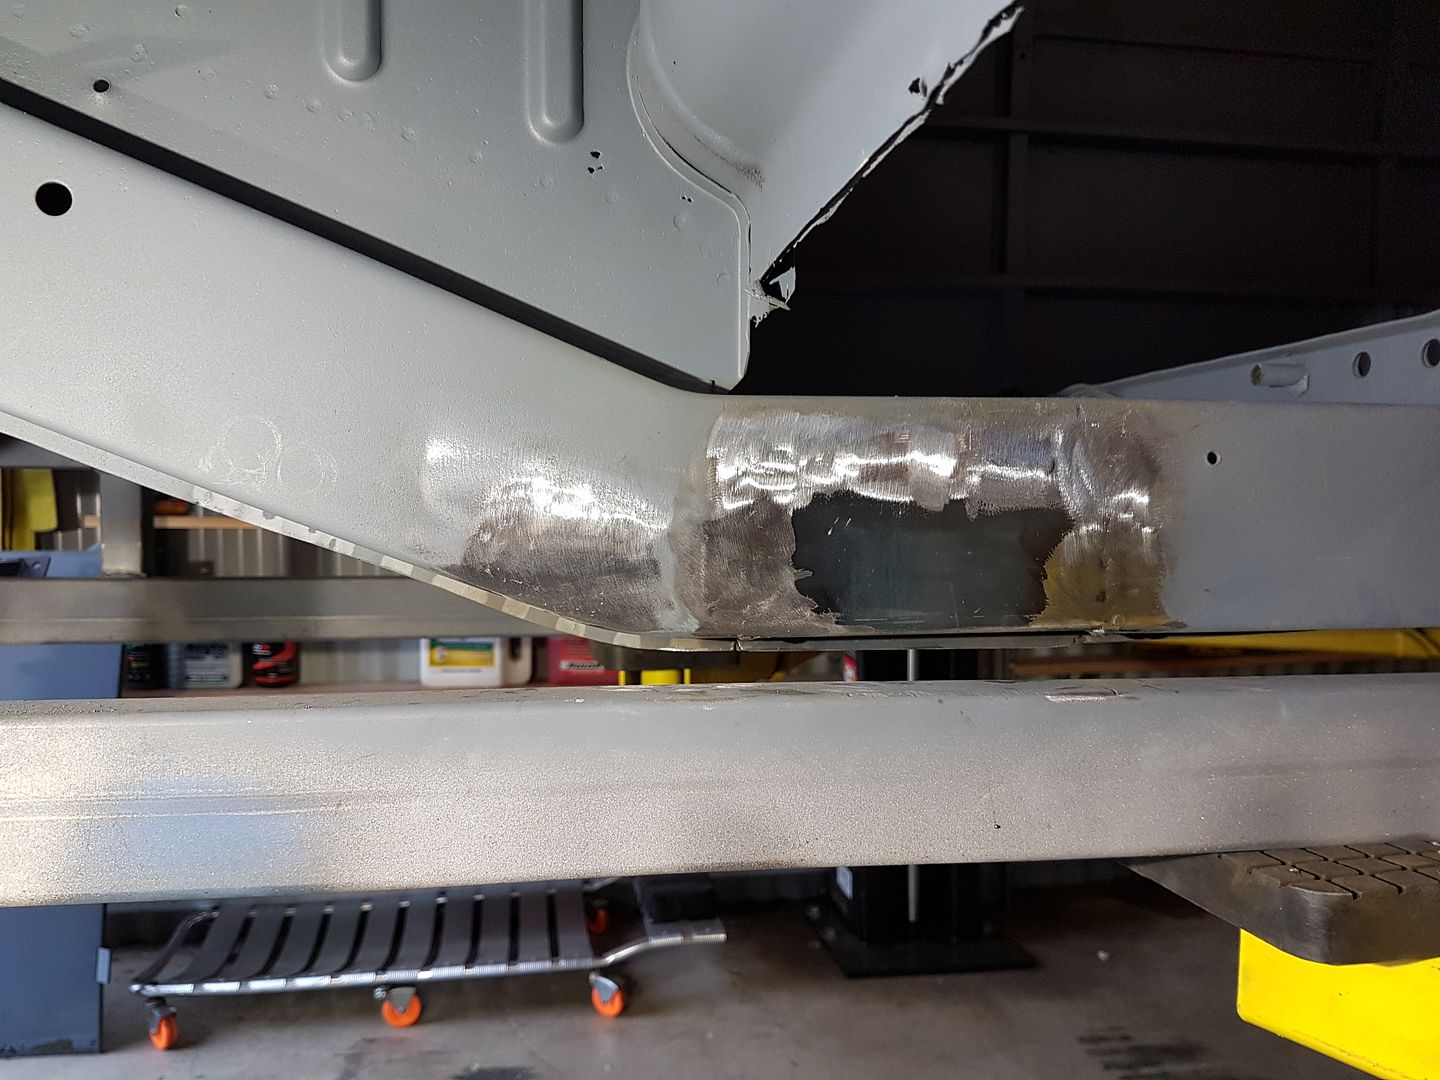
Well that's a fun but quite challenging couple of days Had a crack at starting on the chassis repair. Bit of back and forth to locate some mild steel sheet the correct thickness but got it in the end. The thinner inside boxing is 1.2, looks to me like the main chassis thickness is 2mm.
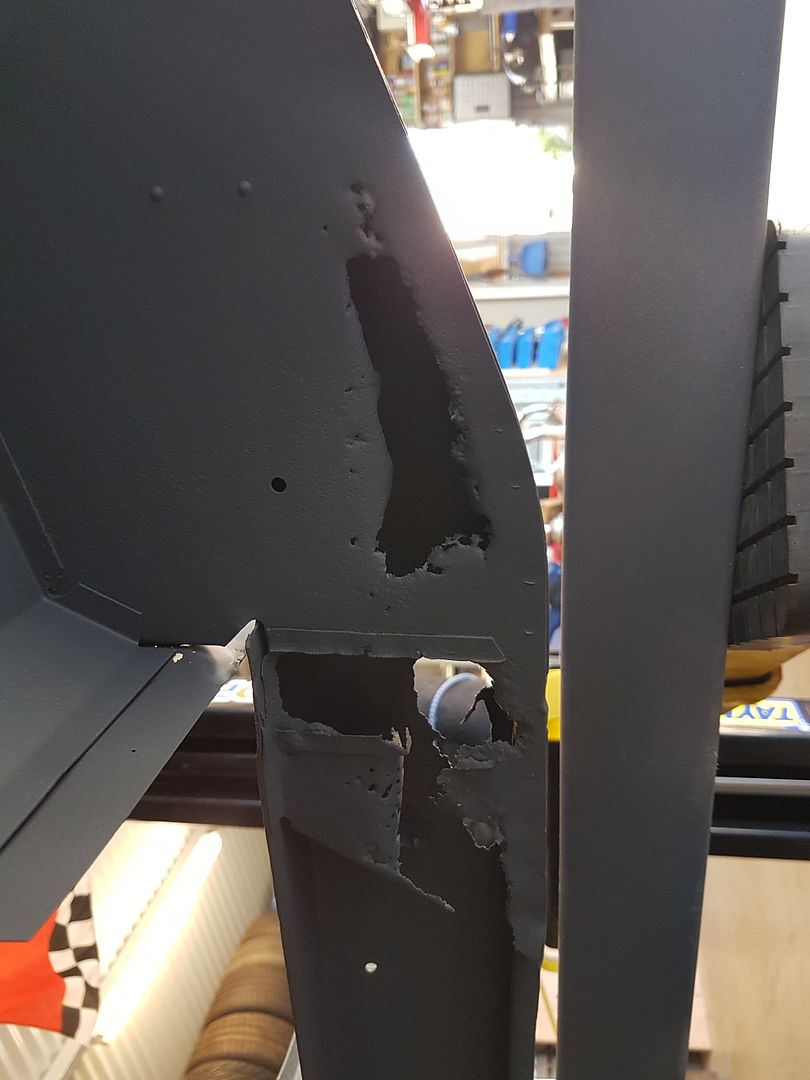
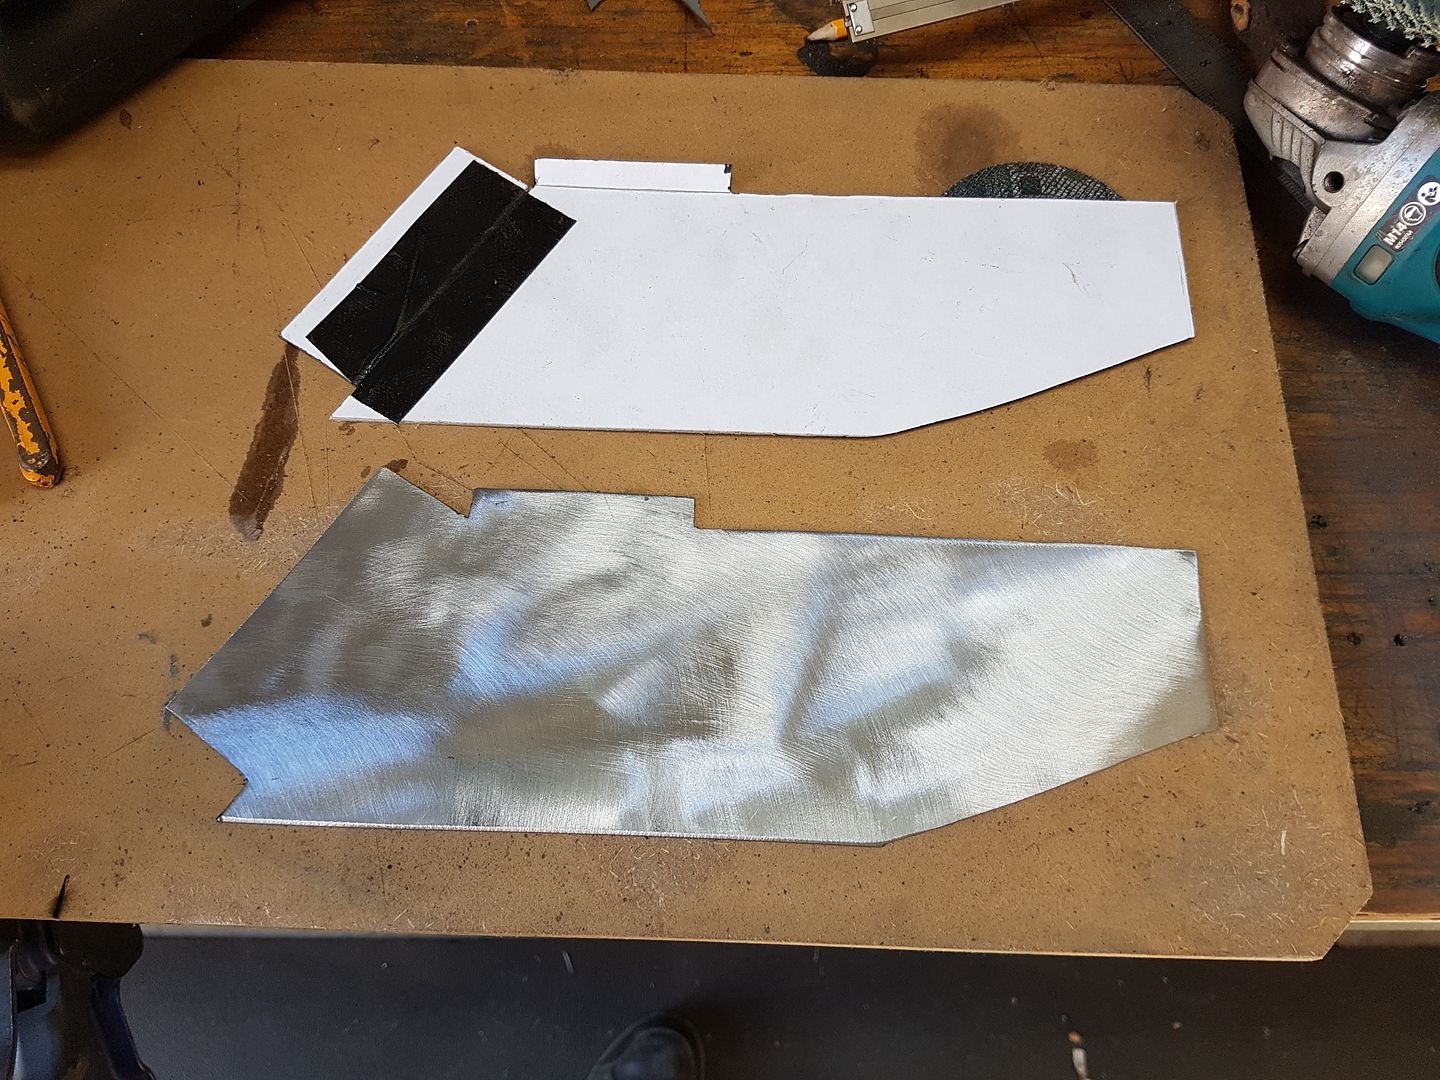
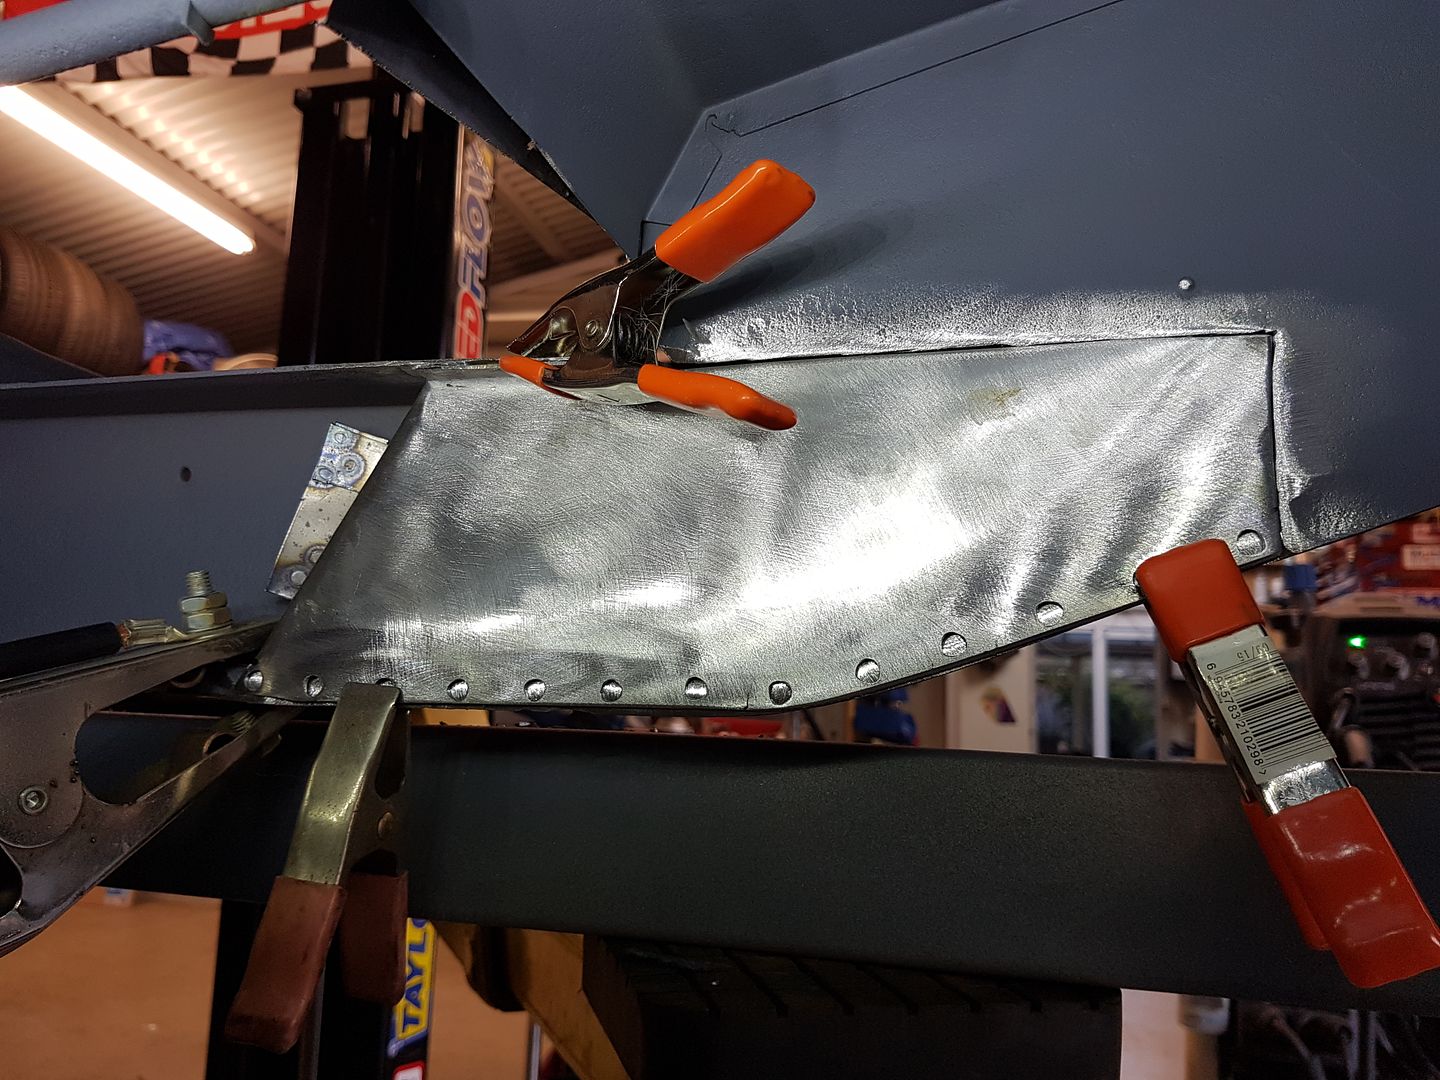
Tackled the worse one first, the passenger side inner. Learnt quite a bit along the way, made a bit of a rookie error I think in assuming how far the rust had gone and made the patch first. Should I think have cut it out first to see the extent of the tin worm then would have known how big it needed to be. So ended up having to extend the repair section by about another 30mm, when I could have done it in a single piece, but live and learn.
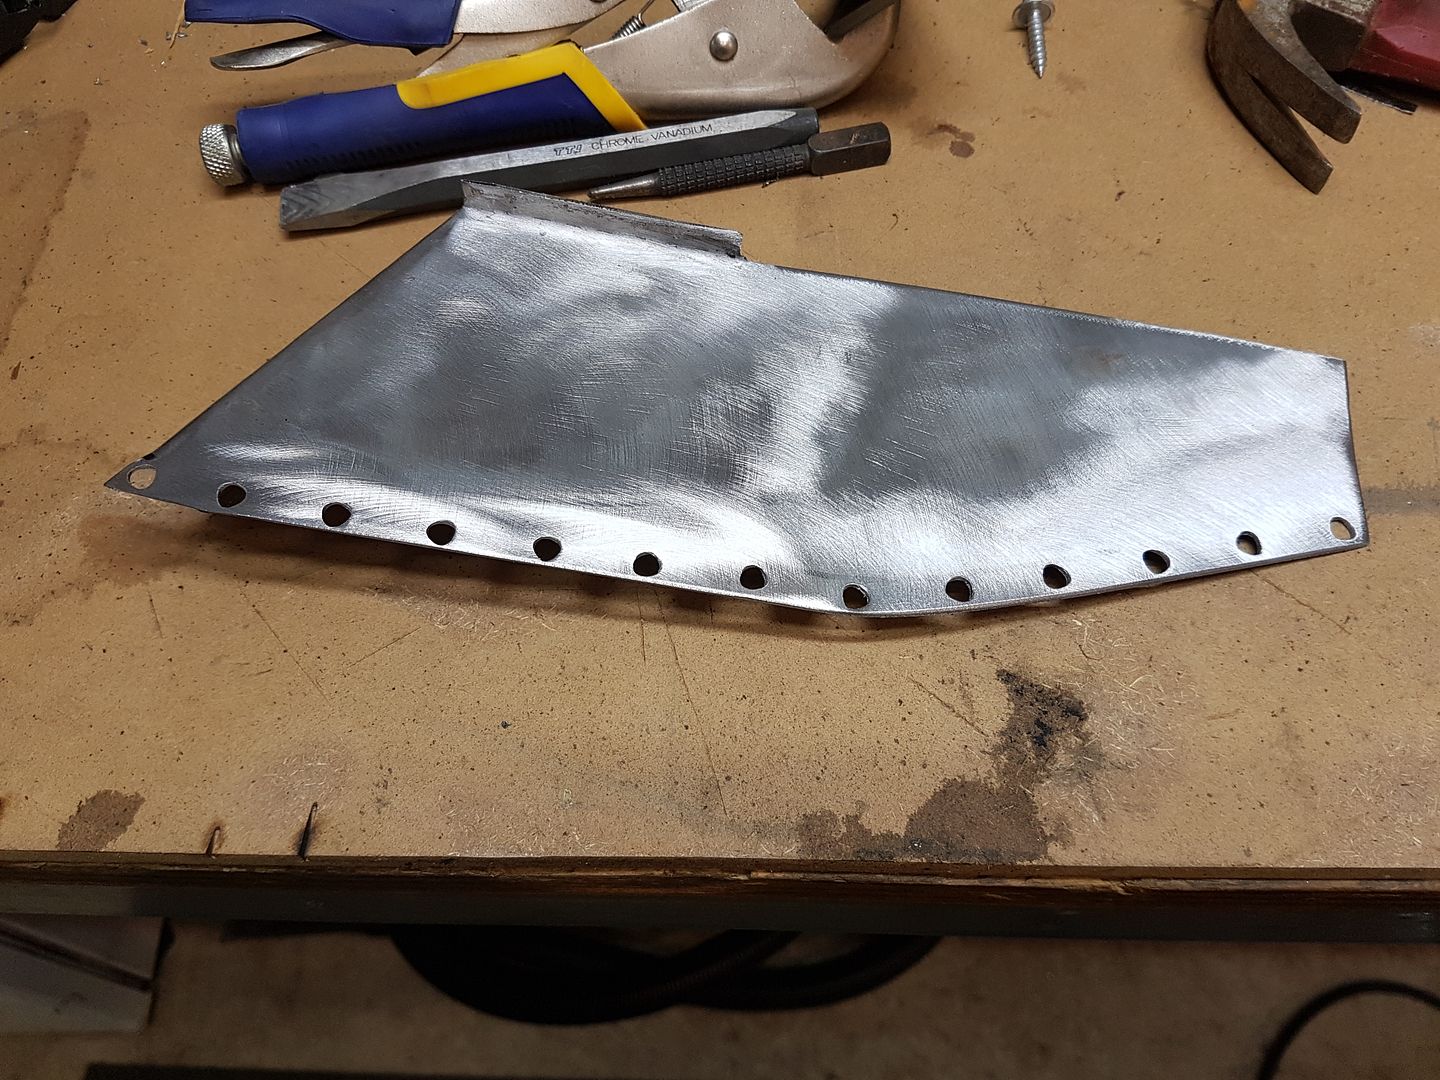
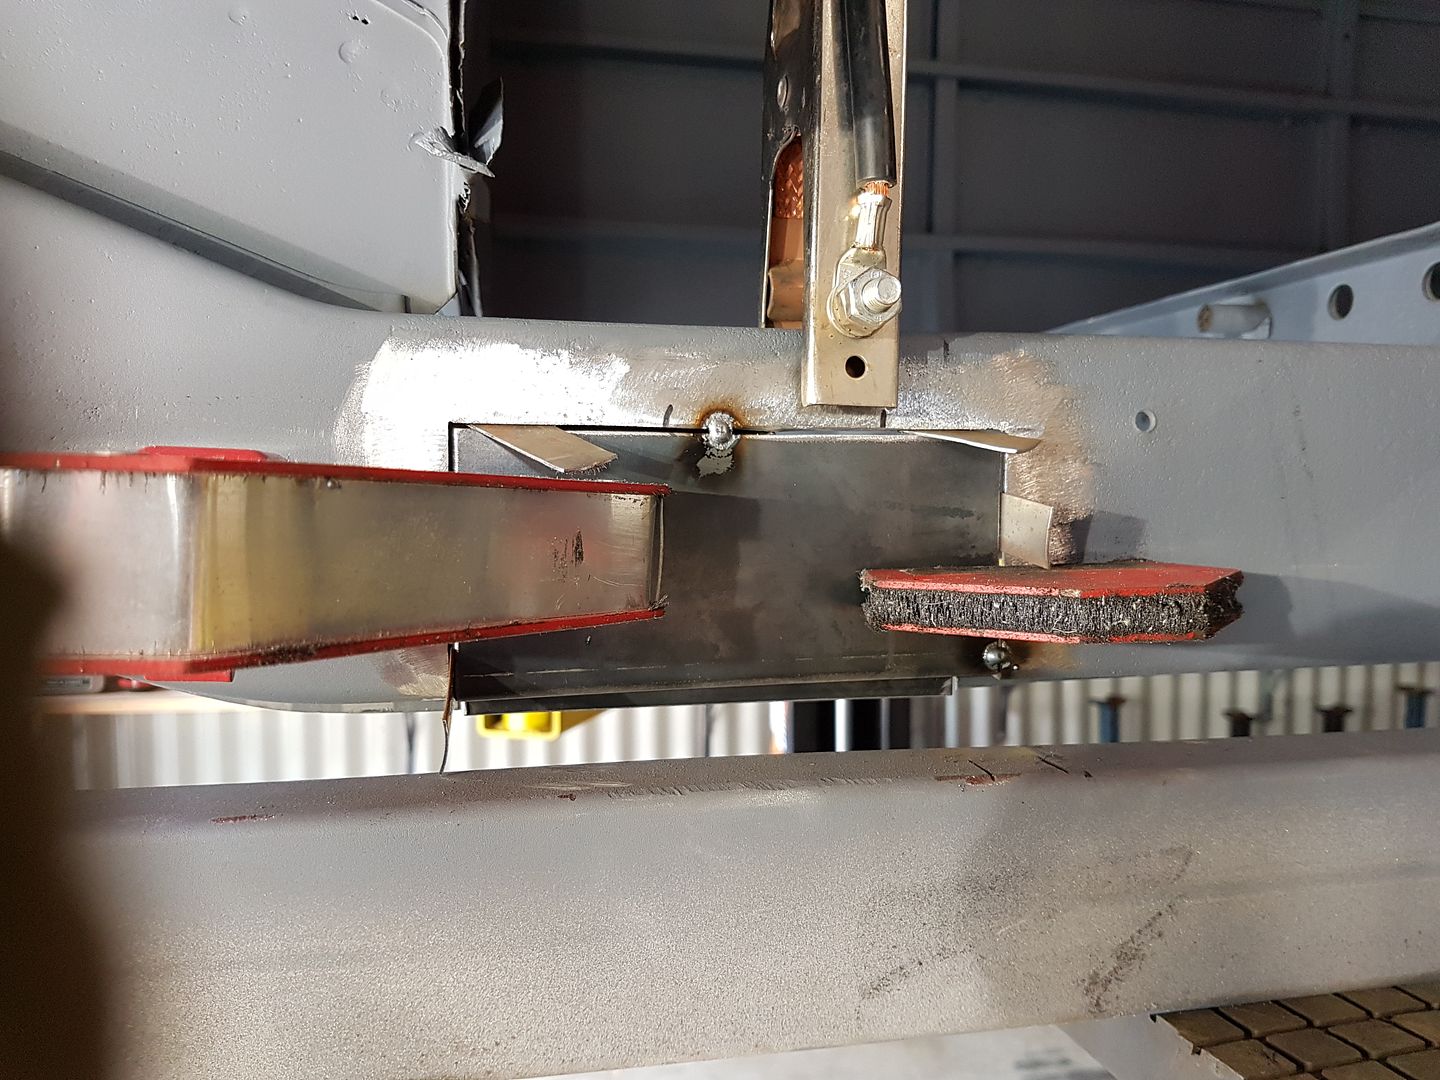
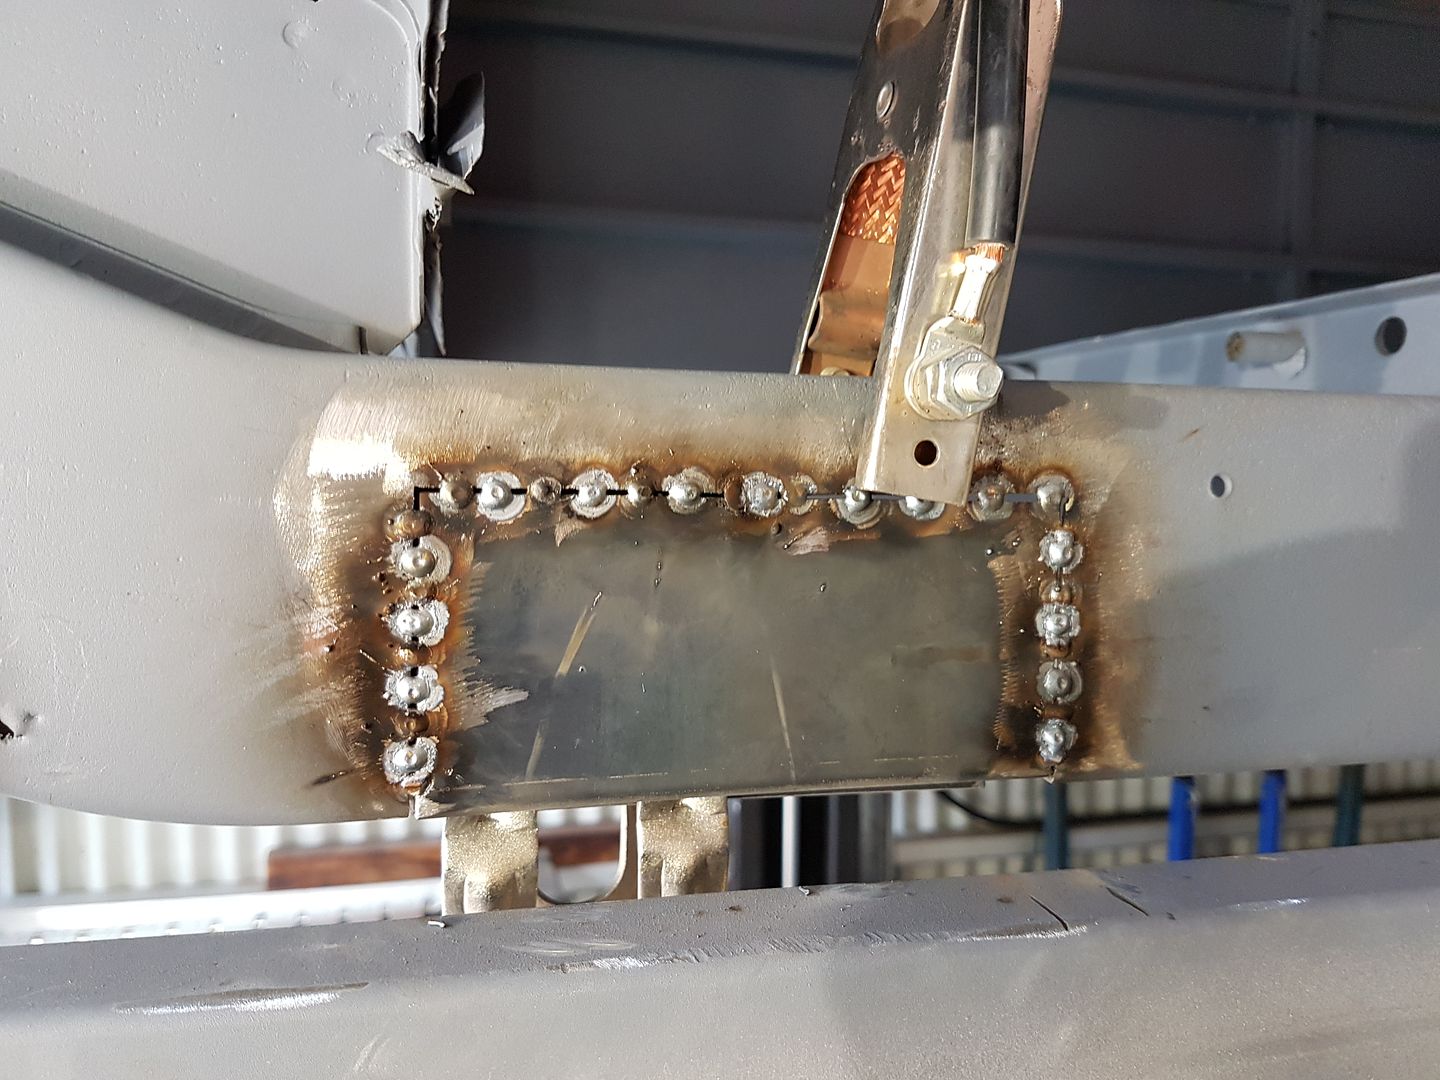
Made a cardboard template of the repair section, once I was happy I transferred that to steel. I couldn't get my spot welder into the seam as its on the dolley so i used plug welds. Yesterday was literally the first day i have ever tackled anything like this, one thing I am sure of is I didn't have the mig settings right. Today i took my time and also made up some test pieces and played around with the mig settings, the difference was like night and day. Looked and sounded so much better.
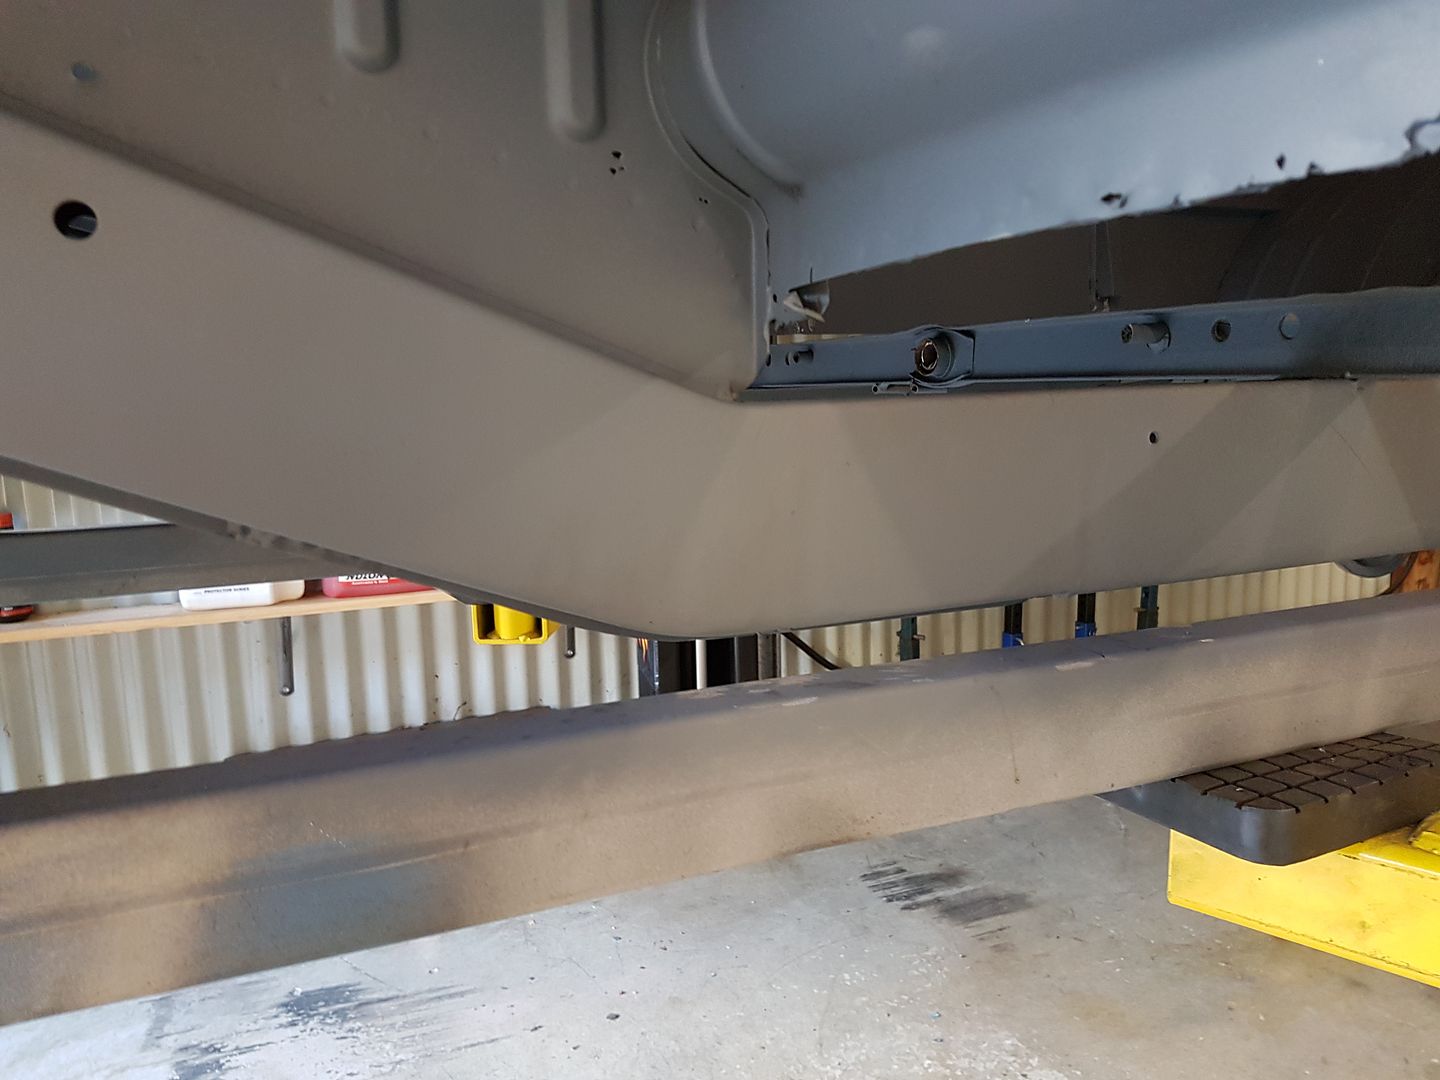
The drivers side wasn't in anywhere near as bad condition, and that one came up really good (for me anyway) So now next job will be to do the outer main chassis rail sections. I wanted to do the inners first so there was strength there when I cut out the main chassis in case the car folded in half.
I think that's the first time in 56 years years its ever had anything nice done to it. Feeling happy I have made a start anyway. I am a rank novice but already like the learning process. Few pics for posterity.


Tackled the worse one first, the passenger side inner. Learnt quite a bit along the way, made a bit of a rookie error I think in assuming how far the rust had gone and made the patch first. Should I think have cut it out first to see the extent of the tin worm then would have known how big it needed to be. So ended up having to extend the repair section by about another 30mm, when I could have done it in a single piece, but live and learn.
Made a cardboard template of the repair section, once I was happy I transferred that to steel. I couldn't get my spot welder into the seam as its on the dolley so i used plug welds. Yesterday was literally the first day i have ever tackled anything like this, one thing I am sure of is I didn't have the mig settings right. Today i took my time and also made up some test pieces and played around with the mig settings, the difference was like night and day. Looked and sounded so much better.
The drivers side wasn't in anywhere near as bad condition, and that one came up really good (for me anyway) So now next job will be to do the outer main chassis rail sections. I wanted to do the inners first so there was strength there when I cut out the main chassis in case the car folded in half.
I think that's the first time in 56 years years its ever had anything nice done to it. Feeling happy I have made a start anyway. I am a rank novice but already like the learning process. Few pics for posterity.


-
MID WEST DUBBER
- DSKer
- Posts: 1336
- Joined: Fri Jan 06, 2012 4:49 pm
- Location: Near Horsham, VIC
Re: 1960 Split Window Resto/Rebuild
Great work 
-
VRSenator065
- DSKer
- Posts: 576
- Joined: Sun Jun 01, 2014 9:47 pm
- Location: Gawler SA
Re: 1960 Split Window Resto/Rebuild
Cheers mate, great to be making a start.MID WEST DUBBER wrote:Great work
-
Wassa

- DSKer
- Posts: 332
- Joined: Mon Dec 09, 2013 9:40 pm
- Location: BRISBANE
Re: 1960 Split Window Resto/Rebuild
That's it , great spot to start... one spot at a time, enjoy the challenge
-
splitthis
- DSKer
- Posts: 1616
- Joined: Wed Nov 28, 2007 8:47 pm
- Location: Adelaide
- Contact:
-
VRSenator065
- DSKer
- Posts: 576
- Joined: Sun Jun 01, 2014 9:47 pm
- Location: Gawler SA
Re: 1960 Split Window Resto/Rebuild
Thanks all. So a question, i have got hold of some 2.6mm sheet to do the main chassis repair, but it measures more like 2mm on yhe car. It's hard to measure though, as its of course been sand blasted etc so i am not exactly sure what it would have started at in 1960. Do you think I should buy some 2mm, or use the 2.6. I am just not sure how anal i should be?
-
VRSenator065
- DSKer
- Posts: 576
- Joined: Sun Jun 01, 2014 9:47 pm
- Location: Gawler SA
Re: 1960 Split Window Resto/Rebuild
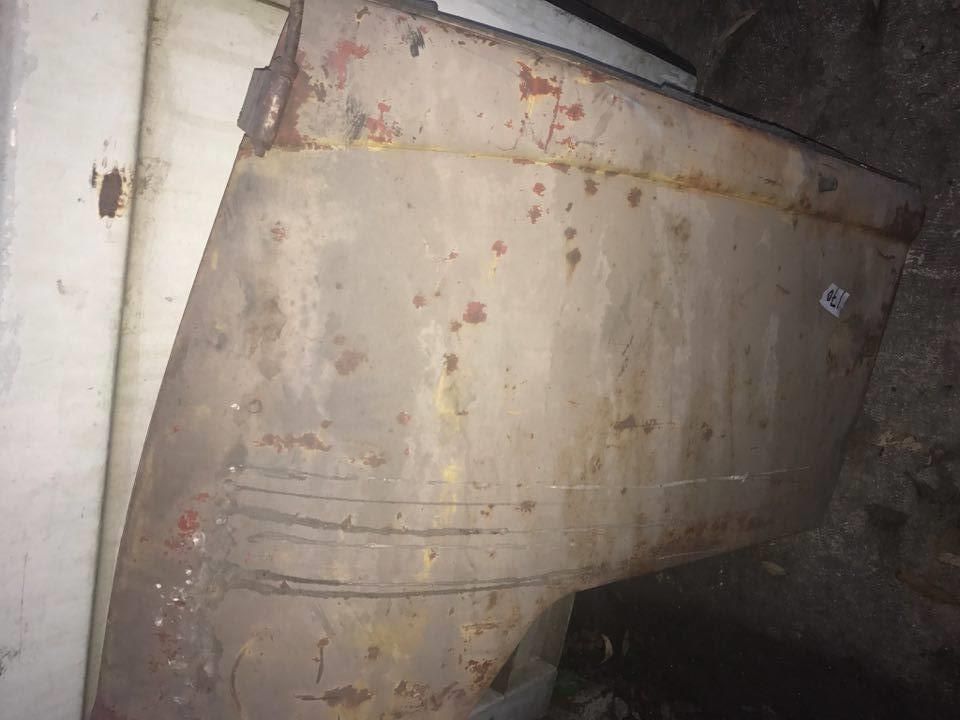
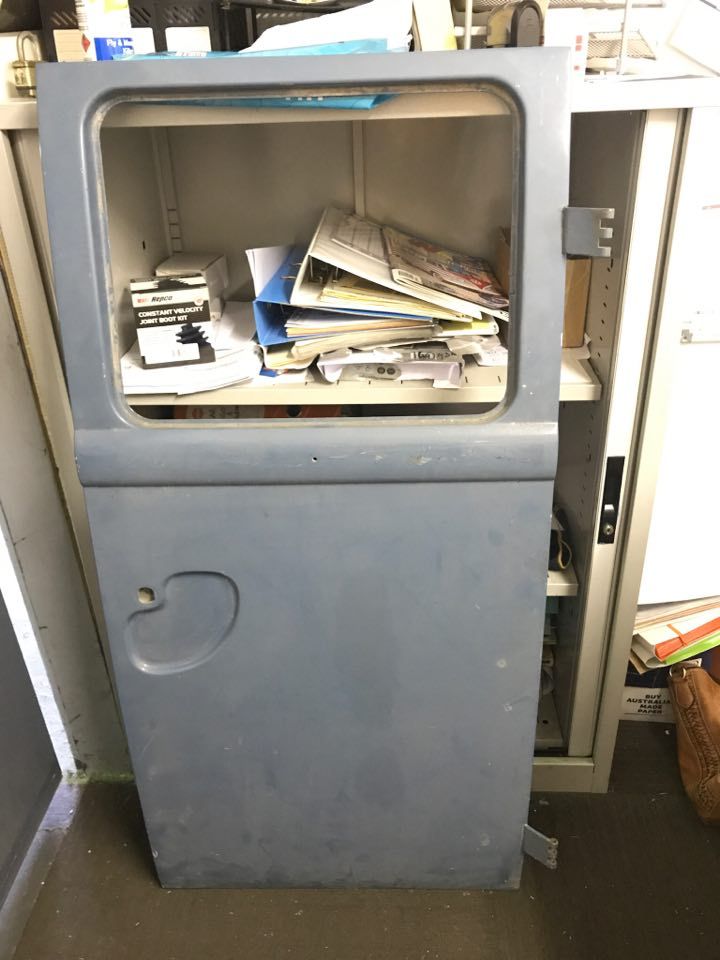
Super happy to have scored a pair of the correct year cargo doors, also a better front passenger door, again the right year. They are on their way over soon, will post some more pics when they arrive. Great to be close to having the bits i need to work with.
Also saw a for sale come up and really love the steering wheel that's on it, might have to keep that in mind later down the track. I believe its a Flat 4 Banjo.
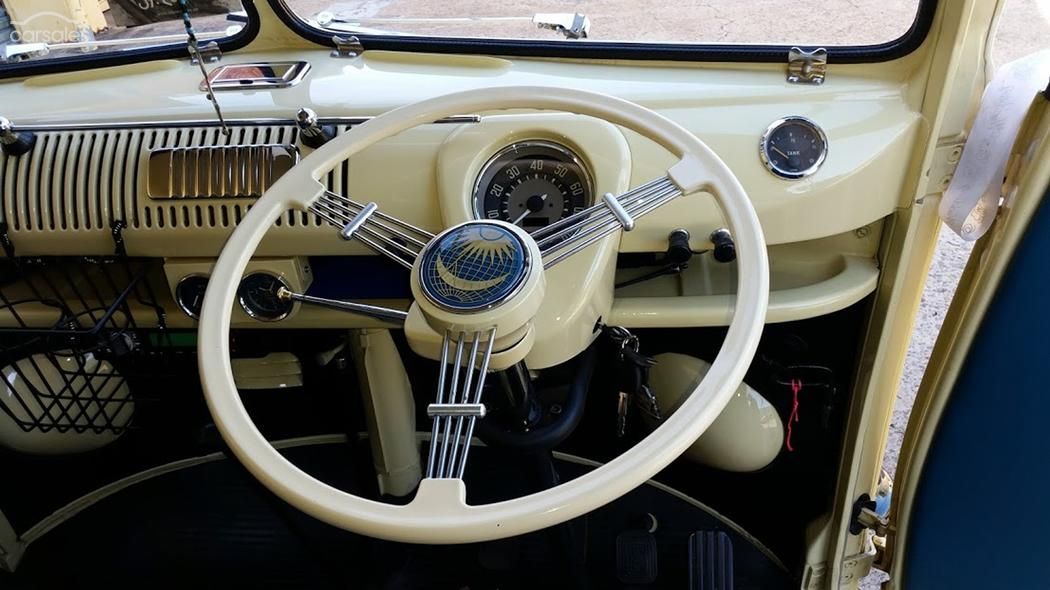


Also saw a for sale come up and really love the steering wheel that's on it, might have to keep that in mind later down the track. I believe its a Flat 4 Banjo.

-
splitthis
- DSKer
- Posts: 1616
- Joined: Wed Nov 28, 2007 8:47 pm
- Location: Adelaide
- Contact:
Re: 1960 Split Window Resto/Rebuild
Keep in mind those wheels need a boss so the wheel sits higher. I really wanted a black one but wasn't keen in a higher wheel.
-
VRSenator065
- DSKer
- Posts: 576
- Joined: Sun Jun 01, 2014 9:47 pm
- Location: Gawler SA
Re: 1960 Split Window Resto/Rebuild
Thanks for that, i guess its going to be a while before I am fitting steering wheels 
-
VRSenator065
- DSKer
- Posts: 576
- Joined: Sun Jun 01, 2014 9:47 pm
- Location: Gawler SA
Re: 1960 Split Window Resto/Rebuild
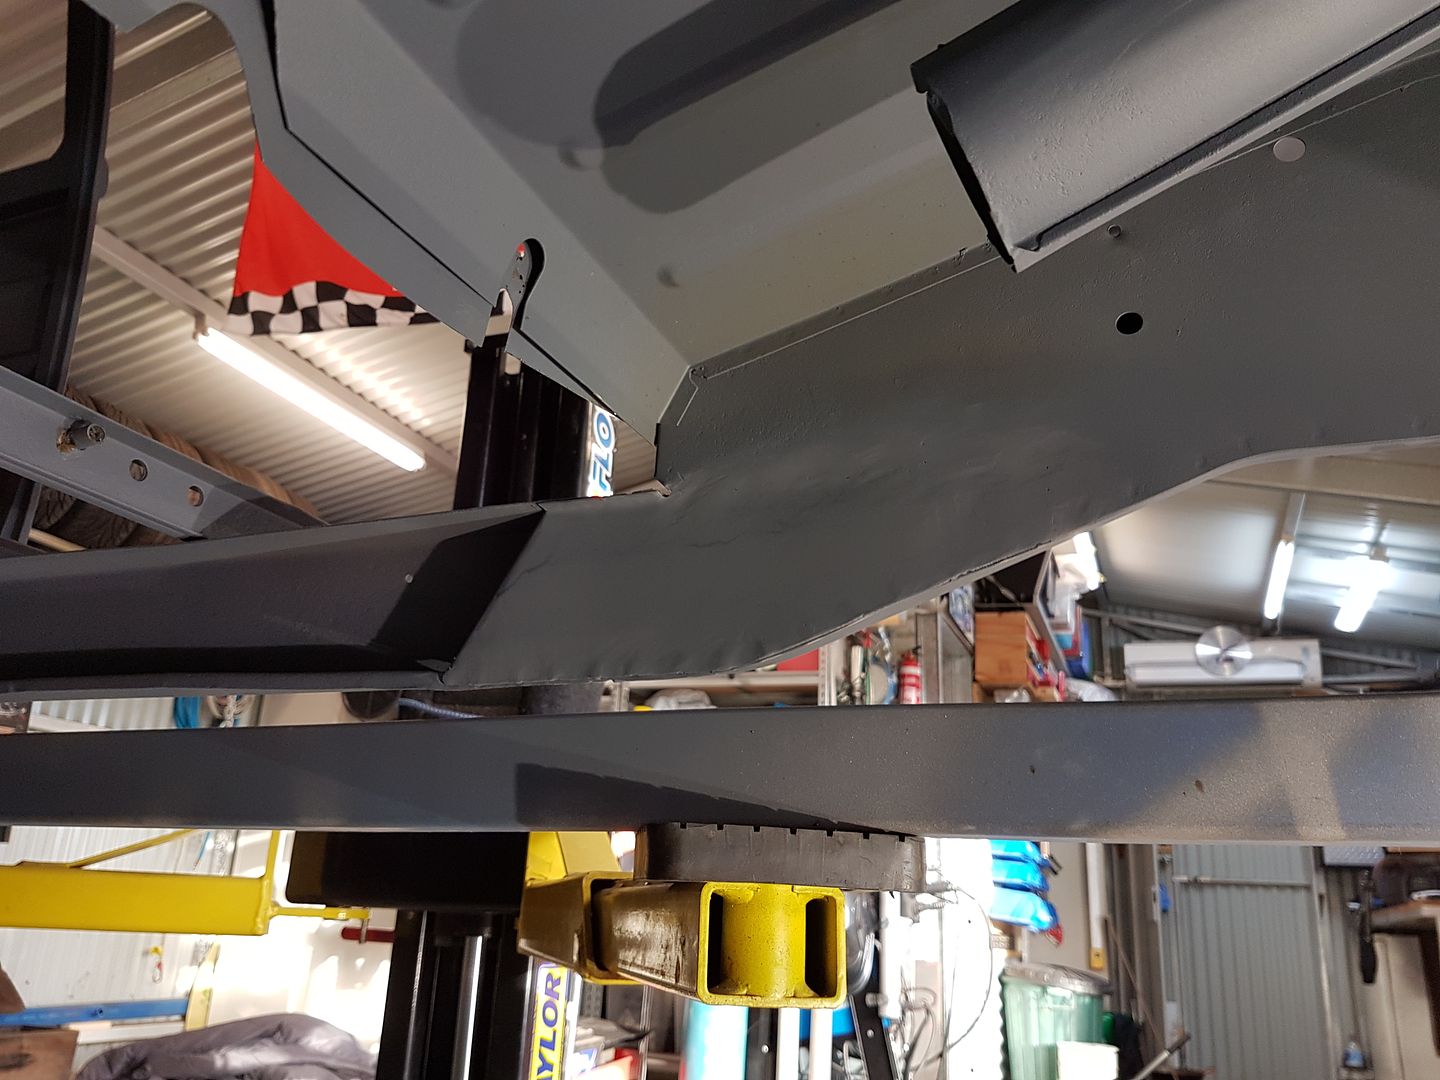
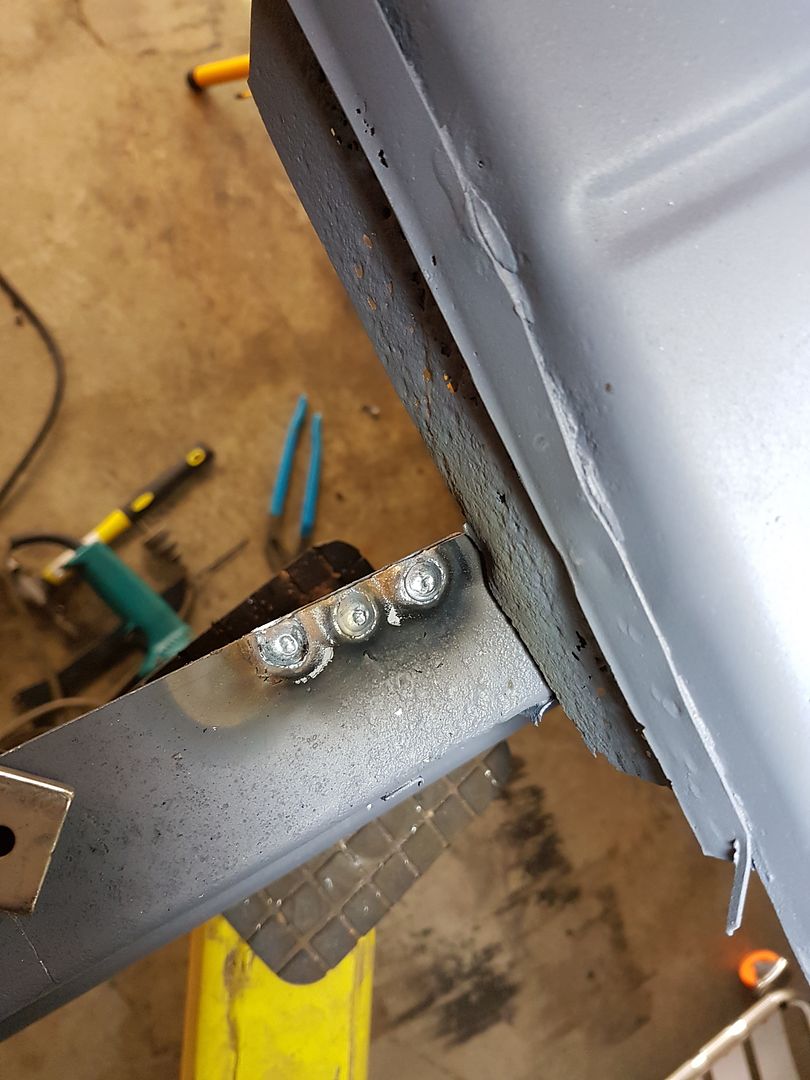
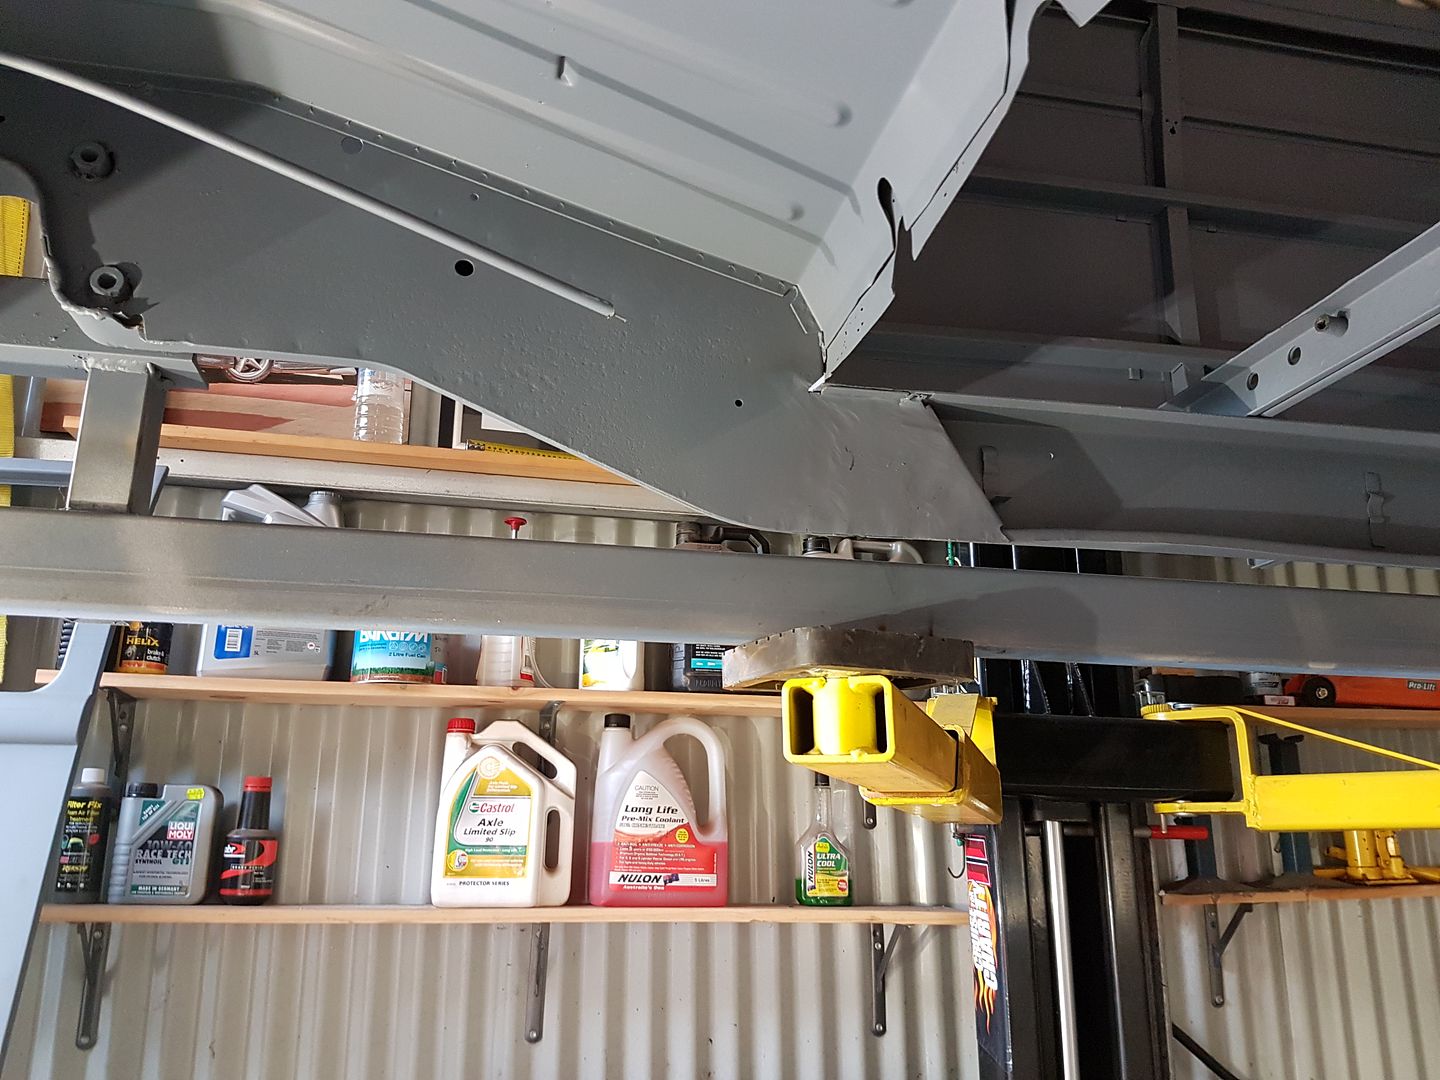
Took a day off work today and had a good shed day, thought I might post up but hope to get more done tomorrow. Tackled the outside of the worst chassis on the passenger side. Got some nice 2mm sheet, also took some tips a very helpful member sent me in regards leaving a small gap for better penetration, also using the air gun to cool each weld to minimize distortion. Really happy with how it turned out for a rank amateur. Gotta say i feel like I am starting to get a feel for the basics, slow and steady wins the race, and it seems most of it is in the prep.
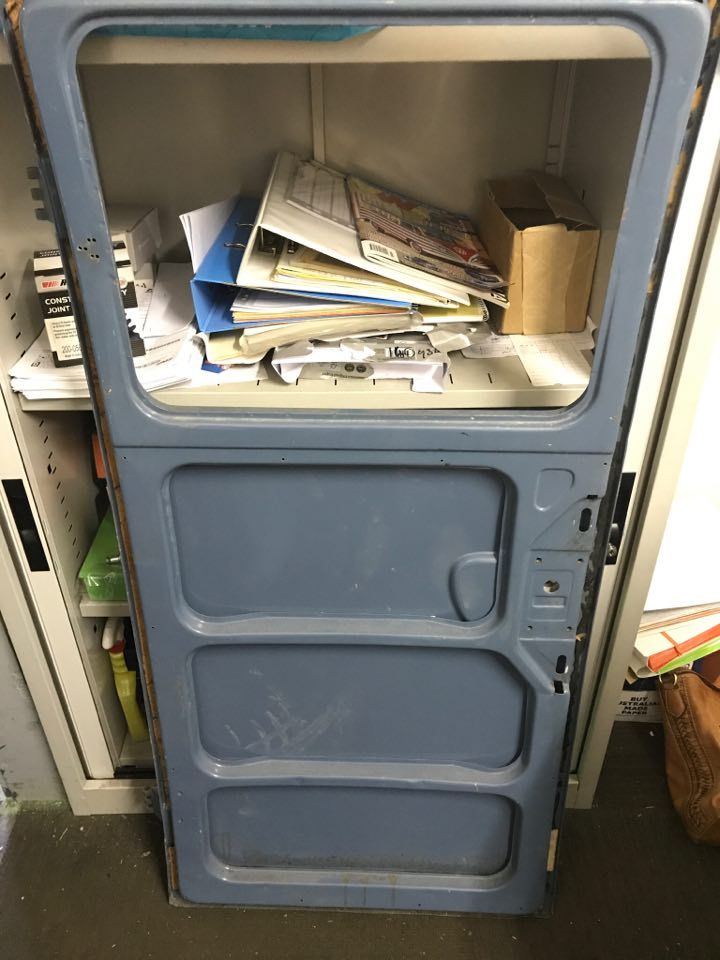
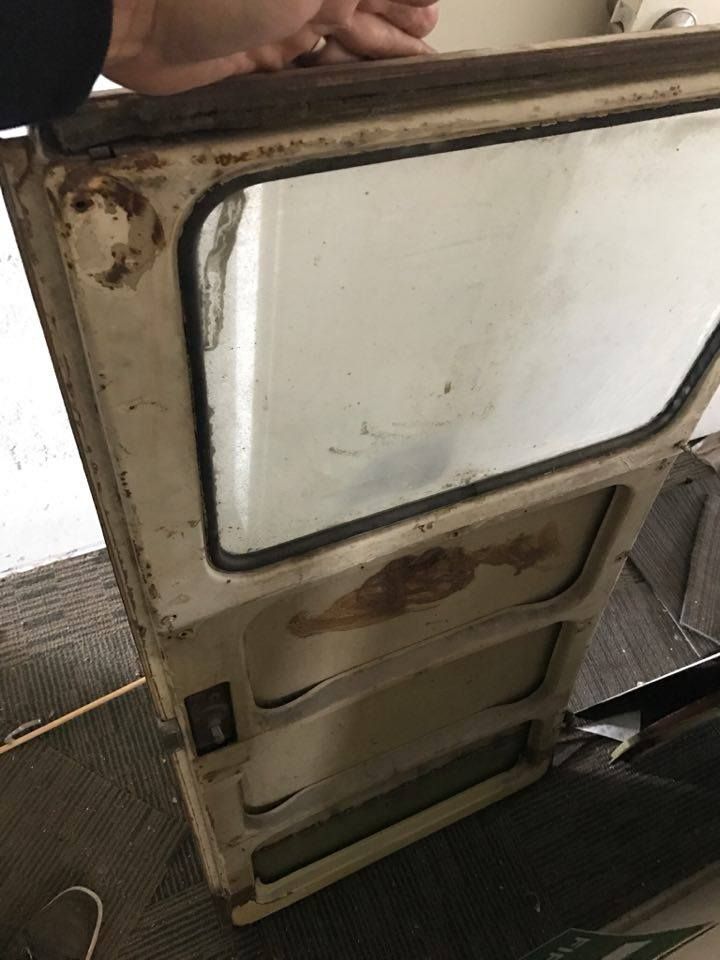
Also very exciting that the doors arrived, they look in really great condition. The blue cargo is awesome, and the other cargo has already had the bottom repair started. The passenger side front door is pretty good, of course needs the bottom skin repair like the all seem too.
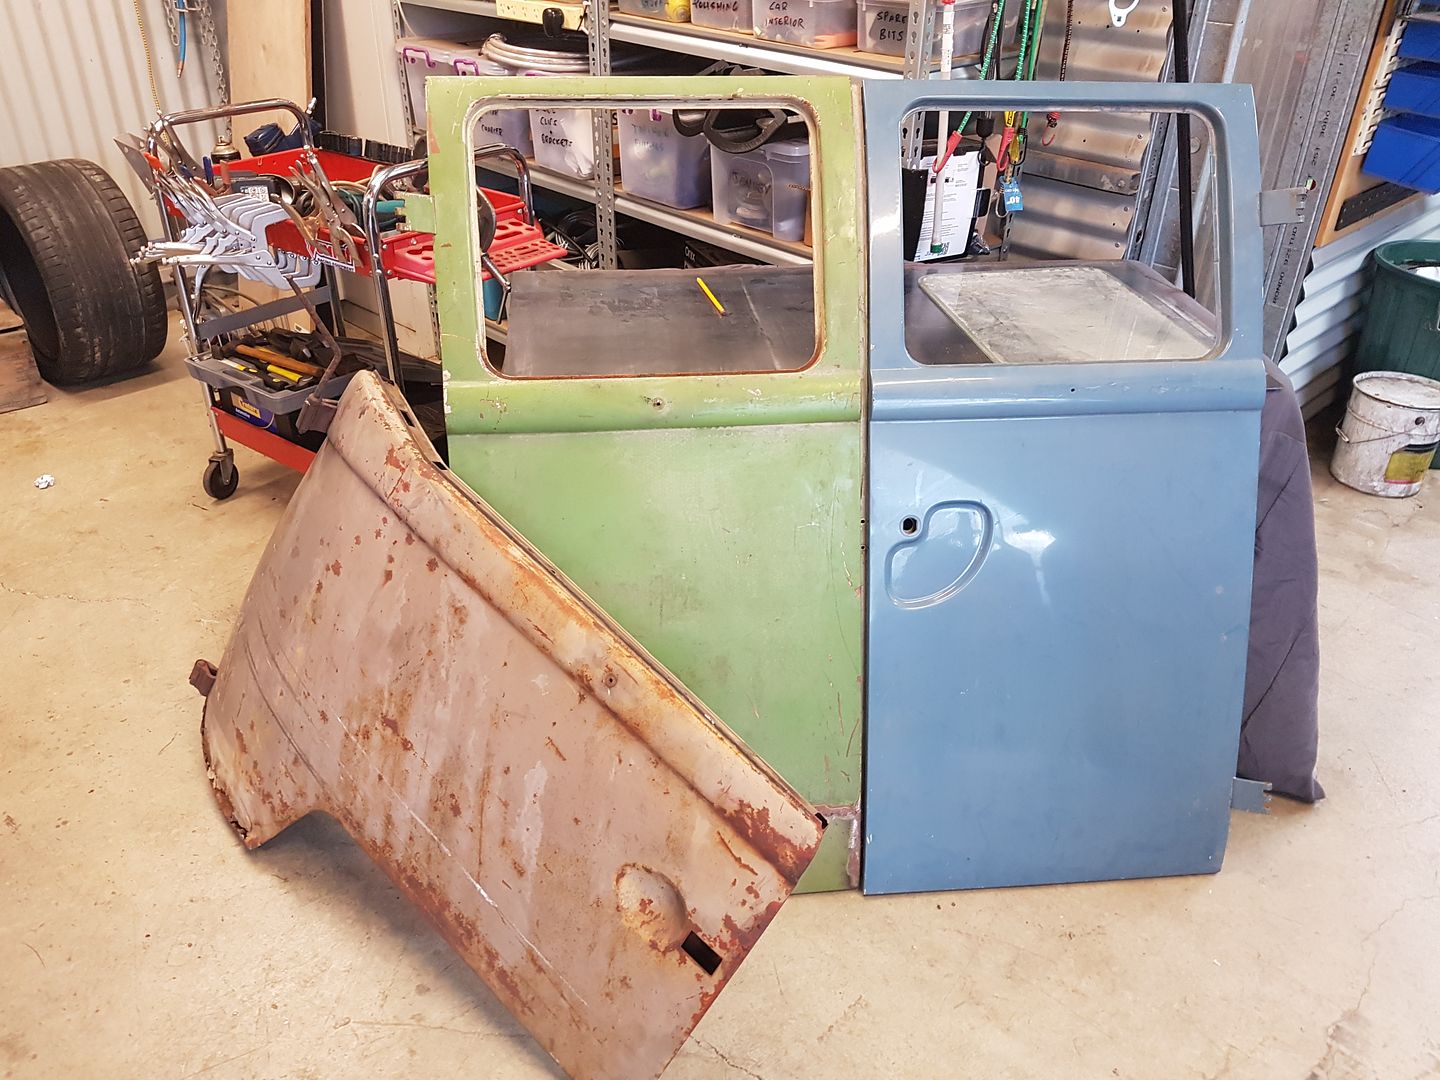
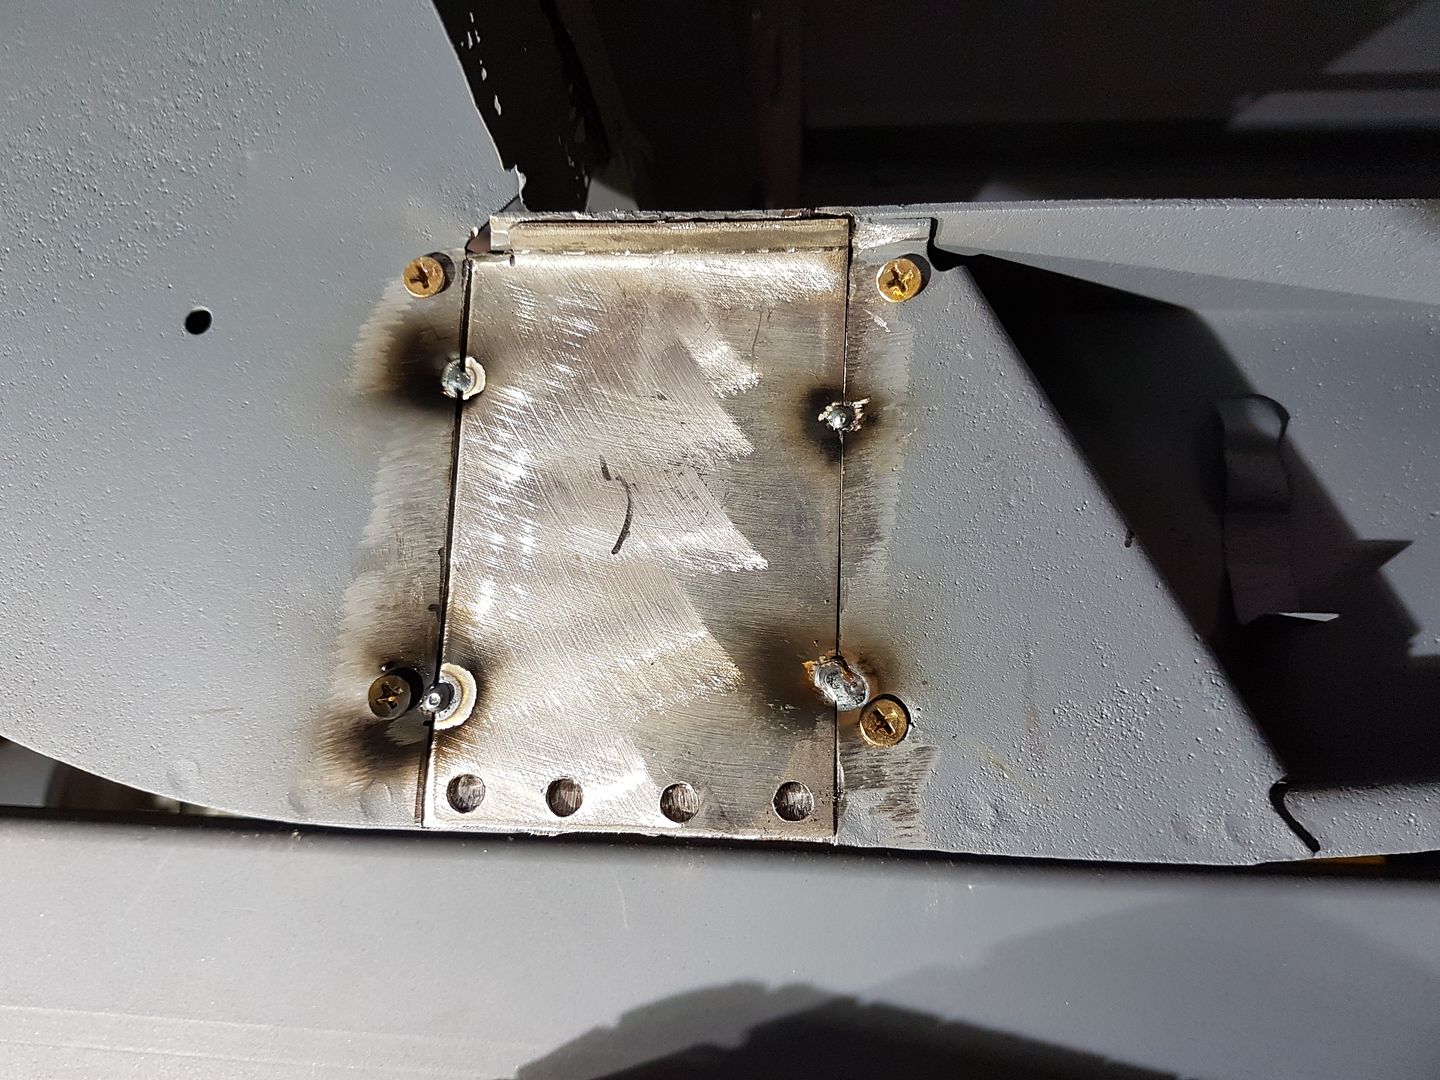
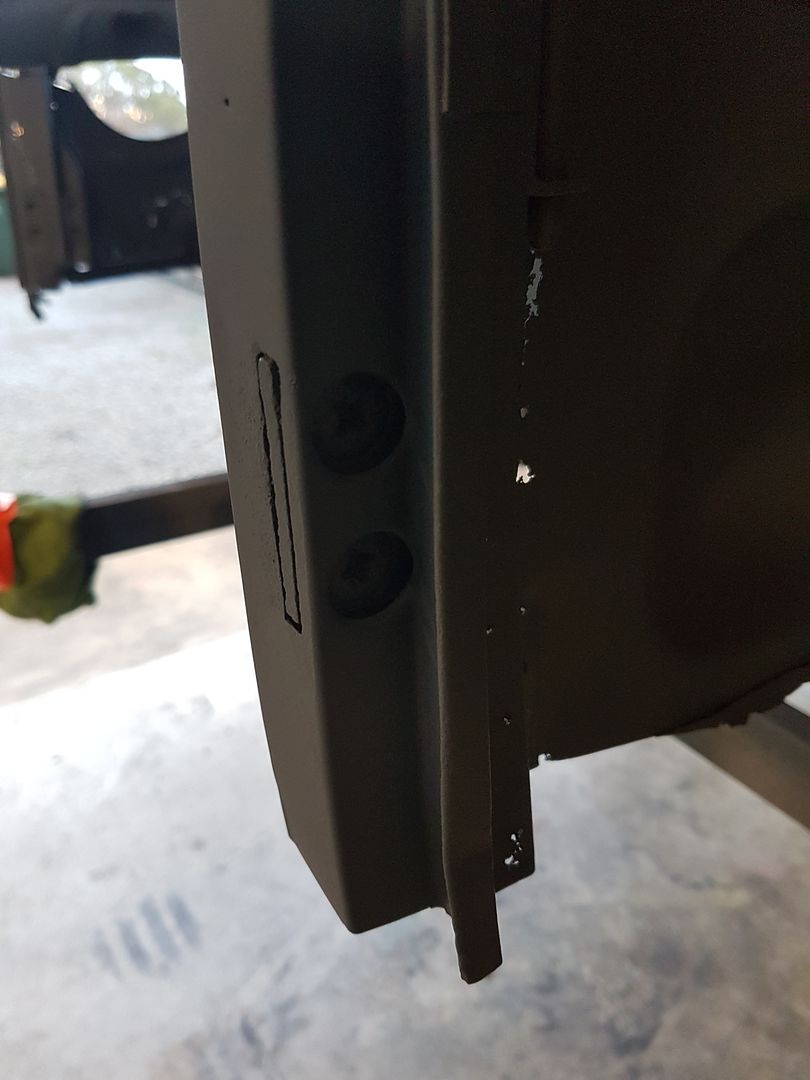
Tomorrow I want to try and do the drivers side chassis repair which is much smaller than the one I just did, and also try and remove what remains of the old cargo hinges. Any tips on removing these Phillips head screws, I have tried an impact driver with no luck, any tips?


Also very exciting that the doors arrived, they look in really great condition. The blue cargo is awesome, and the other cargo has already had the bottom repair started. The passenger side front door is pretty good, of course needs the bottom skin repair like the all seem too.

Tomorrow I want to try and do the drivers side chassis repair which is much smaller than the one I just did, and also try and remove what remains of the old cargo hinges. Any tips on removing these Phillips head screws, I have tried an impact driver with no luck, any tips?

-
red hot bus
- DSKer
- Posts: 286
- Joined: Sun Jun 22, 2008 4:41 pm
- Location: gawler, SA
Re: 1960 Split Window Resto/Rebuild
What chassis repair?  looks good might pop round tomorrow.
Drill the head off the cargo door screws, you'll be able to take that bottom plate out from behind and weld a nut to it and remove the remaining thread. Will explain better in person haha
Drill the head off the cargo door screws, you'll be able to take that bottom plate out from behind and weld a nut to it and remove the remaining thread. Will explain better in person haha
Way too many projects